Ricordo ancora la prima volta che ci ho provato digitalizzazione del ricamo del cappello. Ho pensato, “Quanto potrebbe essere difficile?"Avevo la mia macchina, un logo pulito, ed esperienza con tessuto piatto.
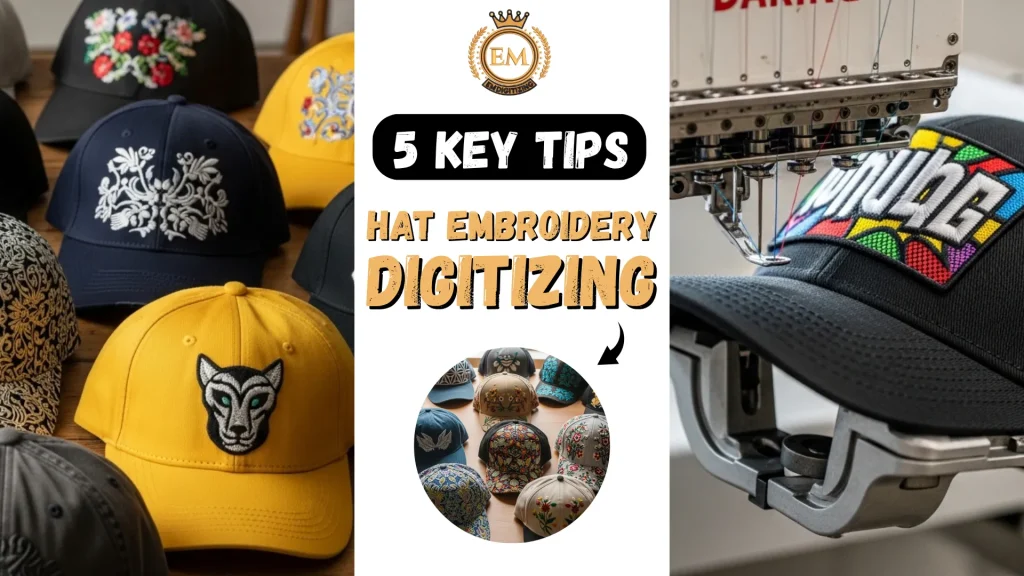
Ma nel momento in cui l'ago ha colpito la parte anteriore curva del cappuccio, tutto è andato in pezzi, punti saltati, il design è cambiato, e il risultato finale non somigliava per niente a quello che immaginavo.
È stato allora che mi ha colpito: digitalizzare per cappelli non significa solo creare un file punto. Si tratta di capire come vengono costruiti i cappelli, come reagisce il tessuto, e come il design deve essere modellato e posizionato per funzionare su una superficie non piana.
Questa guida è esattamente ciò che avrei voluto avere allora. If you’;hai appena iniziato e vuoi evitare quei primi errori, Ti guiderò attraverso tutto, semplicemente, chiaramente, e come un amico che ti mostra le corde.
Iniziamo nel modo giusto.
Digitalizzazione del ricamo per cappelli: 5 Suggerimenti chiave che non puoi permetterti di perderti
Mancia #1: Inizia con il design giusto e posizionalo in modo intelligente

Quando si tratta di digitalizzazione del ricamo del cappello, il tuo design non deve solo avere un bell'aspetto, deve adattarsi bene e cucire in modo pulito su una superficie curva.
A differenza degli indumenti piatti, i cappelli hanno cuciture, curve, e spazio limitato.
Un errore comune dei principianti è posizionare il design troppo in alto, troppo largo, o direttamente sopra la cucitura centrale, che possono falsare il risultato finale.
Per evitarlo, devi pensare a tre cose insieme: il tipo di cappello, il forma del suo pannello frontale, e come il tuo il disegno dovrebbe essere dimensionato e posizionato.
Ecco una guida chiara per aiutarti ad abbinare tutto nel modo giusto:
Tipo di cappello | Forma frontale | Posizionamento del progetto | Dimensione massima del progetto (H × L) | Stile di design consigliato |
Berretto da baseball strutturato | Curvo, fronte fermo | Leggermente sotto la cucitura centrale | 2.25″; – 2.5″; × 4.5″; – 5″; | Loghi in grassetto, testo di medio spessore |
Cappello da camionista | Parte anteriore in schiuma semipiatta | Centrato, evitare gli angoli superiori | 2.5″; – 2.75″; × up to 5″; | Riempimento leggero, forme vettoriali semplici |
5-Cappello a pannello | Pannello frontale piatto | Può posizionare più in alto e più ampio | Up to 2.75″; × 5.5″; | Loghi con dettagli precisi o testo ampio |
Berretto | Parte anteriore in maglia elasticizzata | Fronte inferiore (per evitare distorsioni da allungamento) | 1.5″; – 2″; × 3″; – 4″; | Iniziali, piccole icone, breve testo |
Cappello da papà non strutturato | Morbido, pieghevole | Centrato più in basso del solito | 2″; – 2.25″; × 4″; – 4.5″; | Grafica semplice, monogrammi puliti |
Quindi, prima di premere "salva" sul tuo file, prenditi un momento per chiedere: Il mio design è modellato per questo cappello? Rimarrà pulito sotto la cucitura?? È leggibile nello spazio consentito?
Mancia #2: Regola la densità del punto in base al tessuto e ai dettagli
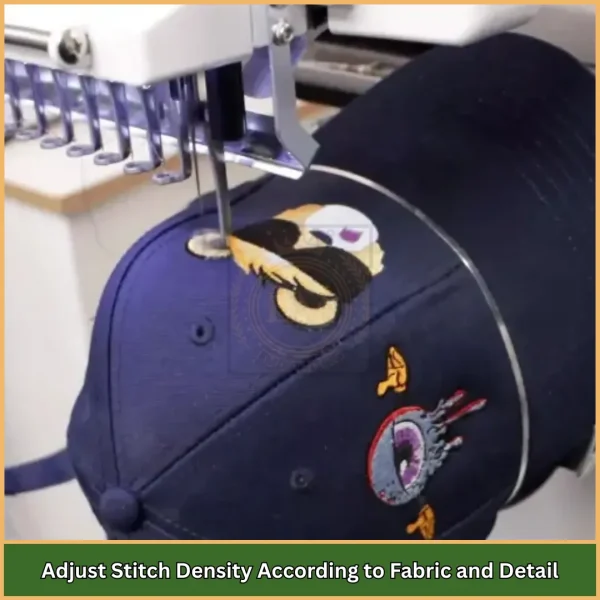
Una cosa che molti principianti non capiscono è quanto densità del punto influisce sui risultati del ricamo sui cappelli. La densità errata può causare la rottura del filo, consistenza irregolare, o increspature, soprattutto su materiali curvi o spessi.
Invece di utilizzare le stesse impostazioni di densità per ogni disegno, abbinalo al tessuto e ai dettagli del design. I materiali più spessi come la tela necessitano di una densità più stretta, mentre i tessuti in schiuma o a maglia richiedono un'imbottitura più morbida e un sottofondo accurato.
Ecco una guida utile:
- Piccolo testo (4–6 mm): Utilizzare una densità di 0,40–0,45 mm
- Forme medie (7–12 mm): Prova 0,35–0,40 mm
- Elementi di grandi dimensioni (13mm+): Vai più stretto a 0,30–0,35 mm
- Punto knockdown per schiuma: Utilizzare 0,50–0,60 mm
Se stai usando software di digitalizzazione del ricamo, assicurati di regolare manualmente la densità o di scegliere il tipo di tessuto giusto in modo che applichi automaticamente le impostazioni ottimizzate.
Mancia #3: Abbina il tuo tipo di cappello al giusto approccio alla digitalizzazione
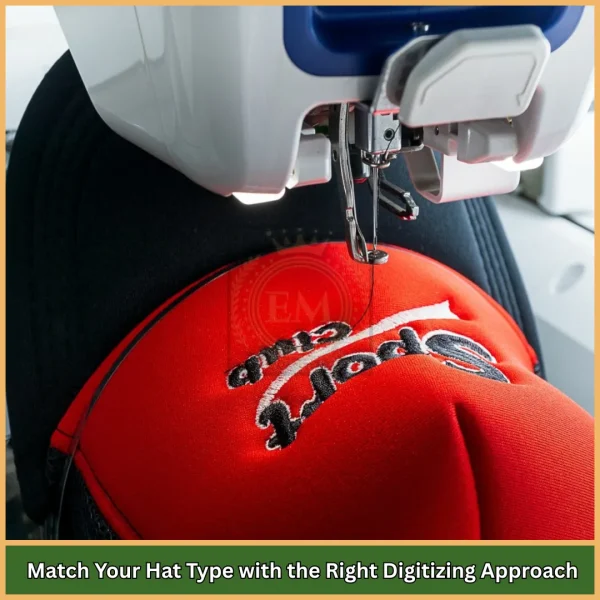
Non tutti i cappelli sono costruiti allo stesso modo, e questo significa che non puoi trattarli allo stesso modo durante la digitalizzazione.
UN berretto in twill di cotone manterrà bene i punti con il sottofondo standard, mentre a parte anteriore in schiuma del berretto da camionista necessita di punti di chiusura per stabilizzare il gonfiore.
UN berretto, d'altro canto, si allunga, quindi i punti stretti potrebbero deformarsi o staccarsi.
Ecco un rapido riferimento su come maneggiare i diversi tessuti per cappelli:
Tipo di cappello | Materiale | Suggerimento per la digitalizzazione |
Berretto in twill di cotone | Twill | Utilizzare una densità media con compensazione della trazione leggera |
Cappello da camionista con parte anteriore in schiuma | Schiuma + Maglia | Punto abbattuto, riempimento morbido per evitare l'affondamento |
Cappellini in tela o denim | Tessuti pesanti | Usa un riempimento più stretto, sottofondo forte, ago affilato |
Cappucci con retro in rete | Rete di plastica | Cuci solo sul pannello frontale solido, evitare la rete |
Berretto | Maglia elastica | Utilizza riempimento aperto, ago a sfera, sottofondo leggero |
Conoscere il tuo tipo di cappello ti aiuta a evitare quelli più comuni errori di ricamo del berretto, soprattutto quando si tratta di scegliere i tipi di aghi e gli stabilizzatori.
Mancia #4: Usa una macchina costruita per i cappelli
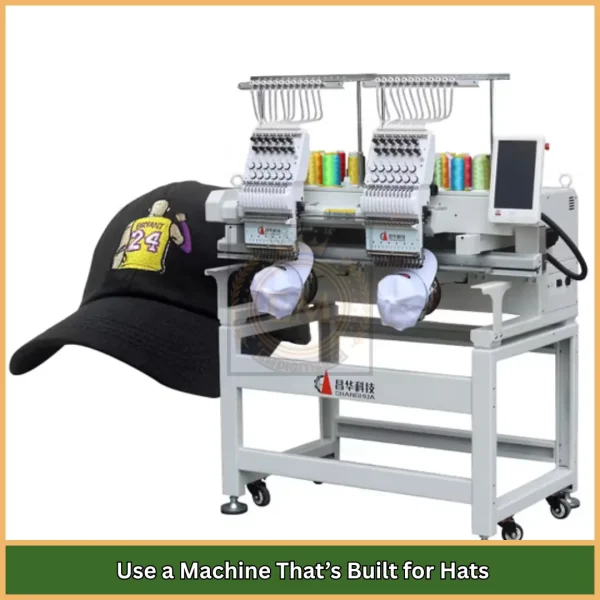
Parliamo di strumenti. Puoi avere il file perfetto, ma se la tua macchina non è pensata per i cappelli, il risultato potrebbe ancora deludere. Per digitalizzazione del ricamo del berretto, hai bisogno di una macchina che supporti le superfici curve, telai per cappelli, e cuciture veloci.
Cerca queste caratteristiche della macchina:
- Compatibilità multi-ago (per cambi colore automatici)
- Supporto telaio cappelli (essenziale per la presa e il controllo della curva)
- Anteprima dello schermo (per controllare la posizione del disegno prima della cucitura)
- Impostazioni di tensione regolabili (soprattutto per i cappelli spessi)
Quando si tratta di cerchi, non forzare un telaio piatto su un cappuccio curvo. Usa cerchi specifici per il berretto. Ecco cosa si adatta meglio:
- Cappellini da camionista: Telaio per cappelli curvo extra largo
- Cappelli da baseball: Telaio del cappuccio largo curvo
- Berretti: Piccolo cerchio piatto o cilindrico
- 5-Cappelli a pannello: Telaio per cappelli piatti per un posizionamento pulito
L'utilizzo della giusta combinazione di macchina e telaio garantisce la stabilità di cui il tuo progetto ha bisogno per la pulizia, risultati coerenti.
Mancia #5: Salva nel formato corretto e ricontrolla tutto
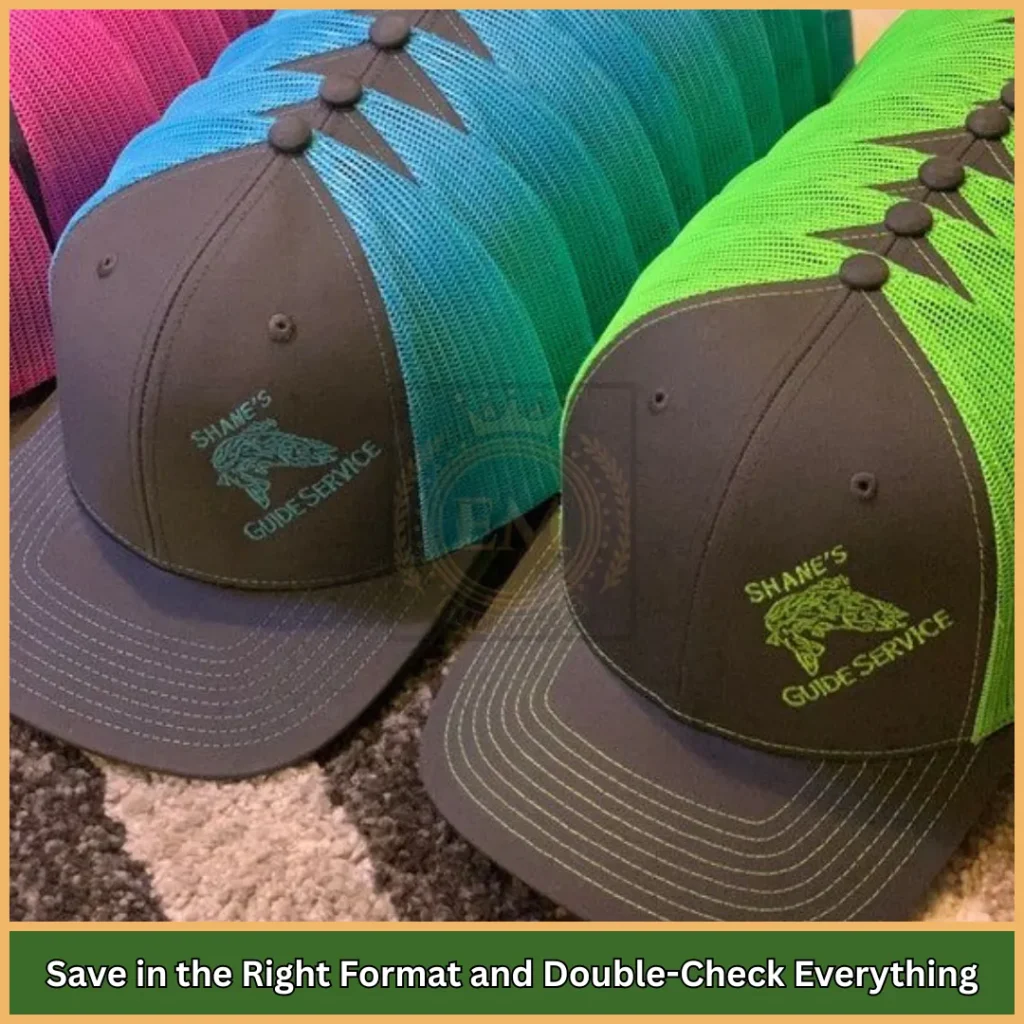
Una volta che il tuo file è pronto, l'ultimo passaggio è l'esportazione. Ma non avere fretta, perché il salvataggio nel formato sbagliato o i comandi chiave mancanti possono rovinare completamente l'esecuzione del progetto.
Ecco una rapida lista di controllo:
- Scegli il tipo di file giusto per la tua macchina: .Ora legale, .PES, o .SCAD
- Conferma il sequenza di colori corrisponde ai fili della tua macchina
- Ripulire saltare i punti in modo che non ingombrano il tuo lavoro finale
- Aggiungere comandi di taglio tra i blocchi di colore
- Garantire punti di inizio e fine seguire un percorso logico
E se non sei sicuro di quale sia il formato o le impostazioni migliori, it’;va bene chiedere aiuto. Ecco dove servizi professionali di digitalizzazione del ricamo può fare una grande differenza.
Conclusione
Così, se sei arrivato fin qui, ora lo sai digitalizzazione del ricamo del cappello non è qualcosa a cui avvicinarsi casualmente. È tecnico. È preciso. Ma soprattutto, è gestibile se comprendi le cinque aree principali di cui abbiamo parlato.
And if you’;Hai appena iniziato o desideri risultati perfetti senza tentativi ed errori, perché non lasciare che un esperto si occupi della parte tecnica? In EMDigitalizzazione, sappiamo esattamente cosa serve per digitalizzare i maiuscoli.
Il nostro team globale lavora 24/7, le nostre tariffe sono fisse, i nostri risultati sono garantiti, e offriamo tempi di consegna super rapidi, spesso entro 4-12 ore. Più, otterrai 50% dal tuo primo ordine, così potrai testare il nostro servizio senza alcuna pressione.
Don’;Non lasciare i tuoi berretti al caso. Ordina ora, e lascia che ti aiutiamo a ricamare come un professionista.
Domande frequenti
La digitalizzazione del ricamo può sembrare difficile all’inizio, soprattutto quando si lavora con i cappelli a causa della loro superficie curva. Tuttavia, una volta comprese le nozioni di base e preso dimestichezza con il software, diventa molto più facile da gestire. Molti principianti scelgono di esternalizzare la digitalizzazione finché non acquisiscono maggiore sicurezza.
Da digitalizzare per il ricamo del berretto, devi considerare la forma e la struttura del cappello. Inizia sempre la cucitura dal centro e spostati verso l'esterno per ridurre la distorsione. Una corretta compensazione della trazione è essenziale per evitare che il progetto si sposti. Per tappi in schiuma, Le cuciture smontabili aiutano ad appiattire l'area prima del disegno principale. Assicurati che il tuo disegno si adatti all'area di ricamo, e non dimenticare di testarlo su un campione prima della produzione finale. infine, salva il file in un formato compatibile con la tua macchina.
Il ricamo del berretto è un metodo per decorare i cappelli cucendo i loghi, nomi, o grafica utilizzando una macchina da ricamo. Poiché i cappelli non sono piatti come le camicie, richiedono un approccio speciale alla digitalizzazione che tenga conto della superficie curva per ottenere risultati puliti e accurati.
Assolutamente. Ricamare cappelli può essere una nicchia molto redditizia, soprattutto perché i cappellini personalizzati sono sempre richiesti dalle squadre, imprese, eventi, e regali. Il costo di installazione è relativamente basso, e puoi offrire sia ordini singoli che offerte all'ingrosso, che spesso porta un buon margine di profitto.
