
I don’;je ne sais pas pour vous, but when I’;m embroidering I’;Je vais juste donner mon bras droit pour éviter de falsifier mon projet. D'ACCORD, that’;c'est un peu dramatique, mais juste ce plissement semble horrible, et je fais tout pour l'éviter. Quand j'ai commencé à broder, les plis étaient un énorme problème pour moi. Mais, après une demi-vie d'erreurs, I’;J'ai appris quelques trucs et astuces pour éviter que mon tissu ne se déchire lors de la couture de motifs.
Qu'est-ce que le plissement de la broderie?
Le froncement de la broderie fait référence au froncement ou au regroupement du tissu près des points de broderie et est causé par le mouvement du tissu pendant la broderie.. Les plis empêchent le tissu de reposer à plat, lui donnant un aspect ébouriffé. Chaque nouveau brodeur voit ses dessins se froisser à un moment donné.. Les plis ont l'air horribles, n'est pas professionnel, et c'est quelque chose que vous devriez essayer d'éliminer dans vos motifs de broderie.
Services de numérisation de broderie
Pourquoi la broderie se plisse-t-elle?
La première étape pour prévenir les plis est de comprendre pourquoi cela se produit en premier lieu.. Le froncement se produit lorsque votre tissu bouge pendant le processus de broderie.
réfléchis-y. Pendant que votre machine coud, si le tissu ne reste pas à plat en permanence, et à la place, bouge légèrement lorsque l’aiguille descend, le tissu va s'enrouler. Par conséquent, le secret pour éviter les plis est de maintenir votre tissu en place pendant que vous cousez le motif de broderie. Mais pour certains vêtements, it’;C'est plus facile à dire qu'à faire.
Quels vêtements sont les plus susceptibles de froncer?
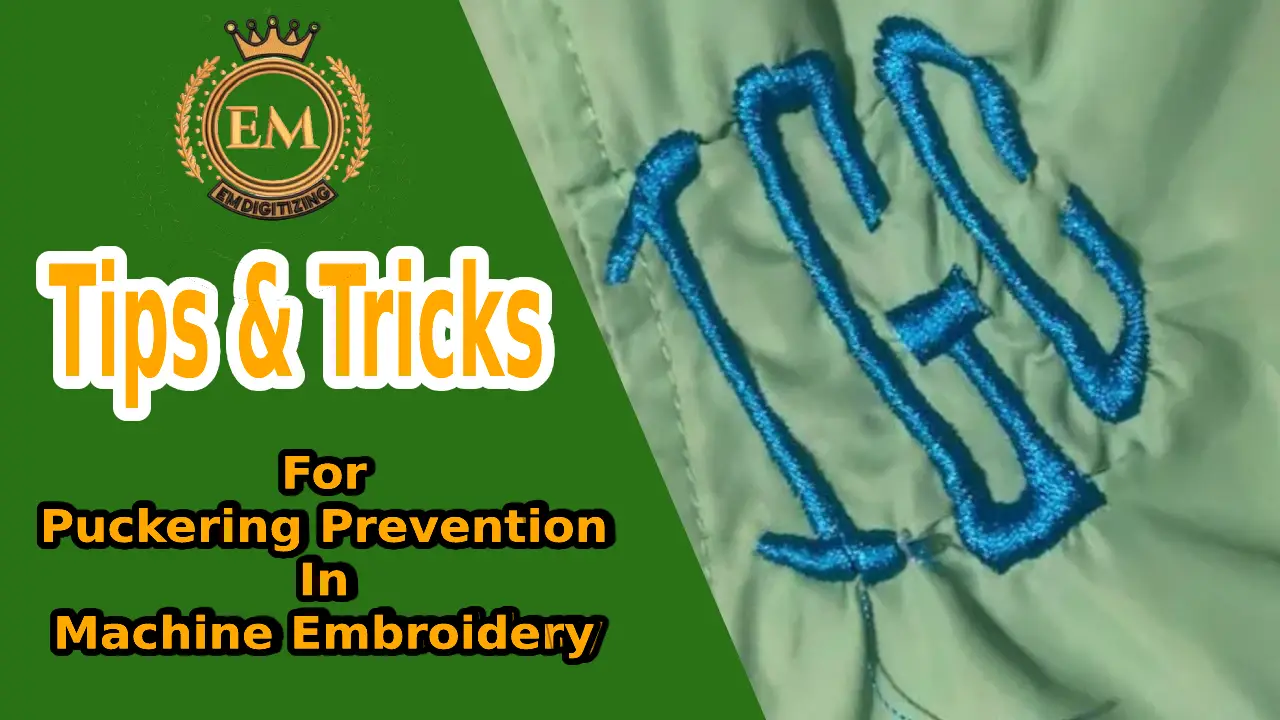
Des plis peuvent apparaître sur différents types de tissus pour diverses raisons. Les tissus glissants tels que le nylon et le satin ont tendance à glisser car ils peuvent glisser sur l'entoilage. Le coupe-vent monogrammé est un excellent exemple de tissu glissant difficile à broder sans boulochage..
Les vêtements tricotés comme les t-shirts et les polos peuvent également être difficiles car ils s'étirent.. S'ils s'étirent pendant la broderie ou sont trop tirés sur le cerceau, une fois retirés du cerceau, ils auront des frissons.
et enfin, un autre type de tissu difficile qui peut facilement se déchirer est un textile très léger comme le drap ou le lin.. Puisqu'ils sont très faibles et minces, ils ont tendance à se regrouper en brodant, entraînant des plissements.
Conseils pour prévenir les plis dans la broderie machine
Le froncement de la broderie fait référence au froncement ou au regroupement du tissu près des points de broderie et est causé par le mouvement du tissu pendant la broderie.. Les plis empêchent le tissu de reposer à plat, lui donnant un aspect ébouriffé. Chaque nouveau brodeur voit ses dessins se froisser à un moment donné.. Les plis ont l'air horribles, n'est pas professionnel, et c'est quelque chose que vous devriez essayer d'éliminer dans vos motifs de broderie.
Causes des plissements
Plusieurs facteurs peuvent provoquer des plissements, seuls ou en combinaison..
Sous tissu stabilisé:
La cause la plus fréquente du plissement est une stabilisation insuffisante, généralement pas assez ou le bon type de stabilisateur. The more elastic your fabric and the larger and denser your embroidery design is –; plus il faut de stabilité. Les dossiers découpés sont généralement plus stables et doivent être utilisés avec des tricots et autres tissus extensibles..
Ne saute pas correctement:
Pour obtenir la meilleure stabilité de votre tissu, vous devez accrocher votre vêtement avec un petit cerceau et vous assurer que vous ourlez correctement votre vêtement. Vous souhaitez créer une surface semblable à un tambour sans tirer sur votre vêtement. Si vous tirez sur votre tissu en encerclant, vous figerez le tissu en position tendue sous les mailles. Quand cela sera fait, votre broderie sera belle une fois que le cerceau sera en place, mais une fois retiré du cerceau, tout le tissu qui n'est pas rentré sous les points se détendra et provoquera des plis.
Resserrer la tension du fil:
Une tension de fil et de canette trop tendue peut créer trop de tension sur les points, provoquant des déformations et des déchirures. Sur tissus légers et délicats, Parfois, l'utilisation de fil de rayonne produira un design plus beau et sans plis., en raison de son étirement et de la tension moindre requise.
Mauvaise numérisation:
Une bonne numérisation est une compétence en soi qui est distincte de la maîtrise de la broderie.. Un numériseur professionnel créera le motif en tenant compte du tissu sur lequel vous brodez et le numérisera pour minimiser les plis.. Les dessins mal numérisés et les dessins utilisant le numériseur automatique peuvent parfois causer de mauvaises coutures, quoi que vous fassiez..
Trucs et astuces pour la prévention des plissements
Bon stabilisateur:
Assurez-vous d'adapter le type et le poids de votre stabilisateur au travail à accomplir. Vous aurez besoin d'un entoilage qui s'étirera, rétrécira ou perdra son intégrité pendant la couture..
Pulvériser l'adhésif:
Vous pouvez utiliser une colle textile temporaire légère, surtout avec des tissus glissants comme le satin, pour fournir une stabilité supplémentaire pour empêcher le matériau de bouger pendant la broderie. Utilisez un adhésif de broderie léger pour éviter de coller les aiguilles ou de laisser des résidus sur votre substrat.
Pliez correctement:
Enroulez toujours correctement votre tissu avec le plus petit cercle. Plus les côtés du cerceau sont proches de votre motif, plus votre cerceau offrira de stabilité. Gardez l'anneau du cerceau suffisamment serré pour rester serré sans étirer le matériau..
Réduire la densité:
Pour les tissus légers et extensibles, les modèles à faible densité cousent généralement mieux. Optez pour un design avec une large couverture et sans zones entièrement remplies. Vous pouvez réduire la densité du motif tout en conservant une couverture complète en réduisant le contraste entre les coutures et les couleurs de fond..
Numérisez correctement:
Si vous débutez dans la numérisation, envisager de demander conseil et orientation à un professionnel. Dites-leur sur quel type de tissu vous brodez. Utiliser la bonne sous-couche peut aider à stabiliser le tissu pendant la numérisation.
Utilisez la bonne tension de fil:
Use thread tension gauges to make sure you’;ve set your machine’;s tension du fil correctement, based on the type of thread you’;j'utilise. Lors des réglages de tension, assurez-vous d'être prudent et de ne faire que des ajustements mineurs à la fois.
Ralentir:
Un moyen simple d’éviter les plis est de ralentir lorsque vous travaillez.. Le plissement peut être évité en réduisant la vitesse de fonctionnement.
Conclusion
Le froncement peut être un phénomène frustrant lors de la broderie, mais à mesure que vous développez vos compétences, vous devriez réduire la quantité de fronces sur votre tissu. À condition de choisir un motif adapté au tissu choisi, réduire les contraintes sur le matériau en utilisant un support stable, cerclage précis, coutures légères, et un chemin prudent, s'assurer que la conception se déplace à faible vitesse, vous pourrez créer votre propre design. Peut réduire le plissement du produit fini.
La machine contient des peluches ou des fils lâches. –; Retirez la canette et le boîtier de la canette et nettoyez les peluches ou les fils perdus en les brossant au lieu de les souffler dans la machine.. –; Vérifiez le boîtier de la canette pour déceler des rayures ou des paquets. –; S'il y a des rayures ou des tas, le boîtier de la canette devra être remplacé.
La cause la plus fréquente du plissement est une stabilisation insuffisante, généralement pas assez ou le bon type de stabilisateur. The more elastic your fabric and the larger and denser your embroidery design is –; plus il faut de stabilité.
L'utilisation d'un fil non fendu avec une torsion douce pour la couche supérieure du point satin vous donnera les meilleurs résultats lorsque vous souhaitez obtenir une surface lisse.. Certains fils de discussion sont indivisibles par leur structure, comme du floche ou du coton brode. Ces deux fils sont travaillés pour former un magnifique point satin..
So we’;ll only talk about upper thread tension because that’;C'est là que vous faites habituellement des ajustements. Les paramètres de numérotation s'exécutent à partir de 0 à 9, donc 4.5 is usually the ‘;default’; position pour la couture normale au point droit. Il devrait convenir à la plupart des tissus.
Coutures réglées – Les coutures réglées sont une méthode utilisée pour lisser les plis ou les rides créés pendant la couture.. Dans de nombreux projets, surtout le patchwork et le quilting, it’;c'est une bonne idée de régler vos coutures avant de les ouvrir. Pour définir la couture, placer le tissu sous le fer dans la même position qu'il sort de la machine à coudre.


