Vous êtes-vous déjà demandé comment obtenir les meilleurs résultats de vos projets de sérigraphie ?? L’utilisation d’un tensiomètre de sérigraphie est la clé! Cet outil pratique mesure à quel point le maillage est serré sur votre écran, ce qui est super important pour créer des impressions claires et nettes. Lorsque la tension du maillage est juste, L'encre s'écoule en douceur, menant à des imprimés fantastiques à chaque fois.
Dans cet article, Nous allons vous montrer des étapes simples pour utiliser efficacement un compteur de tension d'impression. Whether you’;revener à l'écran d'impression ou avoir une certaine expérience, Savoir utiliser cet outil peut vraiment améliorer votre travail.
Commençons et assurez-vous que vos écrans sont parfaitement configurés pour d'excellents résultats!
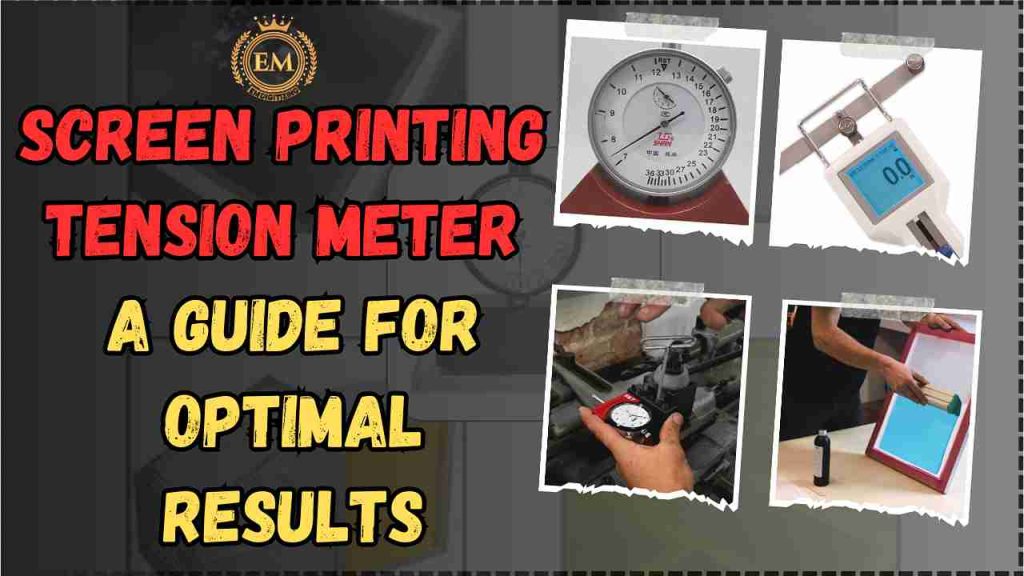
Comprendre un compteur de tension d'impression d'écran
C'est un outil essentiel pour les imprimantes d'écran afin de s'assurer que leur maillage est étiré au bon niveau. Il mesure avec précision l'étanchéité du maillage sur un écran, Aider les imprimantes à maintenir la cohérence de leur travail.
Une tension appropriée garantit que l'encre transferme uniformément et que les impressions sortent nette et claire. En utilisant un compteur de tension, Vous pouvez facilement vérifier si votre écran est prêt pour l'impression et éviter les problèmes courants comme des images floues ou une distribution inégale d'encre.
Tensiomètre pour sérigraphie: Comment utiliser pour des résultats optimaux
Types de compteurs de tension pour l'impression d'écran
Les compteurs de tension d'écran sont classés en deux types principaux: mécanique et numérique, chacun avec des avantages et des inconvénients distincts.
1. Compteurs de tension mécanique
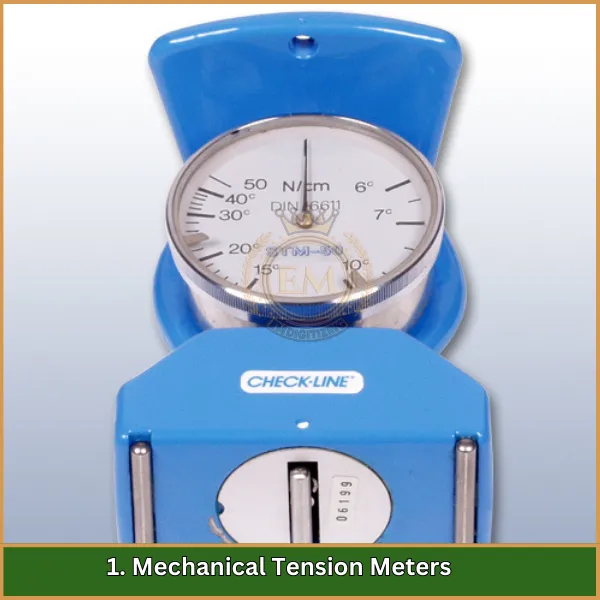
Les compteurs de tension mécanique sont le choix traditionnel, Évalué pour leur conception simple et leur rentabilité. Ces compteurs utilisent un piston à ressort qui presse contre le maillage. The spring’;La déviation s est ensuite lue sur une jauge de cadran pour indiquer la tension du maillage.
Avantages
- Simple à utiliser et à utiliser.
- Généralement moins cher.
- Construction robuste.
Désavantages
- L'application de la pression nécessaire pour une lecture peut déformer légèrement le maillage.
- The accuracy of the readings can vary with the user’;la technique.
- Pas aussi précis que les compteurs numériques.
2. Trimes numériques
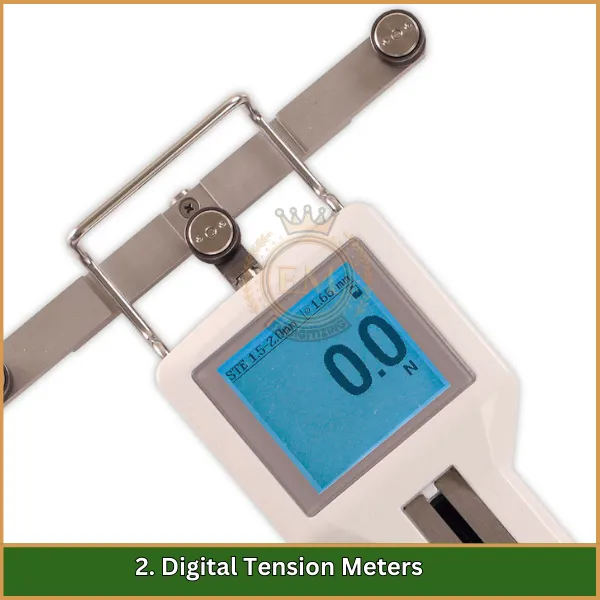
Les compteurs de tension numérique fournissent une méthode plus moderne et précise pour mesurer la tension d'écran. Ils utilisent des capteurs électroniques pour évaluer la force sur le maillage et afficher la tension sur un écran numérique.
Avantages
- Fournit des lectures très précises et cohérentes.
- Plus simple à utiliser, Réduire le risque d'erreur de l'utilisateur.
- Capable de stocker et d'exporter des données, utile pour la tenue de dossiers détaillée.
Désavantages
- Généralement plus coûteux que les compteurs mécaniques.
- Potentiellement plus complexe à utiliser, ce qui pourrait être difficile pour certains utilisateurs.
- En fonction des batteries ou d'une autre source d'alimentation.
Pourquoi la tension d'écran est-elle importante?
Il joue un rôle essentiel dans la réalisation de résultats de haute qualité dans l'impression d'écran. Voici pourquoi le maintien de la bonne tension est important:
- Assure une distribution d'encre uniforme: Une tension d'écran appropriée permet au maillage de rester uniformément étiré, Assurer que l'encre s'écoule en douceur sur l'écran. Cela empêche les taches et les incohérences inégales dans vos impressions.
- Empêche les maculations et les floues: Quand l'écran est trop lâche, il peut se déplacer ou s'affaisser, provoquant un brouillage ou une tache de conception. La tension correcte aide à maintenir l'écran stable, résultant en net, imprimés criminels.
- Prolonger la vie d'écran: Garder la tension au bon niveau réduit la tension sur le maillage, Empêcher les larmes et les dommages. Cela prolonge la vie de votre écran, vous faire gagner du temps et de l'argent sur les remplacements.
- Améliore les détails de l'impression: Les écrans à haute tension permettent un meilleur contrôle des dépôts d'encre, Surtout dans les conceptions complexes. Avec une tension appropriée, Vous pouvez atteindre des détails plus nets et plus précis, Rendre l'imprimé plus professionnel.
- Optimise le compteur de tension: L'utilisation d'une configuration d'impression d'écran de compteur de tension aide à maintenir des niveaux de tension précis et cohérents, Assurer des résultats reproductibles de haute qualité pour tous vos projets.
Le maintien de la bonne tension est essentiel pour garantir que vos impressions sont dynamiques, détaillé, et durable.
Comment utiliser un compteur de tension d'impression d'écran
L'utilisation d'un compteur de tension garantit que votre maille d'impression d'écran est correctement resserré, conduisant à cohérent, impressions de haute qualité. Suivez ces étapes pour utiliser efficacement le compteur de tension en maillage de l'impression d'écran.
1: Préparer l'écran
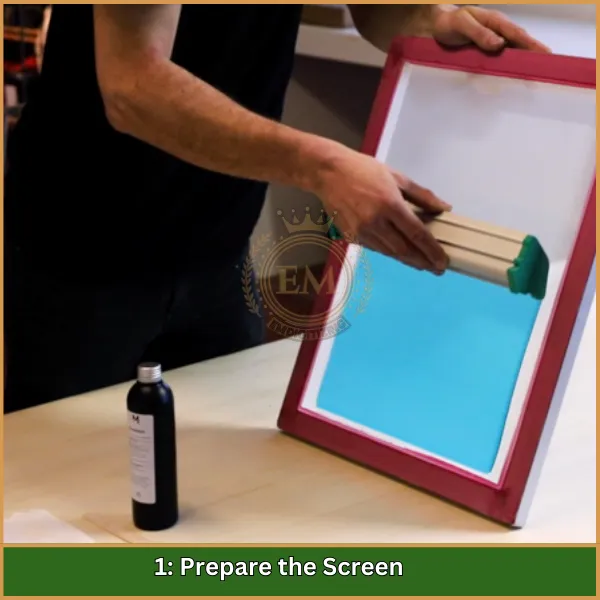
Avant la mesure, Assurez-vous que votre écran est correctement étiré et propre. Le cadre doit être en toute sécurité, et le maillage doit être exempt de poussière ou de résidu d'encre.
2: Calibrez le compteur de tension
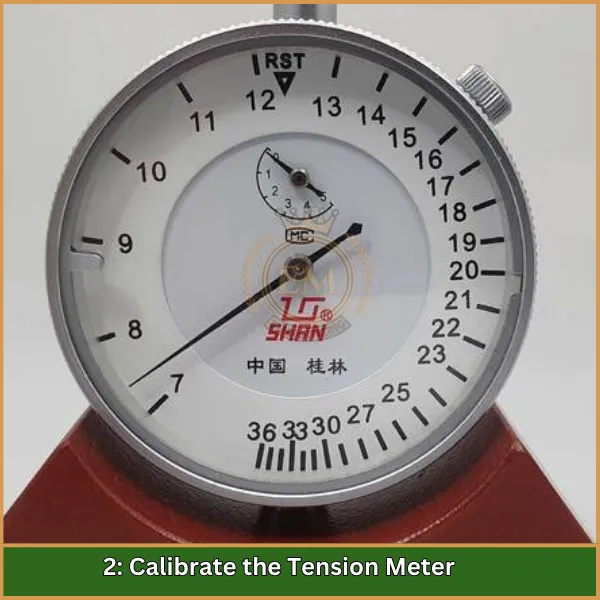
Assurez-vous que votre compteur de tension pour l'impression d'écran est calibré en fonction des instructions du fabricant. Un compteur calibré correctement garantit des lectures précises pour votre écran.
3: Placer le compteur de tension sur le maillage
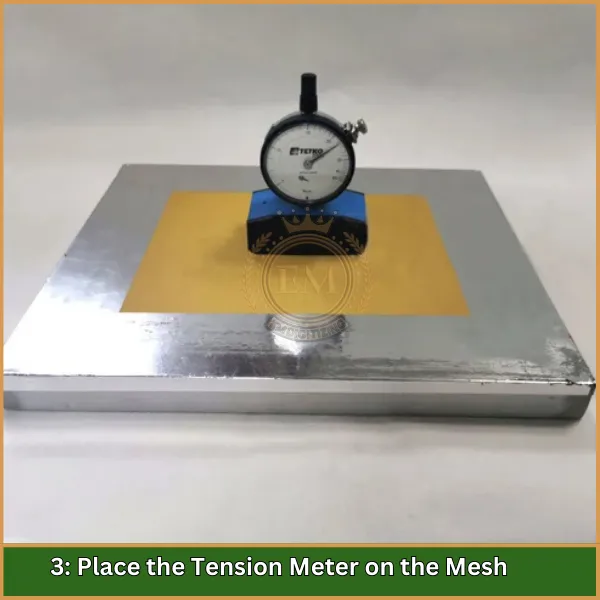
Placez doucement le compteur de tension au centre du maillage. Assurez-vous qu'il se repose à plat sans appliquer de pression supplémentaire. L'écran doit rester stable pendant ce processus.
4: Lire la mesure de la tension
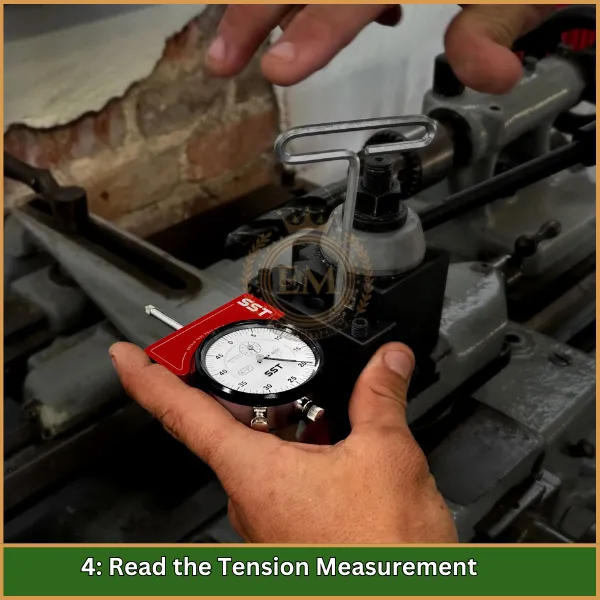
Une fois placé, Le compteur affichera le niveau de tension. Pour la plupart des écrans, une lecture de tension entre 20 et 25 Les Newtons sont idéaux, mais cela peut varier en fonction du type de maillage et d'encre que vous utilisez.
5: Ajuster la tension de l'écran (Si nécessaire)
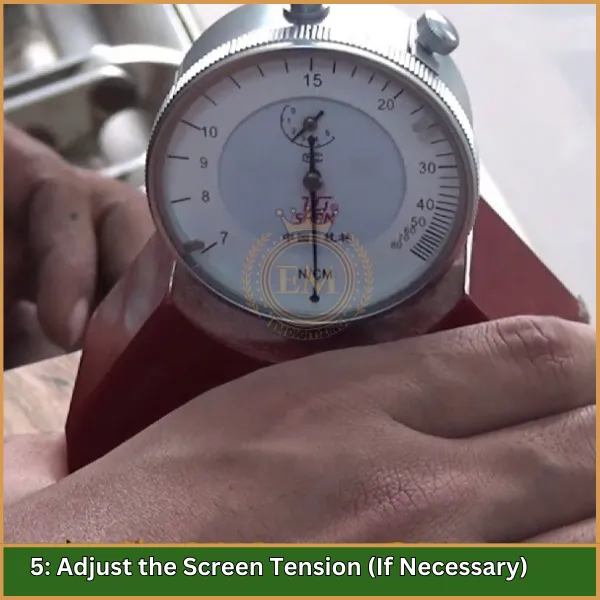
Si la lecture est trop faible ou élevée, Réglez la tension en serrant ou en desserrant le maillage sur le cadre. Revérifiez la tension avec le compteur après chaque ajustement pour atteindre le niveau de tension optimal.
6: Mesurez la tension sur plusieurs points
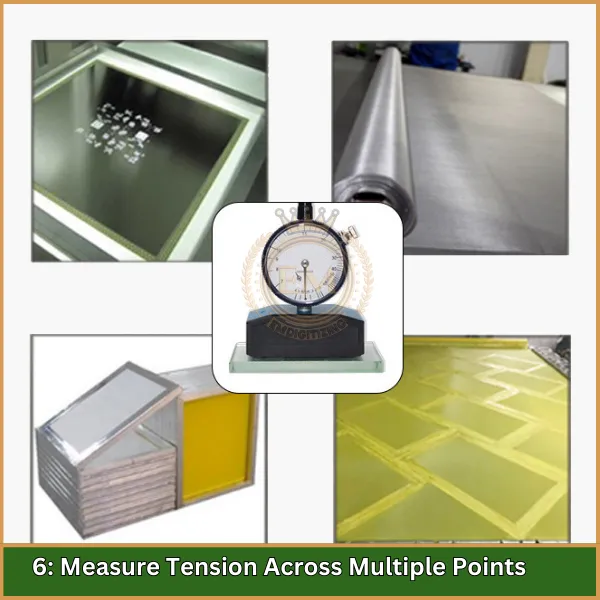
Pour précision, Il est préférable de mesurer la tension à différents moments à travers l'écran (centre et coins). Cela permet d'assurer une tension cohérente sur l'ensemble du maillage.
7: Enregistrez vos mesures
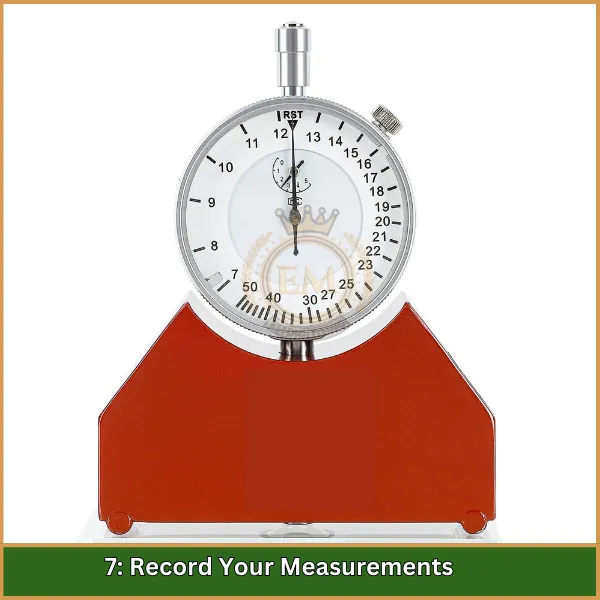
Pour référence et cohérence futures, Enregistrez les lectures de tension de chaque écran. Cela vous aidera à maintenir le contrôle de la qualité entre différents impressions.
Conseils pour obtenir une tension optimale
Réaliser la bonne tension dans votre impression d'écran Le maillage est crucial pour produire des tirages de haute qualité. Voici quelques conseils concis pour vous aider à maintenir une tension optimale:
- Choisissez le bon maillage: Sélectionnez un maillage qui convient à vos besoins d'impression.
- Vérifier l'état du cadre: Assurez-vous que votre cadre est robuste et non déformé.
- Utilisez des techniques d'étirement appropriées: Appliquer une pression uniforme lorsque vous étirez le maillage.
- Calibrez régulièrement votre compteur de tension: Cela garantit des lectures précises pour une tension cohérente.
- Surveiller les conditions environnementales: Stocker les écrans en humidité et température contrôlées.
- Revérifier la tension après utilisation: Vérifiez régulièrement la tension, surtout avant les emplois importants.
- Document les paramètres de tension: Gardez un journal de lectures pour chaque écran pour le contrôle de la qualité.
En suivant ces conseils, Vous pouvez améliorer la qualité et l'efficacité de vos projets d'impression d'écran.
Erreurs courantes à éviter lors de l'utilisation d'un compteur de tension d'impression d'écran
Éviter les erreurs lors de l'utilisation de cet outil est crucial pour obtenir une tension optimale et des impressions de haute qualité. Voici quelques pièges communs à surveiller:
- Négliger l'étalonnage: Ne pas calibrer régulièrement le compteur de tension peut entraîner des lectures inexactes, Compromis la qualité de l'impression.
- En utilisant une technique de mesure incorrecte: Placer le compteur incorrectement sur le maillage ou appliquer une pression excessive peut entraîner de fausses lectures.
- Ne pas mesurer à plusieurs points: La seule mesure de la tension en un seul point peut négliger les incohérences à travers le maillage, conduisant à des impressions inégales.
- Ignorer les facteurs environnementaux: Surplombant la façon dont l'humidité et la température affectent la tension peut entraîner des variations qui ont un impact sur vos impressions.
- Ne pas documenter les lectures: Ne pas tenir un enregistrement des mesures de tension peut rendre difficile la maintenance de la cohérence et de la suivi des changements au fil du temps.
- Sur-tendance ou sous-tension: Le réglage de la tension d'écran trop dans les deux sens peut endommager le maillage ou entraîner une mauvaise qualité d'impression.
- Sauter des chèques réguliers: Négliger de vérifier régulièrement les tensions, Surtout après plusieurs utilisations, peut entraîner une diminution de la qualité d'impression.
En étant conscient de ces erreurs courantes, Vous pouvez assurer des mesures plus précises et de meilleurs résultats globaux dans votre processus d'impression d'écran.
Dernières pensées
Pour obtenir d'excellents résultats dans l'impression d'écran, it’;est très important pour garder la bonne tension dans vos écrans. L'utilisation d'un compteur de tension d'impression d'écran vous aide régulièrement à vous assurer que le maillage est suffisamment serré. Cela mène à un nettoyeur, MARCHER IMPRESSION ET RÉDUISE D'ERREAUX. N'oubliez pas de vérifier et de calibrer souvent le compteur pour les meilleurs résultats.
Si vous souhaitez améliorer vos projets d'impression, Jetez un œil aux super services d'art vectoriel d'Emdigiting. Nous fournissons un art vectoriel de haute qualité avec un délai d'exécution rapide et des prix abordables. Que vous ayez besoin de conceptions détaillées ou de logos simples, Nous pouvons vous aider. Plus, Les clients pour la première fois peuvent profiter d'un fantastique 50% rabais!
Ne manquez pas cette chance de faire votre impression d'écran encore mieux.
FAQ
Un compteur de tension dans l'impression d'écran est un appareil utilisé pour mesurer la tension du maillage d'écran, s'assurer qu'il a une tension uniforme pour des résultats d'impression de haute qualité.
Pour mesurer la tension d'écran, Vous pouvez utiliser un compteur de tension qui est placé sur l'écran; L'appareil fournit alors une lecture dans les Newtons pour centimètre, indiquant l'étanchéité du maillage.
La pression requise pour l'impression d'écran varie en fonction de l'encre et du substrat, mais généralement, Une pression d'environ 4 à 6 bar (60 à 90 psi) est utilisé pour assurer une distribution uniforme de l'encre et une qualité d'image nette.
