Avez-vous déjà eu envie d'ajouter une touche personnelle à une veste bouffante, mais vous ne saviez pas comment broder sur une veste bouffante ?? Cela peut paraître délicat au début, Mais c'est en fait beaucoup plus facile que vous ne le pensez avec les bons outils et techniques.
Dans ce guide, Je vais décomposer chaque étape afin que vous puissiez créer une belle broderie sur votre gilet sans stress. De la configuration de votre machine à la finition parfaitement de votre conception, Vous apprendrez tout ce que vous devez savoir.
Que ce soit pour vous-même ou un cadeau pour quelqu'un de spécial, Vous pourrez bientôt transformer n'importe quel gilet gonflé en quelque chose d'unique et d'élégance. Plongeons et commençons!
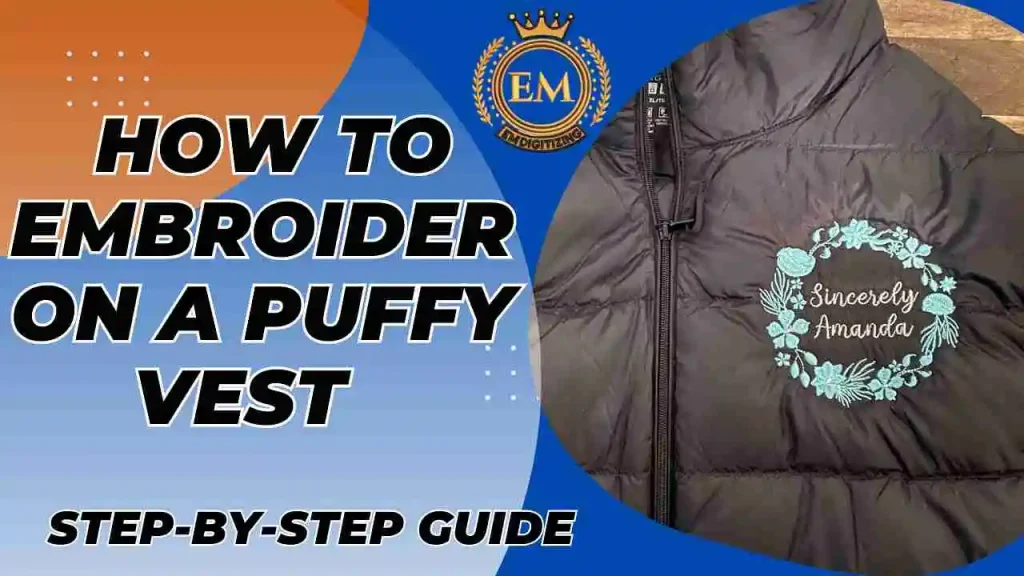
Comment broder sur un gilet gonflé | Guide étape par étape
De quels matériaux vous avez besoin pour la broderie machine sur un gilet gonflé
If you’;Je me demande comment broder sur un gilet gonflé, Avoir les bons matériaux est essentiel pour obtenir une finition impeccable. Below is a list of materials you’;j'aurai besoin:
- Gilet gonflé
- Fil à broder en polyester
- Conception de broderie
- Machine à broder
- Stabilisateur découpé
- Cerceau de broderie
- Spray adhésif temporaire (optionnel)
- Outil de marquage en tissu
- Ciseaux
1. Gilet gonflé
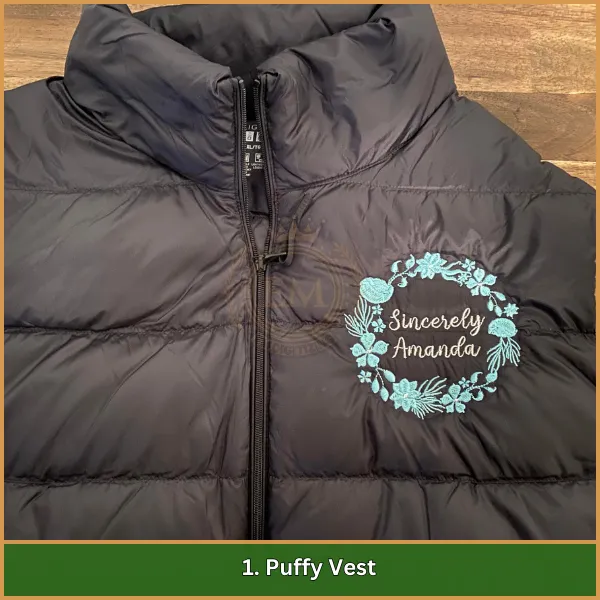
Commencez par un gilet gonflé durable en nylon ou en polyester. Ces matériaux sont idéaux car ils fournissent une surface lisse et résistent au processus de broderie sans dommage.
2. Fil à broder en polyester
Choisissez un fil de polyester pour sa force, durabilité, et rétention de couleur vibrante. Il résiste à la décoloration et à la rupture, En faire le meilleur choix pour la broderie sur des tissus épais comme des gilets gonflés.
3. Conception de broderie
Sélectionnez des conceptions audacieuses et simples qui peuvent se démarquer sur la surface texturée d'un gilet gonflé. Évitez les détails complexes pour vous assurer que la conception semble propre et professionnelle.
4. Machine à broder
Optez pour une machine à broder capable de gérer des tissus épais et en couches. Les machines à tension automatique et aux caractéristiques de vitesse réglable garantiront des coutures lisses sur les matériaux gonflés.
5. Stabilisateur découpé
Un stabilisateur coupé est utilisé pour fournir un soutien ferme pendant le processus de broderie. Ce stabilisateur reste attaché, Assurer la conception maintient sa forme au fil du temps.
6. Cerceau de broderie
Un cerceau de broderie de taille appropriée est essentiel pour maintenir le gilet gonflé stable pendant les coutures. Assurez-vous qu'il correspond à la zone de conception et saisit le tissu en toute sécurité.
7. Spray adhésif temporaire (Facultatif)
Pour une stabilité supplémentaire, Utilisez un spray adhésif temporaire pour maintenir le gilet en place sur le stabilisateur. Cela minimise le changement de tissu pendant la broderie.
8. Outil de marquage en tissu
Marquez votre placement de conception à l'aide d'un outil de marquage en tissu. Cela garantit une précision sans laisser de marques permanentes sur le gilet.
9. Ciseaux
Garder une paire de ciseaux de broderie pointus à portée de main pour couper les filetages et stabilisants excessifs, Assurer une finition soignée et polie.
Comment broder sur un gilet gonflé
Vous voulez personnaliser un gilet gonflé avec broderie? Ce guide étape par étape vous montrera comment obtenir des résultats professionnels avec facilité.
1. Choisissez l'endroit parfait pour votre design
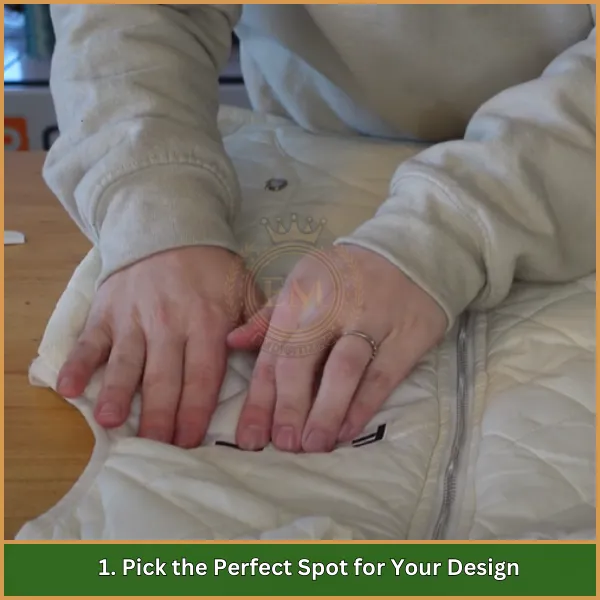
Choose where you’;D Comme votre design à aller - les choix populaires incluent la poitrine gauche ou l'arrière du gilet. Utilisez un marqueur en tissu pour identifier le centre de votre zone choisie.
2. Configurez votre cerceau et votre stabilisateur
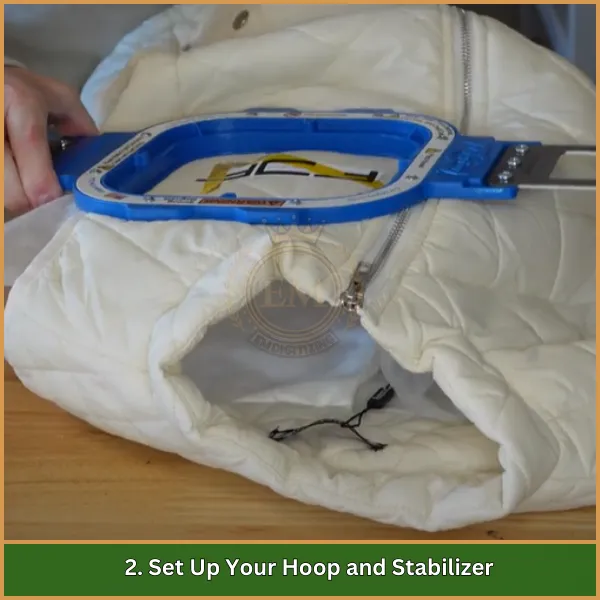
Placez un stabilisateur de déchirure du dos collant dans votre cerceau de broderie. Marquer doucement la couche supérieure, éplucher, et exposer la surface adhésive pour maintenir le gilet en toute sécurité.
3. Préparer et sécuriser le gilet
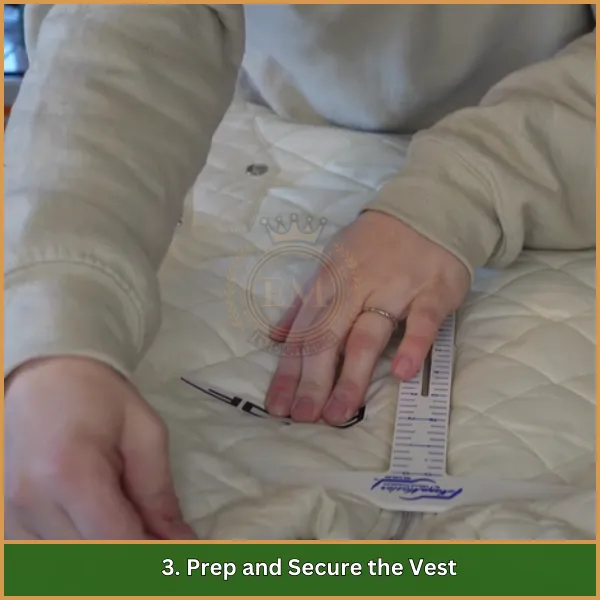
Fixez un stabilisateur coupé à l'arrière du gilet, L'assortir à la zone marquée. Pliez le gilet le long de la ligne médiane pour assurer la symétrie, puis lissez-le sur le stabilisateur collant. Sécuriser avec des épingles à l'extérieur de la zone de broderie.
4. Fixez le cerceau et ajoutez un topper
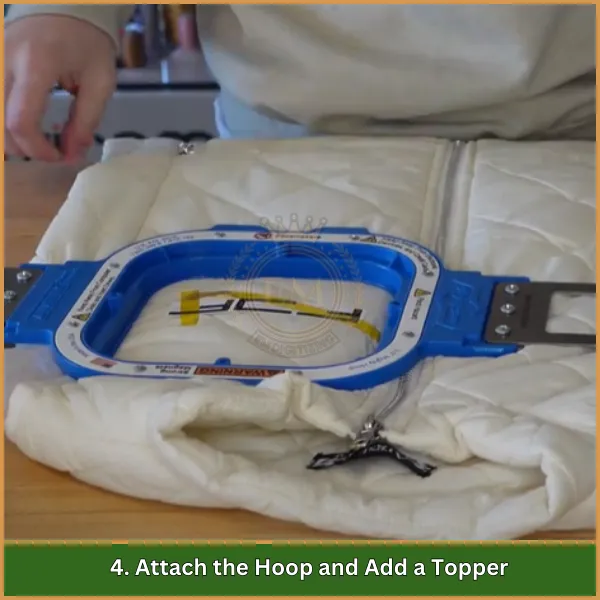
Montez le cerceau sur votre machine à broder, s'assurer que tout est correctement aligné. Si le tissu est texturé, Posez un haut à eau soluble sur la zone de conception pour les points croustillants.
5. Vérifiez votre orientation de conception
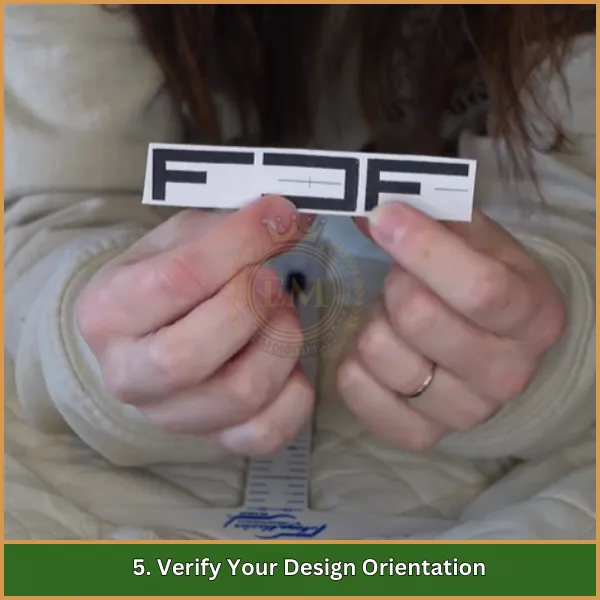
Avant de coudre, check your machine’;Écran S pour confirmer que le motifs de broderie pour le gilet gonflé sont correctement alignés sur vos marques sur le gilet. Ajustez au besoin.
6. Commencez à coudre le design
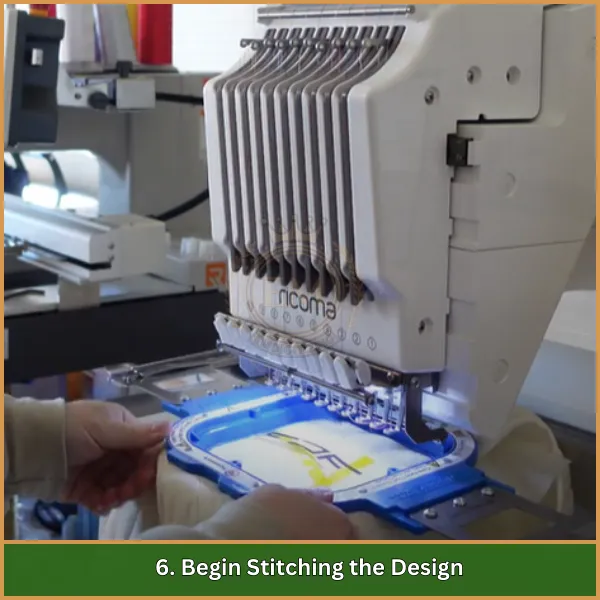
Commencez par coudre une boîte de plongeage si votre machine propose cette fonctionnalité - elle est idéale pour vérifier le placement. Une fois que tout est défini, Laissez la machine travailler sa magie sur votre conception.
7. Gardez un œil sur le processus
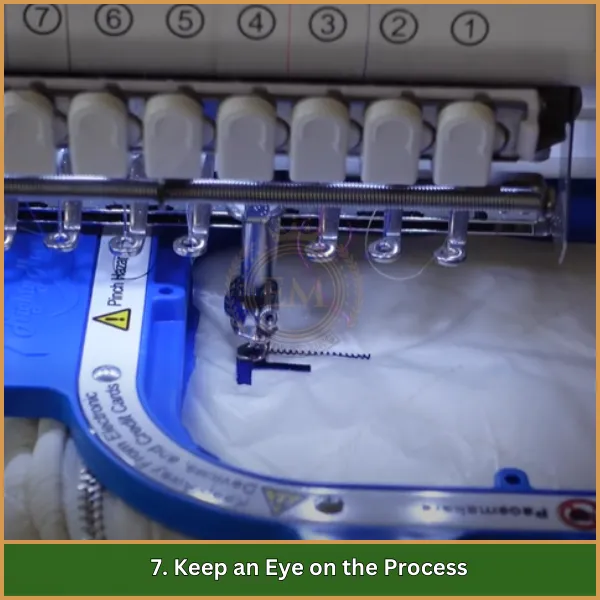
Surveillez attentivement la broderie pour assister à tous les problèmes comme les cassures de fil ou les points sautés avant qu'ils ne affectent le look final.
8. Retirer et nettoyer
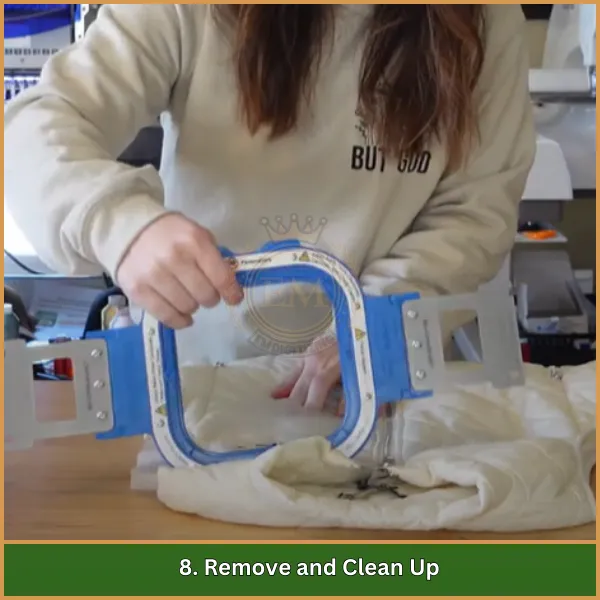
Une fois les coutures terminées, Retirez le gilet du cerceau. Déchirant soigneusement l'excès de stabilisateur et tous les points de plongée ou le dessus.
9. Touche finale finale
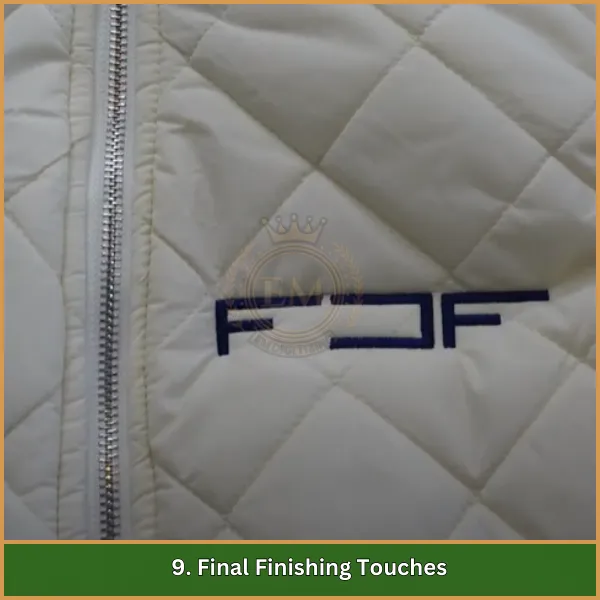
Coupez les fils lâches et vérifiez l'arrière de la conception pour la propreté. Lissez le tissu pour une finition polie.
10. Conseils pour prendre soin de votre gilet brodé
Lavez doucement votre gilet en fonction des instructions de soins en tissu et en fil. Évitez les méthodes de lavage sévères pour préserver la broderie pour les années à venir.
Conseils experts pour le succès de la broderie de gilet gonflé
Vous voulez perfectionner comment broder sur un gilet bouffant? Ces conseils vous guideront vers la réalisation de résultats impeccables à chaque fois:
- Choisir simple, Conceptions audacieuses: Évitez les modèles complexes. Choisissez des conceptions audacieuses avec des contours clairs pour vous assurer qu'ils se démarquent sur la surface soufflée.
- Le stabilisateur est la clé: Utilisez un stabilisateur coupé pour soutenir votre conception et empêcher l'étirement ou la déformation pendant et après la broderie.
- Utilisez un topper pour la texture: Si le tissu du gilet est moelleux, Ajouter un topper soluble dans l'eau pour garder les points visibles et même.
- Marquez le placement avec précision: Use a fabric marker to identify the design’;S Emplacement exact. Confirmer l'alignement pour éviter les résultats tordagés.
- Compter sur les fils de polyester: Durable et dynamique, Les fils de polyester manipulent le tissu plus épais du gilet et résistent à l'usure au fil du temps.
- Fixez bien votre tissu: Gardez le gilet plat et stable dans le cerceau. Utilisez un pulvérisation adhésif ou des pinces pour éviter le glissement pendant les coutures.
- Survenez pendant les coutures: Rester alerte pendant que la machine fonctionne. Cela vous permet de résoudre rapidement les problèmes ou les désalignements de tout le thread.
- Pratiquer d'abord: Testez votre configuration sur un morceau de tissu pour affiner les paramètres et éviter les erreurs sur le gilet réel.
- Protégez votre travail: Suivez soigneusement les instructions de lavage pour maintenir le dynamisme et la structure de votre conception brodée.
Conclusion
Maintenant, vous savez comment broder sur un gilet gonflé et créer de beaux dessins qui se démarquent. Avec les bonnes techniques et les bonnes outils, Vous pouvez rendre votre gilet professionnel et unique sans trop de tracas.
À la recherche de services de numérisation pour donner vie à vos idées de broderie? Emdigitisation est votre partenaire de confiance! Nous proposons des services de numérisation de qualité premium aux meilleurs tarifs, Assurer la livraison rapide et les résultats garantis. Plus, avec notre option aperçu, Vous pouvez voir à quoi ressemblera votre design avant de le finaliser.
Êtes-vous un nouveau client? Profitez d'une exclusivité 50% remise sur votre première commande! N'attendez pas - cliquez le lien ci-dessous et laissez EMnumérisation vous aider à transformer votre vision de broderie en réalité.
Commencez votre voyage de broderie maintenant!
FAQ
Oui, il est possible de broder directement sur un gilet gonflé. La clé est de stabiliser correctement le tissu avec un stabilisateur coupé et de s'assurer qu'il est lisse et plat pour éviter de se déplacer pendant les coutures.
Une taille 75/11 ou 80/12 La nette aiguille fonctionne mieux pour les gilets gonflés. Ces aiguilles percent facilement le tissu plus épais sans causer de dommages ou de points sautés.
Le fil de polyester est la meilleure option. C'est fort, longue durée, et tient bien contre l'usure, lavage, et les exigences de matériaux plus épais comme les gilets gonflés.
Vous n'avez pas besoin d'un cerceau spécial, Mais utiliser un cerceau qui correspond à votre conception parfaitement. Combinez-le avec des stabilisateurs collants ou des pulvérisations adhésives pour maintenir le tissu en place tout en couchant.
