Ajouter de la broderie aux chapeaux bobs est une façon amusante de les faire ressortir. Vous voulez apprendre à chapeaux de seau de broderie comme un pro? Vous êtes au bon endroit! Bien que leur forme puisse être difficile, avec les bonnes étapes, vous pouvez créer un chapeau à la fois personnel et professionnel.
Ce guide vous guidera tout au long du processus, de la préparation de votre chapeau à la couture de votre motif. Que vous fabriquiez pour vous-même ou pour quelqu'un de spécial, les chapeaux bobs brodés sont un moyen fantastique de mettre en valeur votre créativité. Plongeons-nous et donnons vie à vos idées!
Comment broder des chapeaux bob Un guide détaillé
Comprendre le chapeau bob
Il est connu pour son bord large et incliné distinctif, et a un design simple mais fonctionnel qui enveloppe toute la tête. Créé à l'origine pour protéger les travailleurs extérieurs, comme les pêcheurs et les agriculteurs, du soleil et de la pluie, il est devenu un incontournable de la mode polyvalent. Fabriqué à partir de tissus robustes comme le coton, jean, ou toile, et comportant souvent des œillets pour la respirabilité, le chapeau bob allie praticité et style, offrant des possibilités infinies de motifs et de couleurs pour les porteurs modernes.
Matériel nécessaire pour broder des chapeaux bob
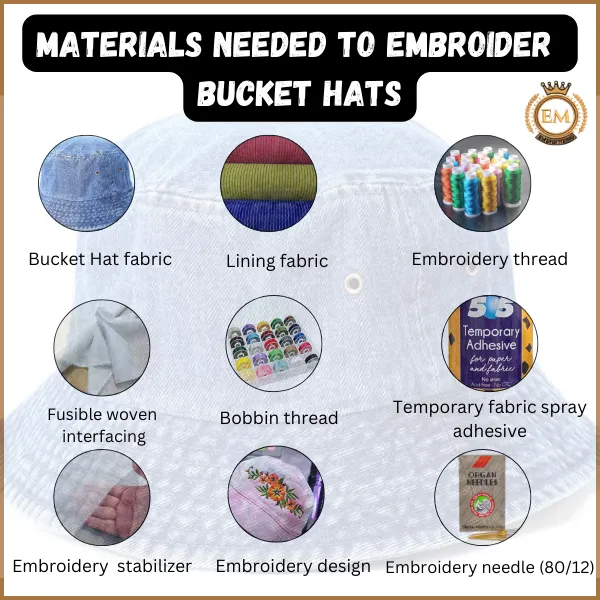
Pour faire votre broderie machine pour chapeaux de seau ressortir, avoir le bon matériel est essentiel. Here’;s a detailed list of everything you’;j'aurai besoin:
Tissu pour chapeau de seau: Sélectionnez un tissu robuste et facile à broder comme la toile de coton pour des résultats nets et une durabilité accrue.. Le denim ajoute une touche tendance, toucher robuste, tandis que le coton de poids moyen assure une douceur, finition confortable.
Tissu de doublure: Ajoutez du confort et du style avec des matériaux de doublure. Le coton respirant est parfait pour un usage quotidien, la polaire vous garde au chaud par temps froid, et le polyester satiné donne une sensation luxueuse pour les designs spéciaux.
Interface tissée fusible: This material reinforces the hat’;le bord, l'aidant à conserver sa forme. Une interface de poids moyen fonctionne bien pour trouver l'équilibre parfait entre structure et flexibilité.
Stabilisateur de broderie: Les stabilisateurs sont essentiels pour une broderie nette et précise. Les stabilisateurs découpés offrent le meilleur support pour les conceptions complexes, tandis que les stabilisateurs déchirables conviennent aux tissus plus légers.
Fil à broder: Pour les meilleurs fils pour la broderie de bobs, utiliser fort, fil de polyester grand teint pour créer des designs vibrants et durables. Des marques de confiance comme Isacord offrent une excellente qualité et une large gamme d'options de couleurs.
Fil de canette: Fil de canette léger, tel que 60 poids de polyester, assure des coutures lisses sans ajouter de volume.
Adhésif temporaire en spray pour tissu: Ce spray pratique aide à maintenir les tissus en place pendant que vous travaillez, rendant le processus de broderie plus facile et plus précis.
Aiguille à broder: Un 80/12 l'aiguille à broder est parfaite pour le travail. Il fonctionne parfaitement avec des fils plus épais et crée des, nettoyer les trous dans le tissu.
Conception de broderie: Le design est le point fort de votre bob! Choisissez-en un qui s'adapte bien à la zone de la couronne. Si vous n'avez pas de design prêt, EMdigitizing propose des offres professionnelles services de numérisation. Avec des prix abordables, délai d'exécution ultra rapide, et des résultats de qualité garantis, nous veillons à ce que votre projet soit parfait. Contacter EMdigitizing aujourd'hui!
Comment broder des chapeaux bob : un guide étape par étape
Concevoir le vôtre broder sur des chapeaux en tissu est un projet enrichissant! Suivez ce guide simple pour rendre votre chapeau bob unique et professionnel.
Marcher 1: Choisissez la bonne conception
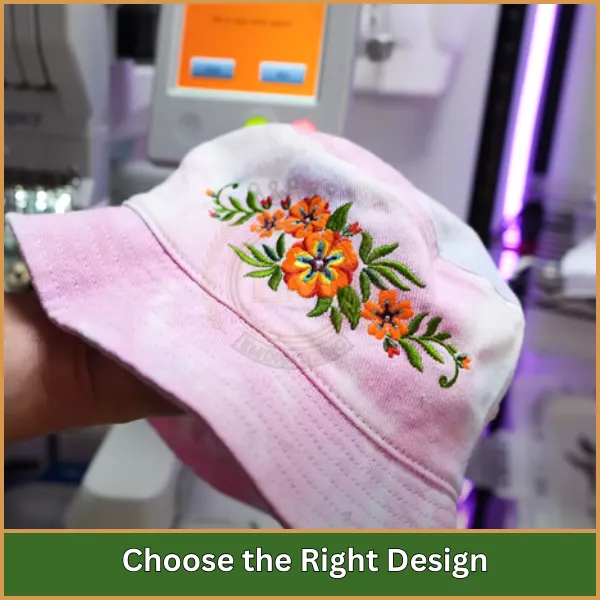
Commencez par sélectionner un modèle qui fonctionne bien sur les chapeaux bobs. Puisque la surface est courbe, optez pour des motifs plus petits et moins complexes pour garantir des résultats soignés. Redimensionner la conception pour s'adapter à la zone de broderie et l'enregistrer dans le format de fichier correct (comme DST ou PES) pour votre machine à broder.
Marcher 2: Préparer le chapeau
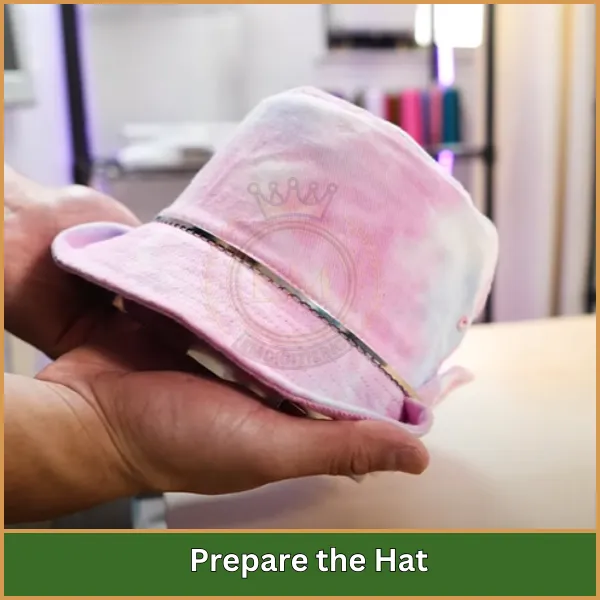
Posez le chapeau de seau à plat et décidez où vous voulez placer le design. Utilisez un stylo ou une craie soluble dans l'eau pour marquer le point central de la zone de broderie. Ajoutez un stabilisateur derrière la zone pour fournir un soutien supplémentaire. Le stabilisateur coupé fonctionne mieux pour les chapeaux avec des tissus plus doux.
Marcher 3: Sécuriser le chapeau dans le cerceau
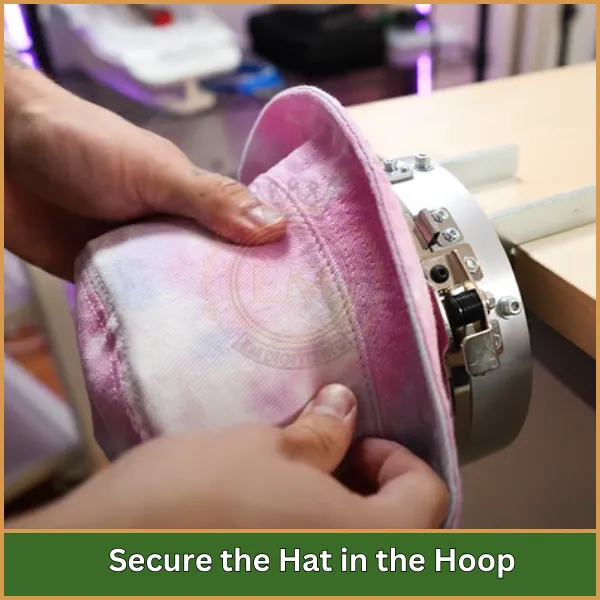
Contrairement aux tissus plats, Les chapeaux de seau peuvent être difficiles à cerceau. Utilisez un cadre de capuchon ou un petit cerceau conçu pour les chapeaux. Assurez-vous que le tissu est tendu et exempt de rides pour éviter les coutures inégales pendant le processus.
Marcher 4: Configurer votre machine à broder
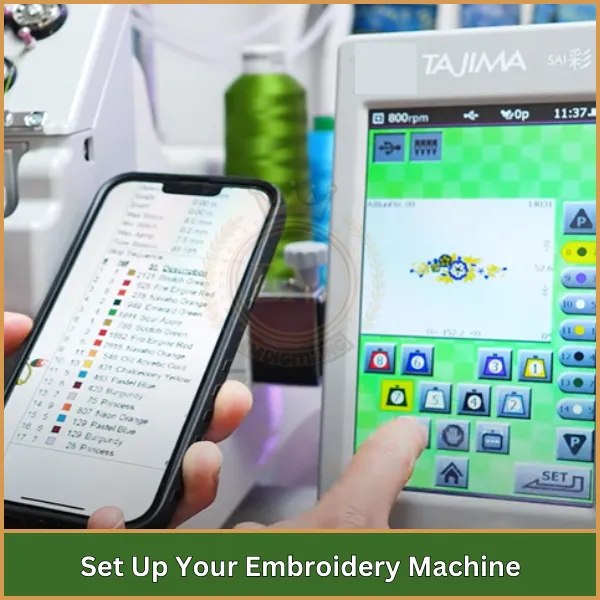
Chargez la conception dans votre machine et alignez l'aiguille avec le point central marqué sur le chapeau. Choisissez la correspondance des couleurs de fil et ajustez la vitesse en fonction du type de tissu. La vitesse inférieure est idéale pour que les chapeaux maintiennent la précision.
Marcher 5: Broder le design
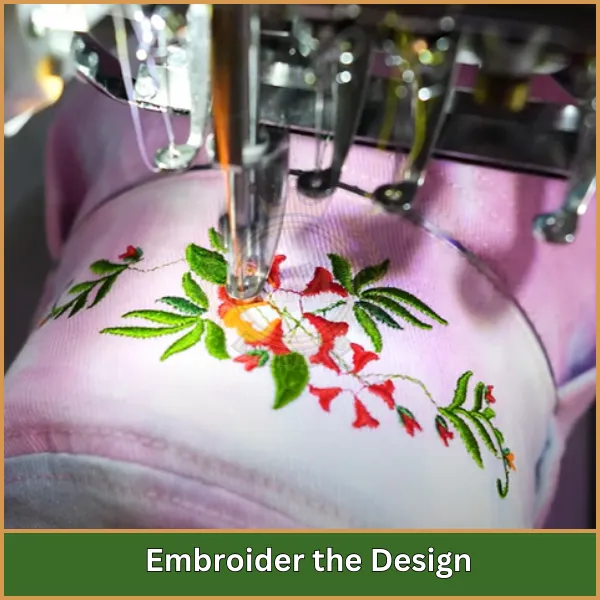
Commencez lentement le processus de broderie, Garder un œil sur la machine pendant qu'il couvre. Surveillez les pauses de fil ou les désalignements. Si nécessaire, Pause la machine pour effectuer des ajustements et assurer que la conception reste centrée.
Marcher 6: Touches finales
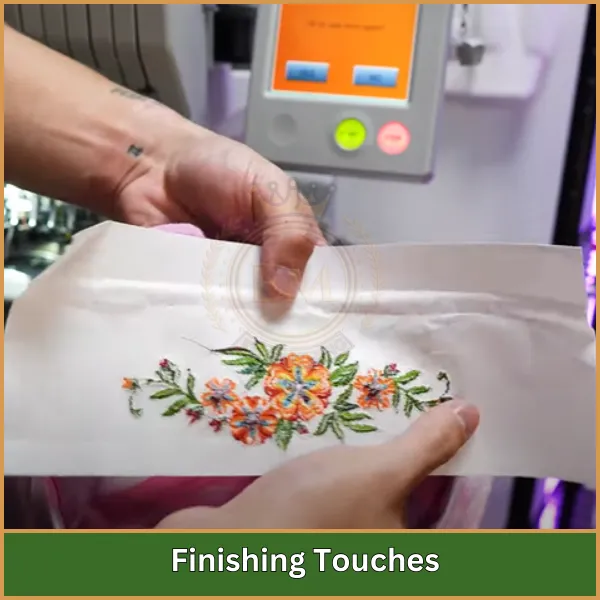
Une fois la broderie terminée, Retirez doucement le cerceau et le stabilisateur. Coupez soigneusement tous les fils lâches. S'il y a des résidus du stabilisateur, Rincez-le ou reposez la zone légèrement à l'aide d'un chiffon pressant pour lisser les points.
Conseils utiles pendant des chapeaux de seau broder
Voici quelques utiles Conseils de broderie pour les chapeaux de seau Pour faire de votre projet un succès:
- Pour les meilleurs résultats, Utilisez un stabilisateur à larmes moyennes ou collant. Cela fournit une prise en charge pendant les coutures sans ajouter de vrac inutile au tissu.
- Vérifiez toujours le tissu pour les rides ou les plis avant de cerceau. Laissez-le se courber naturellement pour assurer une broderie lisse et éviter les distorsions.
- Gardez votre conception de broderie dans une taille de 2.5 pouces de hauteur et 4 pouces de largeur. Cette taille est idéale pour l'espace limité sur les chapeaux de seau et garantit que la conception reste claire et détaillée.
- Restez attentif pendant que la machine se couvre pour s'assurer que rien ne se fait prendre dans l'aiguille ou le pied de presse. Être vigilant vous permet de vous ajuster si des problèmes surviennent rapidement.
- Avant de commencer le chapeau réel, Essayez de coudre la conception sur un morceau de tissu avec des propriétés similaires. Cela vous aide à vérifier la tension et le placement de la conception.
- Assurez-vous que le chapeau est serré et se trouve à plat contre le stabilisateur. Fixez fermement le tissu avec des clips ou des épingles pour éviter de se déplacer pendant la broderie.
- Après avoir terminé la broderie, Ajouter des rangées de couture autour du bord pour un look poli. Cela offre également une stabilité supplémentaire, Assurer le chapeau maintient sa forme.
En appliquant ces conseils, Vous pouvez obtenir une broderie magnifique et professionnelle sur vos chapeaux de seau!
Conclusion
Faire des chapeaux de seau brodés est un excellent moyen d'ajouter une touche personnelle à votre style. Un bon design peut transformer un simple chapeau de seau en quelque chose de spécial et d'unique.
Si vous avez besoin d'aide pour créer des conceptions, Numérisation EM est là pour vous! Nous créons des modèles prêts pour la broderie qui fonctionnent parfaitement pour Chapeaux de seau à broder. Nos services sont abordable, super-rapide, Et nous garantissons Résultats de haute qualité. Vous obtiendrez également un Aperçu de votre conception Avant qu'il ne soit finalisé, donc tu sais exactement à quoi t'attendre.
Si c'est votre première fois avec nous, vous apprécierez un 50% rabais sur votre première commande! Laisser Numérisation EM Prenez soin de vos créations pendant que vous vous concentrez sur la fabrication de chapeaux de seau incroyables.
FAQ
Vous aurez besoin d'une machine à broder, stabilisateur, fil, bobine, et une aiguille de broderie. En outre, Un cerceau ou un cadre qui peut maintenir le chapeau en toute sécurité est essentiel pour un processus de broderie lisse.
Pour gérer la forme incurvée, Fixez le chapeau étroitement dans le cerceau ou utilisez une pince. Assurez-vous que le tissu est lisse, et repliez le bandeau pour éviter les interférences pendant les coutures.
Les conceptions simples et petites fonctionnent mieux. Choisissez des modèles qui s'inscrivent 2.5 pouces de haut et 4 pouces de large pour correspondre à la plus petite zone de broderie sur des chapeaux de seau.
