Êtes-vous fasciné par les riches, Aspect texturé de la broderie en relief? Si vous voulez essayer de faire le vôtre, you’;Il faut commencer par apprendre à numériser vos conceptions.
Dans ce guide, Nous vous montrerons étape par étape comment préparer vos conceptions pour la broderie en relief de la machine. Nous vous aiderons à choisir le bon logiciel et à vous montrer comment rendre vos conceptions parfaites pour les machines à broder.
Plongeons et commençons à créer un projet en relief incroyable ensemble!
Comment numériser une broderie en relief| Guide détaillé
Qu'est-ce que la broderie en relief?
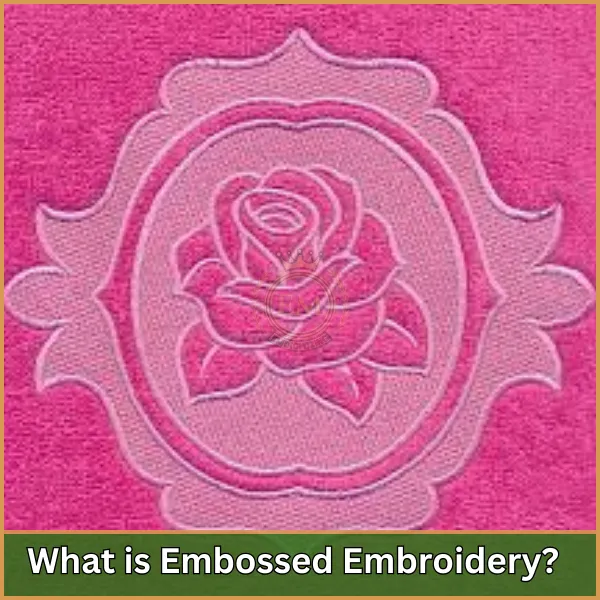
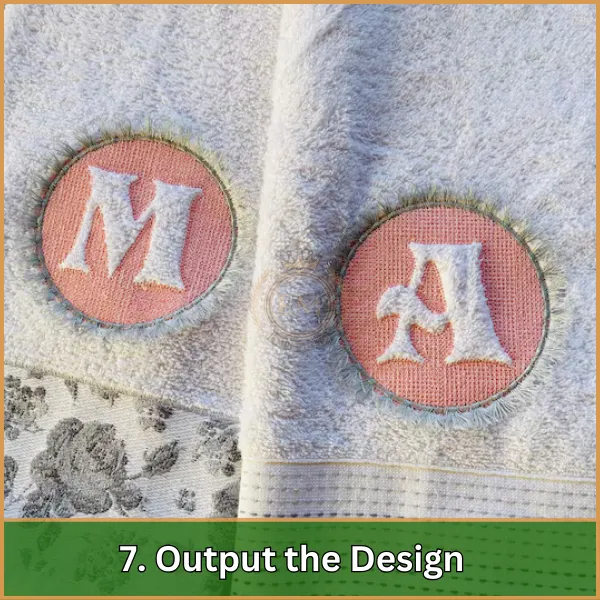
Il est également connu sous le nom broderie bouffée, est une technique qui crée une apparence tridimensionnelle sur le tissu. Ceci est réalisé en couchant des fils serrés sur un matériau de base, Souvent en mousse, qui élève la conception de la surface, Donner un soulevé, effet texturé.
Ce style est particulièrement populaire dans les articles décoratifs comme les monogrammes sur les serviettes, casquettes, et d'autres tissus où une touche d'élégance et d'intérêt tactile est souhaitée.
L'effet en relief améliore non seulement l'attrait esthétique, mais ajoute également une caractéristique dimensionnelle unique qui la différencie de la broderie plate traditionnelle.
Exigences logicielles pour la numérisation des conceptions de broderie en relief
Pour numériser en relief, La sélection du bon logiciel est cruciale car elle affecte à la fois le processus de conception et le résultat final.
Voici les exigences et fonctionnalités des logiciels clés à rechercher:
Logiciel de numérisation de broderie
Ce type de logiciel vous permet de créer, modifier, et gérer motifs de broderie spécifiquement. Voici quelques options supérieures:
- Wilcom: Un logiciel de numérisation de broderie puissant qui vous permet de créer des conceptions en relief complexes. Il offre une large gamme de modèles de remplissage et de paramètres pour réaliser la texture et la profondeur souhaitées.
- Embird: Un autre choix populaire pour la numérisation de broderie en relief. Il fournit des outils conviviaux pour créer des modèles de remplissage personnalisés et ajuster les paramètres de point pour produire l'effet en relief.
- Bernina brodery Software v8.1: Caractéristiques spécialement conçues pour la numérisation des monogrammes en relief. Il vous permet de créer une grille en filet de points autour de la lettre, Laissant la lettre elle-même non pas pour créer l'effet gonflé.
- Conception PE 11: C'est un avancé logiciel de broderie qui prend en charge la conception, conversion, édition, et des modèles de broderie à balayage. Il propose une gamme d'outils pour créer des conceptions en relief, y compris la possibilité de spécifier plusieurs directions de couture et d'optimiser l'ordre de couture.
Logiciel de conception graphique
Avant la numérisation, Vous devrez peut-être préparer ou créer votre œuvre. Le logiciel qui peut gérer les graphiques vectoriels est idéal:
- Adobe Illustrator: Excellent pour créer des graphiques vectoriels précis et évolutifs qui peuvent être exportés directement dans un logiciel de numérisation.
- CorelDRAW: Un autre éditeur graphique vectoriel robuste, connu pour sa facilité d'utilisation dans la disposition et la conception, Convient pour préparer des conceptions de broderie.
Compatibilité des fichiers
Assurez-vous que le logiciel peut exporter vers des formats compatibles avec votre Machine à broder (par exemple., PSE, heure d'été, EXP). Cette compatibilité est cruciale pour le transfert et les coutures transparentes.
3D Aperçu et outils d'édition
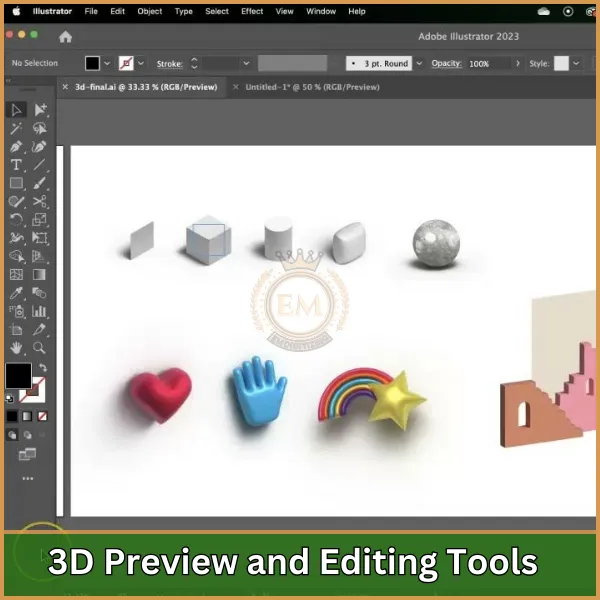
Certains avancés logiciel de numérisation Peut proposer des outils d'aperçu 3D qui aident à visualiser les effets en relief avant que la conception ne soit physiquement brodée.
Cette fonction est particulièrement utile pour ajuster la hauteur et la profondeur des zones en relief.
Prise en charge des éléments supplémentaires
Le logiciel devrait prendre en charge l'inclusion de divers éléments comme les frontières, texte, et d'autres caractéristiques décoratives qui complètent les dessins en relief.
Pour numériser les conceptions de broderies en relief en relief, Vous aurez besoin d'un logiciel de broderie spécialisé qui prend en charge des fonctionnalités avancées comme les remplissages personnalisés et la manipulation de points. Certaines options populaires incluent:
Numérisation de la broderie en relief | Processus étape par étape
Pour numériser les conceptions en relief en utilisant Logiciel Wilcom, Suivez ces étapes détaillées:
1. Configuration de votre conception
- Open Wilcom brodery Studio: Commencez par lancer le logiciel et créez un nouveau fichier.
- Importez votre œuvre: Importez l'œuvre d'art ou le logo que vous souhaitez vous glisser (Vous pouvez également utiliser des conceptions de broderies en relief gratuites de Google). Vous pouvez utiliser des fichiers vectoriels pour des résultats plus propres ou des images bitmap si vous tracez à la main dans le logiciel.
Rappelles toi: Si vous n'avez pas de fichiers vectoriels prêts, Nous pouvons aider! Nous convertissons n'importe quel design en formats vectoriels de haute qualité qui sont parfaits pour broderie à la machine.
2. Créer la couche de base
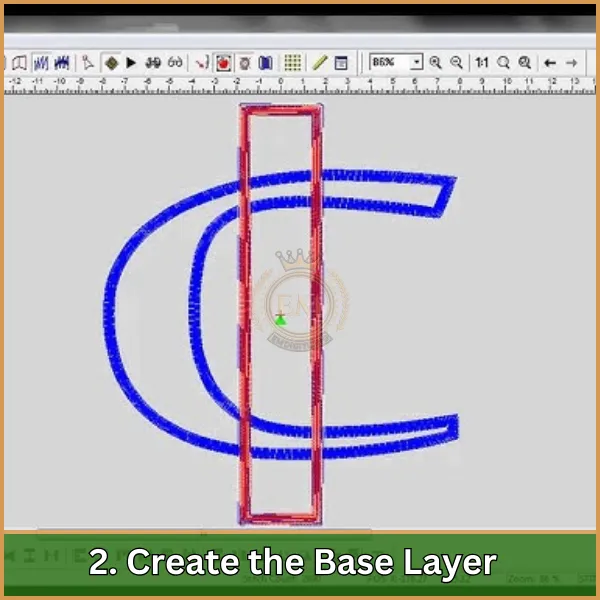
- Dessiner des sections: Utilisez les outils de dessin pour créer les sections où vous souhaitez l'effet de gaufrage. Il est important de retracer avec précision les zones qui seront soulevées.
- Paramètres d'entrée: Choisissez un point de remplissage plat pour la couche de base. Cette couche servira de fondation sur laquelle la mousse sera placée.
3. Ajouter l'effet en relief
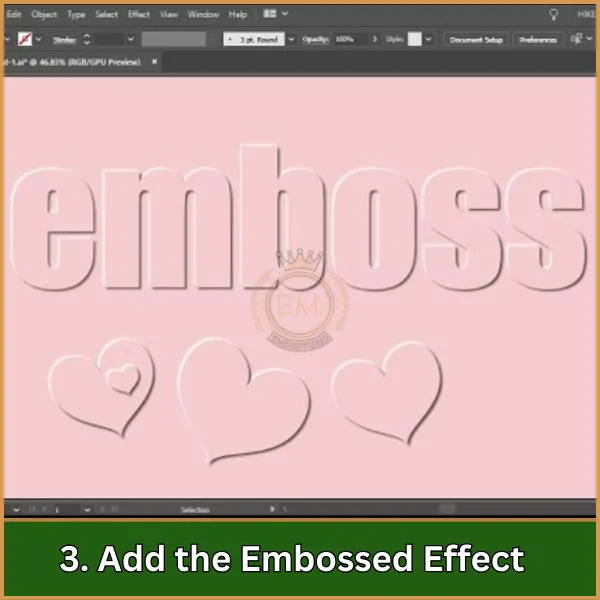
- Superposition: Placer une nouvelle couche sur le dessus de la couche de base où l'effet de gaufrage apparaîtra. C'est là que vous ajouterez la mousse.
- Type de point: Sélectionnez un point de satin surélevé ou une option similaire conçue pour le gaufrage. Réglez les réglages de densité et de rémunération de traction pour s'adapter à l'épaisseur de la mousse.
- Placement de mousse: Numérisez la ligne de placement pour la mousse. Cela indique à la machine à broder où positionner la mousse avant de la coudre dessus.
4. Numériser la bordure
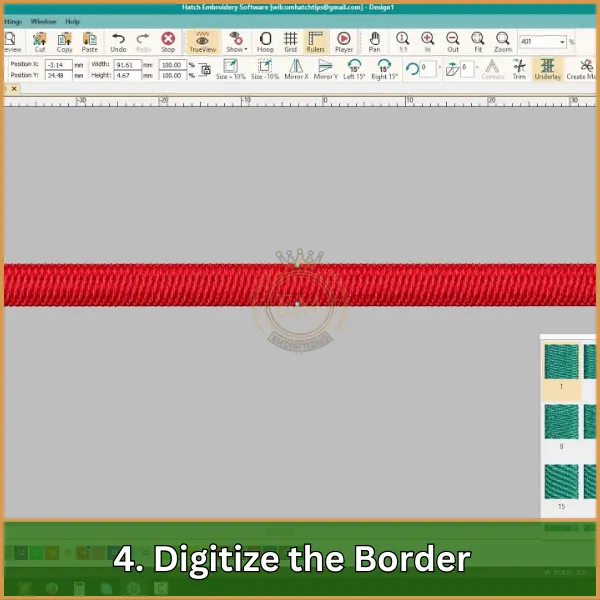
- Point de frontière: Une fois les zones surélevées conçues, Ajouter un point de bordure autour des sections en relief. Cela aide à sécuriser la mousse et à définir clairement les bords de la conception.
- Paramètres: Utilisez une bordure de zigzag ou de satin dense pour vous assurer que la mousse est entièrement couverte et les bords sont soignés.
5. Ajustements finaux
- Longueur de tension et de point de fil: Ajustez le tension du fil et la longueur du point pour s'assurer que les points couvrent complètement la mousse sans la couper.
- Trajectoire: Planifiez soigneusement le chemin de couture pour minimiser les points de saut et assurer une finition propre.
6. Simuler et réviser
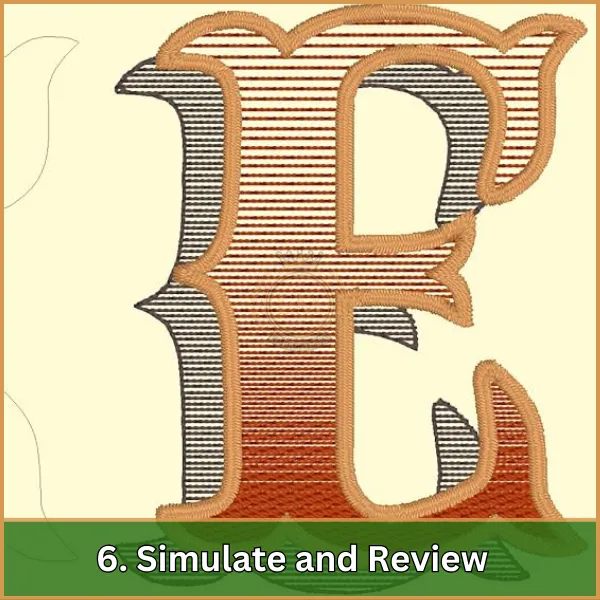
- 3D aperçu: Utilisez la fonction d'aperçu 3D de Wilcom pour voir à quoi ressemblera votre conception lorsque. Vérifiez les zones où la mousse peut se présenter à travers ou où des ajustements pourraient être nécessaires.
- Ajustez si nécessaire: Faire les ajustements nécessaires au type de point, densité, ou placement des éléments basé sur la simulation.
7. Sortir la conception
- Enregistrer le fichier: Enregistrez votre conception dans un format compatible avec votre machine à broder.
- Transférer vers la machine: Transférer le fichier de conception à votre machine à broder, prêt pour la broderie.
Conclusion: Démarrez maintenant le processus de broderie en relief!
Avec ce guide complet, Vous avez maintenant une solide compréhension de la façon de Numériser les conceptions pour la broderie de machine en relief. À présent, that you’;Re prêt à commencer à numériser vos conceptions, Vous pouvez commencer à expérimenter les techniques de gaufrage.
Cependant, Si vous trouvez le processus de numérisation difficile ou d'investir dans des logiciels trop coûteux, there’;s pas besoin de s'inquiéter.
À EMnumérisation, nous offrons services de numérisation de broderie à des tarifs abordables. Nous fournissons de la haute qualité, Numérisation de conception en relief adaptée à vos exigences spécifiques avec un délai d'exécution rapide.
De plus, pour votre première commande, we’;je suis ravi d'offrir un 50% rabais! So don’;Théitez -, aboutit à nous et laissez-nous vous aider à donner vie à vos projets de broderie en relief avec professionnalisme et facilité.
FAQ
C'est une technique qui crée un, Design texturé sur le tissu en couchant autour d'un motif zone, Rendre le design lui-même plus bas que les points environnants, donnant ainsi un regard en relief.
Se gâter les serviettes, d'abord, Choisissez un dense, Conception surélevée et stabilisateur approprié pour le tissu de serviette. Alors, hoop the towel with a water-soluble topping to ensure stitches sit on top of the towel’;t pile, broder le design, et enfin, Retirez le stabilisateur et la garniture en fonction des instructions du produit.
