Si sus proyectos de fieltro a menudo terminan en tela arrugada o costuras desordenadas, no te preocupes no estás solo. bordado de fieltro puede parecer simple, pero incluso los cosedores experimentados pueden tener problemas si pasan por alto las cosas pequeñas..

En esta guía, Lo guiaremos a través de los pasos esenciales que marcan la diferencia a la hora de estar limpio., resultados profesionales. Ya sea que esté usando comprado en la tienda bordado de fieltro equipos o elaborar diseños personalizados, Estos consejos te ayudarán a mejorar tu juego de bordado con confianza..
Cosas que debes saber antes de comenzar a sentir bordado
1. No pase por alto la elección de la aguja: importa más de lo que cree
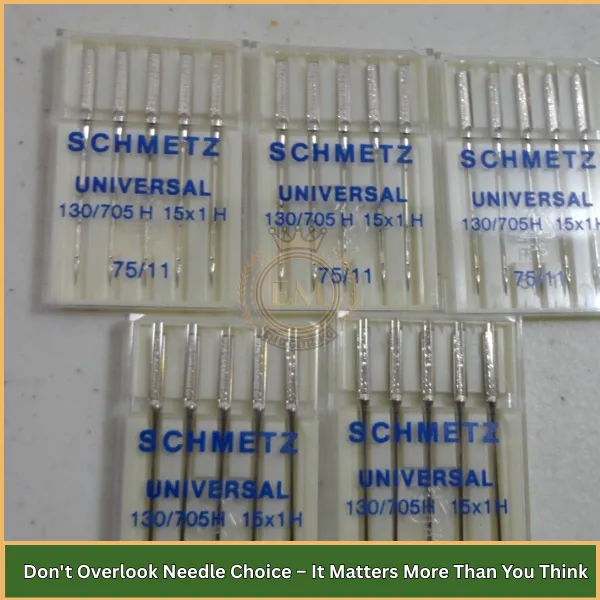
Hablemos primero de herramientas. El fieltro tiene una textura diferente a la del algodón o el lino., por lo que la aguja correcta es fundamental para una costura limpia.
Para fieltro bordado, optar por un 75/11 o 80/12 aguja de bordar.
Estos tamaños perforan el fieltro grueso suavemente sin rasgarlo ni provocar saltos de puntadas..
Una aguja demasiado fina puede romperse bajo presión., mientras que uno más grueso puede dejar agujeros visibles y distorsionar tu diseño..
Utilice agujas diseñadas para bordar a máquina, ya que tienen puntas más afiladas y ojos más suaves., haciéndolos ideales para navegar por las fibras de fieltro sin deshilachar el hilo.
2. Elegir el mejor hilo para bordar fieltro
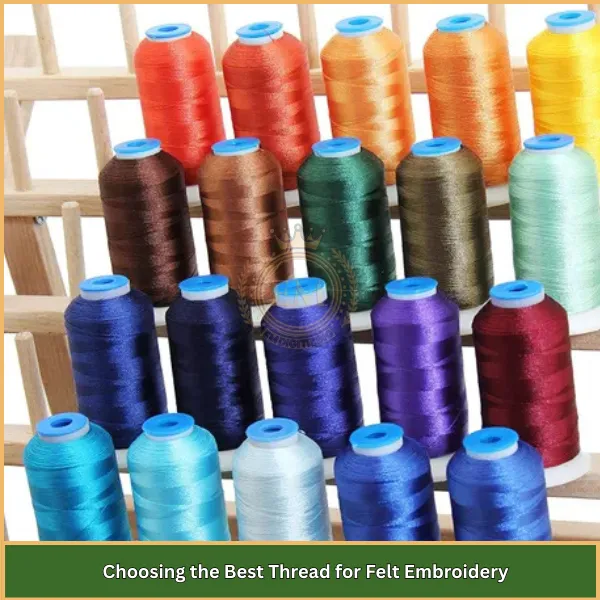
El hilo incorrecto puede hacer que su diseño se vea borroso, aburrido, o incluso desmoronarse con el tiempo.
Para una apariencia profesional, Elija hilo de poliéster de alta calidad..
It’;es duradero, mantiene bien el color, y se desliza fácilmente a través del fieltro sin romperse.
El hilo de rayón ofrece un brillo hermoso pero no es tan fuerte., mientras que el hilo de algodón tiende a engancharse o romperse, especialmente durante costuras densas en sintió diseños de bordado.
Para mejores resultados, ir con 40 poliéster peso hilo de bordar.
Equilibra fuerza y suavidad., dándole contornos nítidos y acabados vibrantes en fieltro.
3. ¿Es su tela de fieltro la adecuada para bordar??
No todos los fieltros son igualmente adecuados para bordar. Si bien puede parecer similar, diferentes tipos varían en calidad, textura, y lo bien que manejan las costuras. Elegir el fieltro incorrecto puede provocar arrugas., distorsión, o incluso rotura del hilo.
Here’;Es un desglose rápido de los tipos principales.:
Fieltro Acrílico
- Características: Hecho de fibras sintéticas y ligeramente rígido al tacto..
- ventajas: Muy asequible, ampliamente disponible, viene en muchos colores.
- Contras: Pastillas fácilmente, no duradero para costuras densas, y puede estirarse o distorsionarse.
Fieltro de lana
- Características: Hecho de fibras naturales, grueso, denso, y suave.
- ventajas: Estructura fuerte, sujeta bien los puntos, da un acabado limpio y profesional, de larga duración.
- Contras: mas caro, La variedad de colores es limitada en comparación con las opciones sintéticas..
Fieltro mezclado
- Características: Una mezcla de lana y fibras sintéticas..
- ventajas: Ofrece un equilibrio entre calidad y asequibilidad., más fácil de encontrar que la lana pura.
- Contras: La textura puede ser inconsistente, no tan resistente como el fieltro de lana completo, y puede desgastarse con el tiempo.
Consejo: Para principiantes, fieltro de lana ofrece la mejor experiencia de costura. If you’;tenemos un presupuesto más ajustado, el fieltro mezclado es una alternativa decente. Simplemente evite el fieltro acrílico para proyectos a largo plazo, no vale la pena frustrarse..
4. Cómo manejar diseños detallados en fieltro?
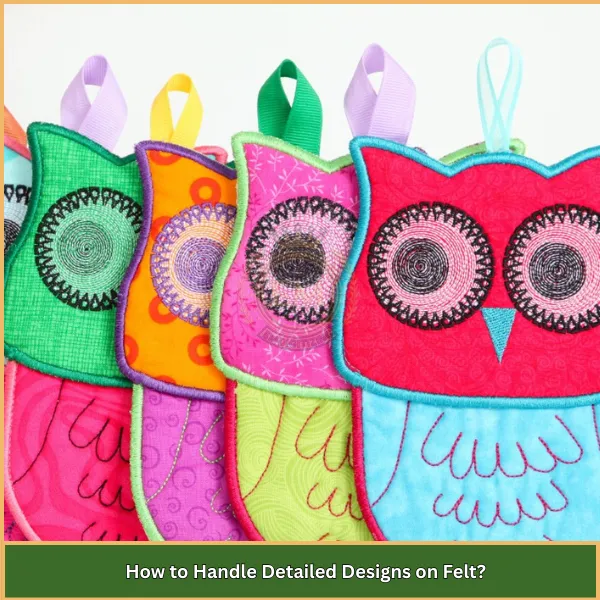
El fieltro puede sujetar bien los puntos., pero no funciona bien con diseños demasiado complejos.
Los detalles finos, como texto pequeño o rellenos ajustados, pueden distorsionarse o agruparse fácilmente, especialmente si el diseño no fue digitalizado específicamente para fieltro.
Nuestro consejo? Quédate en negrita, formas simples y tenga en cuenta el espacio.
Si no estás seguro, ZDigitizing puede convertir su obra de arte en un archivo optimizado para bordado en fieltro. Ajustaremos el tipo de puntada, densidad, y diseño para obtener resultados impecables sin importar la complejidad del diseño.
5. ¿Debería utilizar un estabilizador??
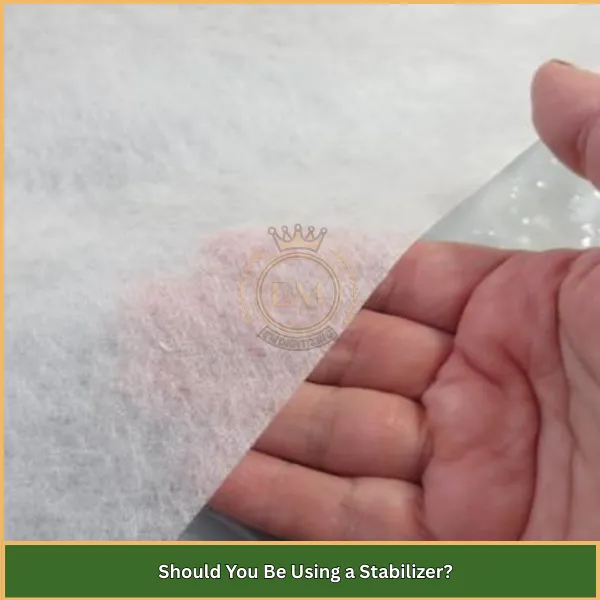
Esta pregunta aparece mucho en el bordado de fieltro mundo, y la respuesta depende de tu proyecto.
Es posible que el fieltro grueso no siempre necesite un estabilizador. Pero si tu diseño es pesado, largo, o involucra múltiples capas, agregar uno puede evitar deformaciones y deslizamientos.
Para estas situaciones, un estabilizador desprendible de peso medio es perfecto. Ofrece soporte sin endurecer demasiado la tela..
If you’;volver a trabajar con fieltro más fino o más suave, El uso de estabilizadores se vuelve más importante.. It’;También es útil cuando tu técnica de encuadre no mantiene las cosas seguras..
Consejo rápido: Si se trata de detalles bordado de fieltro, no te saltes el estabilizador. Es su seguro para obtener buenos resultados.
6. Dominar el proceso de colocación del aro (Sin arruinar tu fieltro)
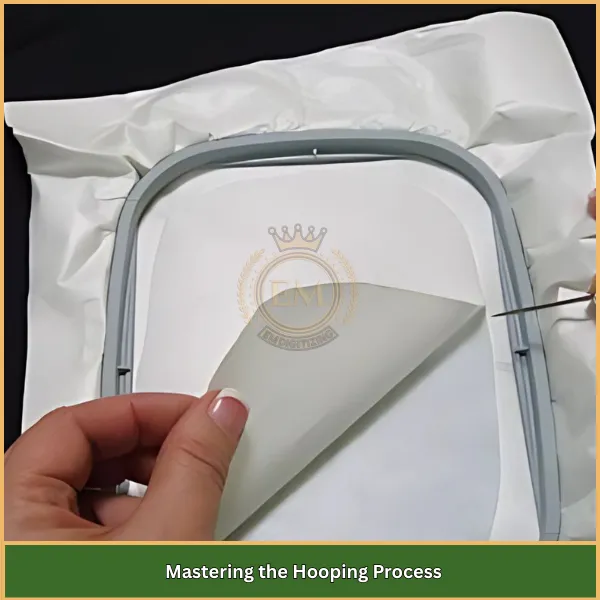
Felt no se recupera bien del estiramiento excesivo, así que querrás colocarlo suavemente.
Colóquelo sobre su estabilizador, coloque el aro interior debajo, y baje el aro exterior sin tirar.
Debería sentirse cómodo, no apretado. Si jugar directamente se siente arriesgado, prueba el método flotante: aro solo el estabilizador, luego coloque el fieltro encima usando un adhesivo temporal.
Este método funciona muy bien para artículos pequeños y tipos de fieltro delicados..
Elige el aro más pequeño que se adapte a tu diseño, usually a 4″;x4″; or 5″;x7″; aro. Esto minimiza los cambios y garantiza que la tela se mantenga estable en todo momento..
This technique works whether you’;Re haciendo tradicional o máquina. bordado de fieltro.
Consejos adicionales para obtener mejores resultados
quiero limpiador, bordado más nítido? Siga estos últimos consejos profesionales:
- Siempre haga una puntada de prueba en fieltro de desecho antes de coser su proyecto final..
- Ajuste la densidad de puntada en su software o pídale a su digitalizador que la modifique para sentirla..
- Evite apretar demasiado los hilos al recortar, ya que puede hacer que la tela se arrugue..
- Mantenga su máquina limpia. El fieltro arroja pequeñas fibras que pueden atascar el área de la bobina..
- Utilice tijeras de bordar afiladas para recortar los puntos de salto y obtener un acabado más prolijo..
Estos consejos se aplican ya sea que estés creando una pieza desde cero o usando elementos prefabricados. fieltro bordado hojas de un kit.
Pensamientos finales
bordado de fieltro puede ser increíblemente satisfactorio cuando te tomas el tiempo para prepararte bien. Desde seleccionar el fieltro y el tamaño de aguja correctos hasta elegir el mejor hilo y usar estabilizadores sabiamente, cada paso le ayudará a crear un trabajo pulido..
And if you’;¿Alguna vez tienes dudas sobre el aspecto del diseño?, deja que EMdigitalizing te ayude. Ofrecemos servicios de digitalización expertos diseñados para fieltro y otros tejidos especiales.. Si tu idea es mínima o muy detallada, Nos aseguraremos de que cose perfectamente..
Listo para darle vida a tu diseño en fieltro? Ordenar ahora Deje que EMdigitizing lo convierta rápidamente en una obra maestra lista para máquinas, preciso, y bellamente limpio.
preguntas frecuentes
Sí, especialmente para bordado a maquina. Un estabilizador desprendible de peso medio funciona para la mayoría de los proyectos, mientras que los diseños densos o el fieltro suave pueden necesitar un adorno recortado o soluble en agua..
De nada! El fieltro es firme y apto para principiantes., lo que lo hace perfecto para bordado a mano y a máquina cuando se coloca y estabiliza correctamente.
Utilice papel de calco para trazar el diseño impreso., luego fíjelo con alfileres al fieltro y cosa a través de ambas capas.. Retire el papel con cuidado después de coser..
El fieltro de lana es la mejor opción para obtener resultados limpios y duraderos.. La mezcla de lana es una buena alternativa económica., mientras que el fieltro acrílico debe evitarse para trabajos detallados..
Un adorno soluble en agua es ideal para evitar que las puntadas se hundan en el vellón.. Combínelo con respaldo recortable o desprendible para mayor estabilidad.
El fruncimiento ocurre cuando el estabilizador no es lo suficientemente fuerte. Pruebe con un estabilizador más pesado o fusible y coloque ambas capas firmemente sin estirar el fieltro..
Sí, pero suavemente a mano usando agua fría y jabón suave.. Evite fregar o lavar a máquina para evitar que se encoja o pierda forma.
Algunas veces, pero puede mostrar agujeros o marcas. Para obtener los resultados más limpios, especialmente para regalos o piezas finales, empezar con un nuevo trozo de fieltro
