Aprender a diseñar un logotipo para bordar significa pensar en cómo quedará el diseño en puntadas en lugar de en una pantalla.. Con hilo, Las formas simples y los colores llamativos tienden a funcionar mejor., mientras que los pequeños detalles pueden perderse.
Esta guía le brinda siete consejos útiles para elegir los colores correctos., fuentes, y elementos de diseño para garantizar que su logotipo bordado luzca nítido y profesional. Siguiendo estos pasos, Podrás crear un logotipo que destaque maravillosamente en cualquier tejido.!
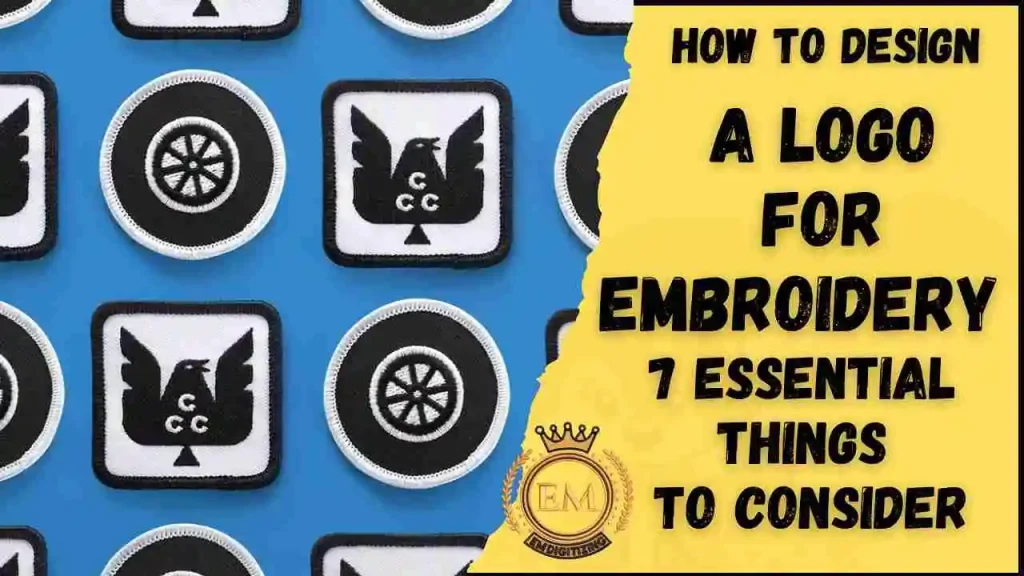
Cómo diseñar un logotipo para bordar: 7 Cosas esenciales a considerar
Cómo diseñar un logotipo para bordar | Consejos esenciales
Al crear un logotipo para bordar, Hay varios factores clave a considerar para garantizar la mejor calidad y claridad..
- Simplicidad y claridad
- Elegir los colores correctos
- Selección de fuente adecuada
- Tamaño y ubicación de elementos
- Evitar detalles finos
- Tipo de puntada y densidad
- Pruebas y pruebas
1. Simplicidad y claridad

Al diseñar un logo para bordar, la simplicidad es clave. A diferencia de los logotipos digitales, Los logotipos bordados se basan en técnicas de costura que hacen que los diseños demasiado complejos sean difíciles de lograr con precisión.. Los logotipos simplificados garantizan que cada elemento sea claro y reconocible., incluso desde la distancia.
Esta claridad es esencial en el bordado., ya que los detalles finos pueden perderse cuando se traducen al hilo. Un simple, El diseño atrevido también brinda un profesional, acabado pulido, haciéndolo ideal tanto para superficies grandes como chaquetas como para superficies pequeñas como gorras.
2. Elegir los colores correctos

Los colores del logotipo juegan un papel crucial en los logotipos bordados.. Es importante seleccionar algunos colores vibrantes y atrevidos., ya que demasiados colores pueden generar mayores costos de producción y es posible que no se mezclen bien al coser.
Además, ciertos colores de hilo pueden aparecer diferentes cuando se bordan, por eso es aconsejable considerar el contraste entre los colores del hilo y la tela.. Si su logo será bordado en múltiples telas, Pruebe cómo se traduce cada color en diferentes fondos para garantizar la visibilidad y la coherencia..
3. Selección de fuente adecuada
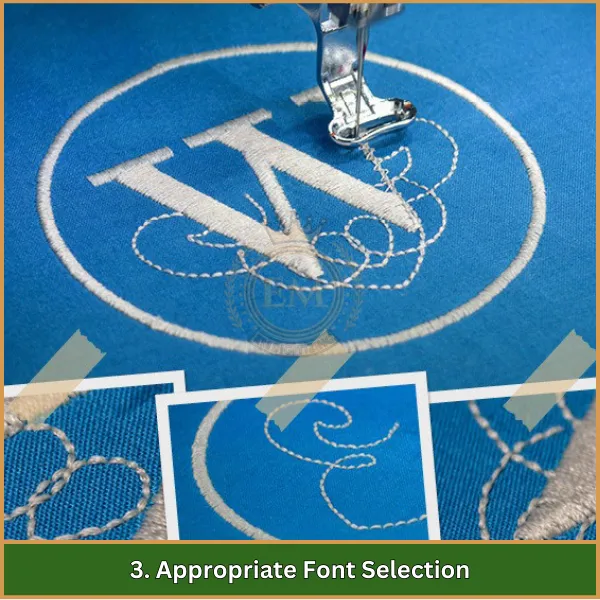
La fuente de un logotipo debe ser fácilmente legible., especialmente en tamaños pequeños. evitar adelgazar, fuentes intrincadas, ya que pueden resultar difíciles de leer una vez bordados. Para mayor claridad, elige negrita, fuentes limpias que mantienen la legibilidad en varios tamaños de logotipos.
Considere también los límites de tamaño del bordado., ya que las fuentes demasiado pequeñas pueden verse borrosas. usando simples, Las fuentes en negrita garantizan que los elementos de su texto sean tan impactantes como el diseño visual., ya sea en un parche o directamente en la ropa.
4. Tamaño y ubicación de elementos
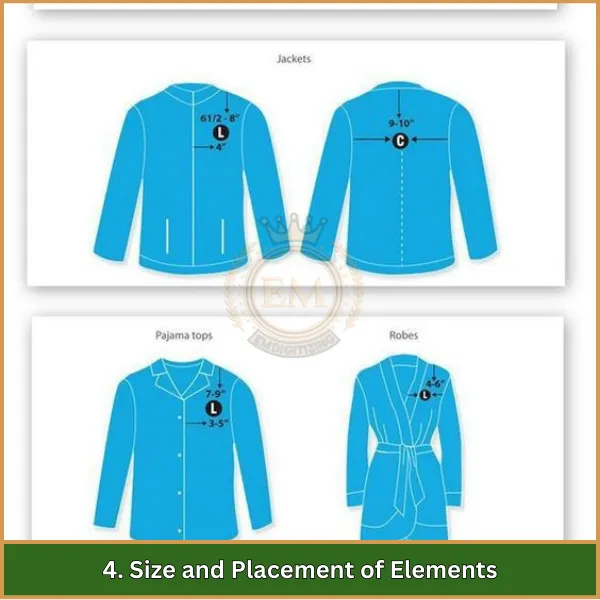
Es esencial prestar especial atención al tamaño del logotipo y a la ubicación de los elementos. diseñar un logo para bordar. Cada elemento debe estar bien posicionado y equilibrado., especialmente cuando el logotipo se bordará en artículos más pequeños.
Asegúrese de que los detalles esenciales sean lo suficientemente grandes como para permanecer visibles. Considere ajustar el espaciado y la alineación de cada componente para crear un diseño armonioso que se traduzca efectivamente en la tela.. Esta ubicación equilibrada mejorará la apariencia general del logotipo en varios artículos..
5. Evitar detalles finos
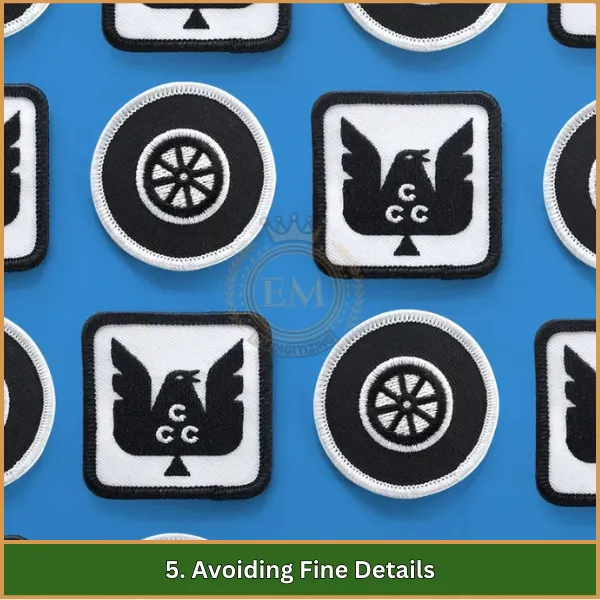
El nivel de detalle en el bordado debe gestionarse con cuidado.. Líneas finas, pequeños adornos, o los detalles intrincados pueden no aparecer como se esperaba al bordarlos. En cambio, céntrese en líneas llamativas y formas más grandes, ya que estos se traducen mejor en puntos.
Evitar el exceso de detalles también ayuda a mantener los costos de producción manejables., ya que los diseños intrincados requieren más puntos. Este equilibrio permite una limpieza, Resultado más atractivo visualmente que mantiene la identidad de su marca sin comprometer la claridad..
6. Tipo de puntada y densidad
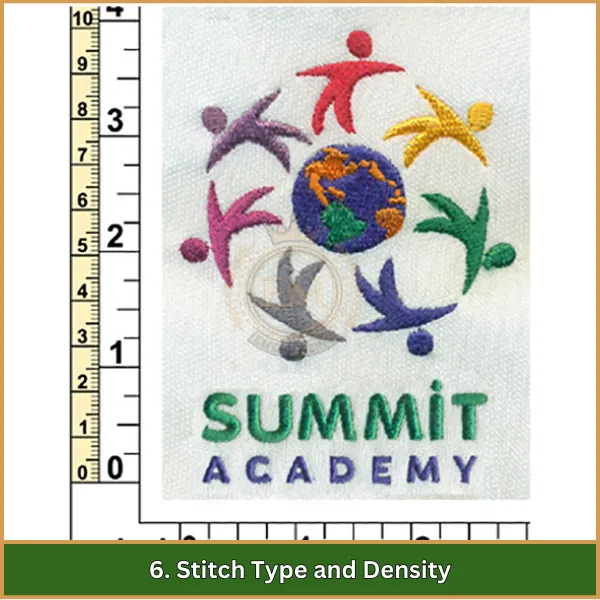
El tipo de puntada y la densidad son vitales para mantener la calidad en los logotipos bordados.. Al aprender a diseñar un logo para bordar, Es fundamental considerar el tipo de puntada más adecuado., como puntadas de satén o de relleno.
Por ejemplo, las áreas más grandes del logotipo pueden requerir puntadas de relleno, mientras que las puntadas de satén funcionan bien para líneas más finas. Ajustar la densidad de las puntadas es crucial para evitar problemas como arrugas o áreas demasiado gruesas., que puede distorsionar el logo. Las opciones adecuadas de tipo de puntada y densidad garantizan un acabado pulido y una textura suave..
7. Pruebas y pruebas
Probar un archivo de logotipo mediante bordado de muestra es un paso final importante. Una prueba de muestra le permite comprobar cómo se traduce el logotipo del formato digital al bordado.. Las pruebas ayudan a identificar cualquier problema con el color., claridad, o densidad de costura.
Por ejemplo, si estás diseñando un logotipo para un parche bordado, la muestra puede revelar los ajustes necesarios para lograr un equilibrio, acabado de alta calidad. La revisión le ayuda a garantizar que su logotipo represente con precisión su marca y mantenga su apariencia profesional en diversas aplicaciones..
Conclusión
Comprender cómo diseñar un logotipo para bordar puede marcar la diferencia a la hora de lograr un resultado pulido., mirada destacada. Seguir estos consejos clave garantiza que su logotipo esté listo para bordar con sencillez, colores llamativos, y detalles claros. If you’;Estamos buscando ayuda de expertos., EMdigitalizing está aquí para hacer que el proceso sea fluido!
Ofrecemos servicios de digitalización de alta calidad con una combinación inmejorable de asequibilidad, respuesta rápida, y calidad garantizada. Más, nuestra opción de vista previa le permite ver exactamente cómo se verá su logotipo. Y, si es tu primer pedido, disfruta de un 50% descuento.
Confianza EMdigitalización para darle vida a tu logo en bordado, con resultados que hablan por sí solos!
