Durch die Digitalisierung von Monogrammen können Sie einfache Initialen in wunderschöne verwandeln, individuell gestickte Designs. In diesem Ratgeber, Wir vereinfachen den Prozess, sodass Sie ganz einfach polierte Monogramme erstellen können, auch wenn Sie gerade erst anfangen.
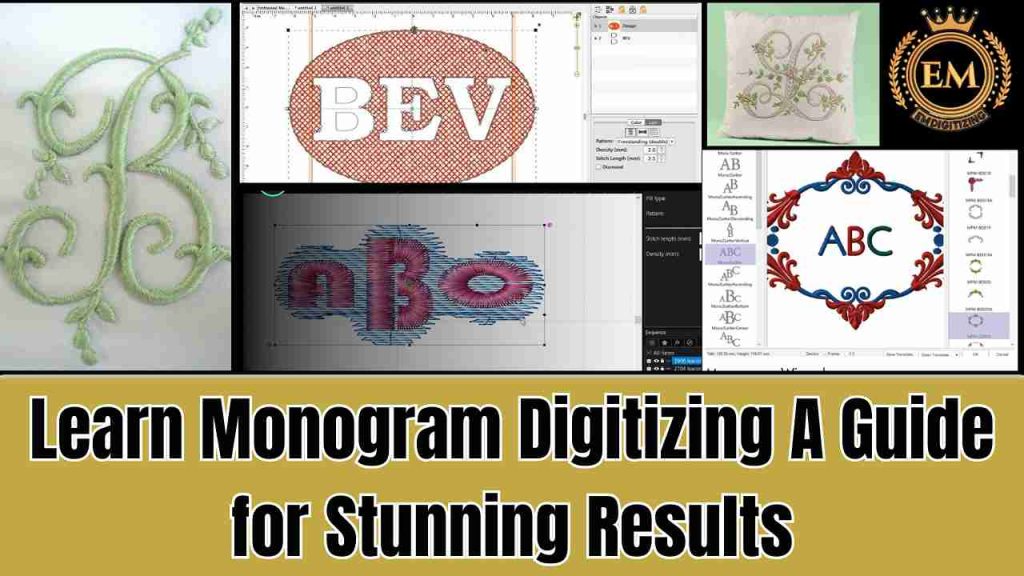
Von der Auswahl der richtigen Software bis hin zur Auswahl der besten Schriftarten und Sticheinstellungen, Hier finden Sie alles, was Sie wissen müssen. Whether you’;Sie können Ihren Artikeln eine persönliche Note verleihen oder Designs für Kunden erstellen, Dieser Leitfaden wird Ihnen beim Meistern helfen Digitalisierung von Monogrammen mit Zuversicht.
Lernen Sie die Digitalisierung von Monogrammen: Ein Leitfaden für atemberaubende Ergebnisse
Was ist die Digitalisierung von Monogrammen??
Dabei handelt es sich um den Prozess der Konvertierung eines Designs, besteht normalerweise aus Initialen oder einem kleinen Logo, in eine digitale Datei umwandeln, die eine Stickmaschine verwenden kann, um präzise und professionelle Stickereien zu erstellen. Stickerei-Monogramm-Designs werden häufig auf Kleidung verwendet, Handtücher, und Zubehör, Hinzufügen einer personalisierten oder markenbezogenen Note.
Softwareempfehlungen zum Digitalisieren von Monogrammen
Mehrere Softwareprogramme wurden speziell entwickelt, um Ihnen bei der effizienten und professionellen Digitalisierung von Monogrammen zu helfen. Hier sind einige der besten Optionen für individuelle Digitalisierung:
- Wilcom Stickerei Studio
- Bruder PE-Design
- Hatch-Sticksoftware
- Janome-Digitalisierer
- Glanz
1. Wilcom Stickerei Studio
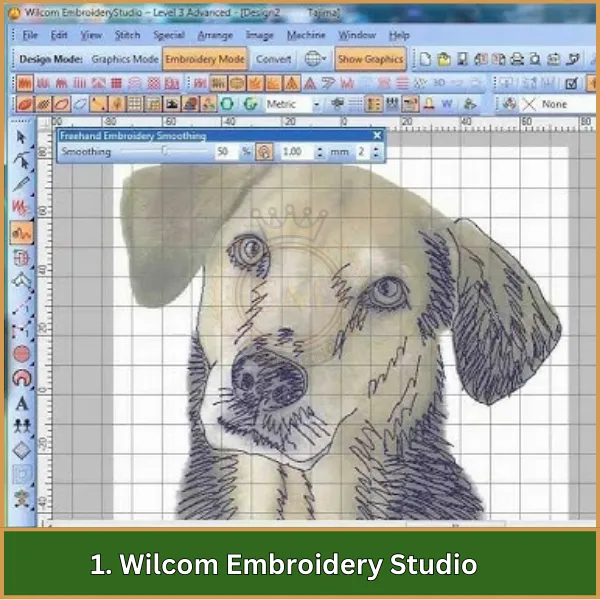
Wilcom Embroidery Studio gilt als eine der fortschrittlichsten Software zur Monogrammdigitalisierung. Es bietet eine große Auswahl an Werkzeugen zur präzisen Kontrolle der Stiche, Schriftarten, und Designelemente, Damit ist es ideal für die Erstellung komplizierter Monogramme. Seine hochwertige Ausgabe und die umfangreichen Anpassungsmöglichkeiten machen es zur ersten Wahl für Profis.
2. Bruder PE-Design
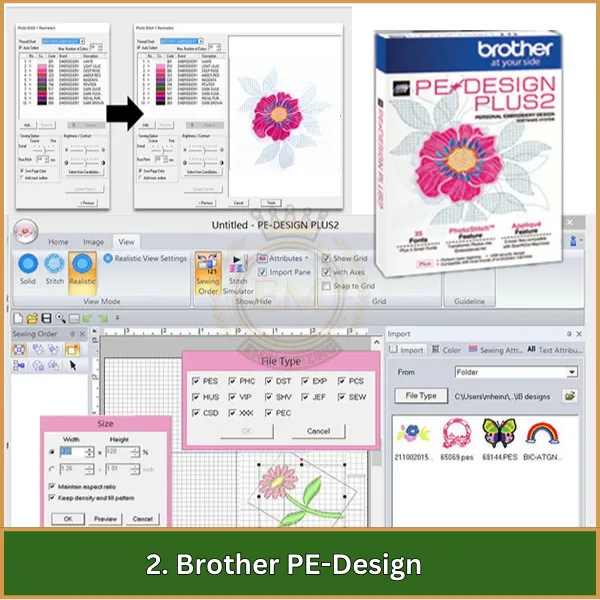
Brother PE-Design ist für seine benutzerfreundliche Oberfläche und leistungsstarke Designfunktionen bekannt, Damit eignet es sich sowohl für Anfänger als auch für Profis. Es bietet eine Vielzahl von Schriftarten und ermöglicht eine einfache Bearbeitung, Gewährleistung sauberer und professionell aussehender Monogrammdesigns. Die Software bietet außerdem Kompatibilität mit vielen Brother-Stickmaschinen.
3. Hatch-Sticksoftware
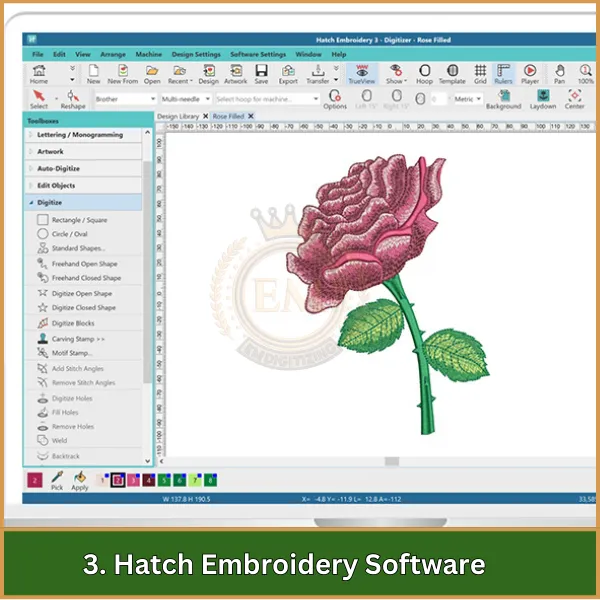
Die Hatch-Sticksoftware wird für ihre Flexibilität und Benutzerfreundlichkeit hoch geschätzt, Dies macht es zu einer ausgezeichneten Wahl für die individuelle Digitalisierung. Es bietet erweiterte Bearbeitungswerkzeuge und eine Bibliothek vorgefertigter Schriftarten, So können Sie Monogramme präzise anpassen. Aufgrund seiner Vielseitigkeit ist Hatch besonders bei Bastlern und Kleinunternehmern beliebt.
4. Janome-Digitalisierer
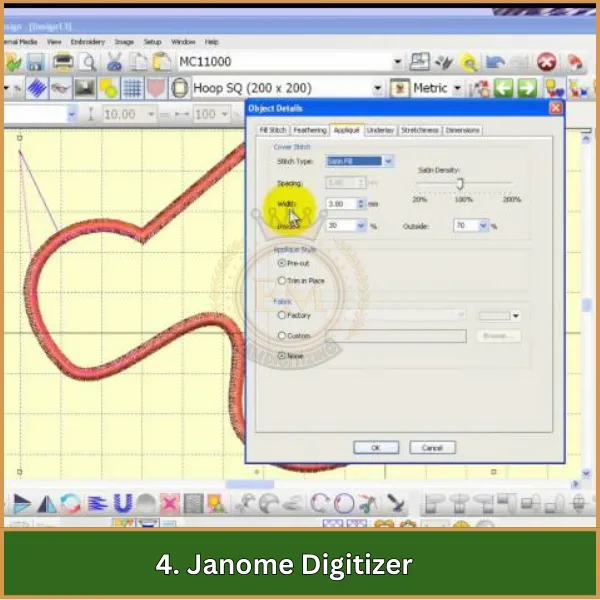
Janome Digitizer ist eine zuverlässige Software, die Benutzerfreundlichkeit mit erweiterten Funktionen kombiniert. Es unterstützt eine Vielzahl von Dateiformaten und bietet eine hervorragende Stichkontrolle, was für die Digitalisierung entscheidend ist. Die Software bietet außerdem mehrere Stickschriftarten und Designvorlagen, die den Vorgang vereinfachen.
5. Glanz
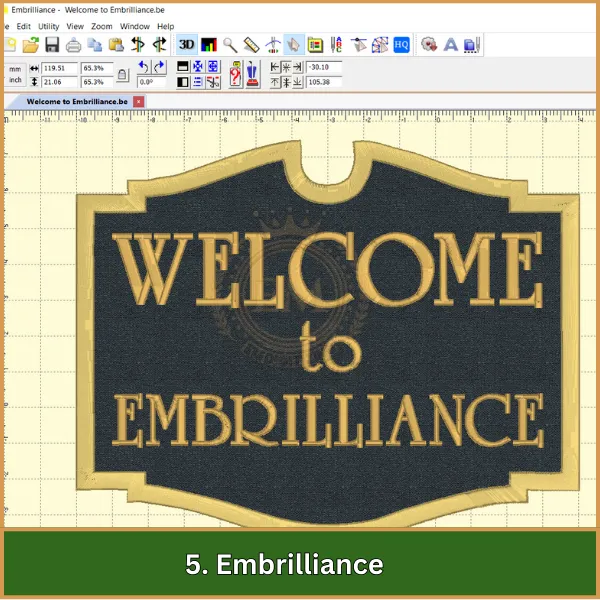
Embrilliance ist wegen seiner Einfachheit und Erschwinglichkeit beliebt, Dies macht es zu einer großartigen Option für diejenigen, die neu in der Digitalisierung sind. Trotz seiner Einfachheit, Es bietet leistungsstarke Werkzeuge zum Erstellen wunderschöner Monogramme mit detaillierter Stichkontrolle. Dank der Kompatibilität sowohl mit Mac als auch mit Windows ist es außerdem sehr gut zugänglich.
Schritt-für-Schritt-Prozess zur Digitalisierung von Monogrammen in Wilcom
Es handelt sich um einen unkomplizierten Prozess, mit dem Sie Monogrammdesigns in professioneller Qualität erstellen können. Befolgen Sie diese Schritte, um Ihr Monogrammdesign effizient fertigzustellen.
1. Öffnen Sie Wilcom und erstellen Sie ein neues Projekt
Starten Sie Wilcom Embroidery Studio und erstellen Sie ein neues Projekt. Wählen Sie die richtige Rahmengröße und Stoffart, um sicherzustellen, dass Ihr Design perfekt passt und gut auf dem Material genäht wird.
2. Wählen Sie das Monogramm-Werkzeug aus
Klicken Sie in der Symbolleiste auf das Monogramm-Werkzeug. Dieses Tool wurde speziell entwickelt, um Ihnen beim einfachen Erstellen von Monogrammen zu helfen. Sie können aus verschiedenen Schriftarten wählen, Buchstabenstile, und Layouts basierend auf Ihren Designanforderungen.
3. Geben Sie Ihre Buchstaben ein
Geben Sie die Initialen oder Buchstaben ein, die Sie in Ihr Monogramm aufnehmen möchten. Sie können die Größe anpassen, Positionierung, und den Stil jedes Buchstabens so, dass er zu Ihrer Designvorstellung passt. Wilcom bietet zahlreiche Schriftartenoptionen, um sicherzustellen, dass Ihr Monogramm elegant und professionell aussieht.
4. Passen Sie die Sticharten an
Mit Wilcom können Sie die Sticharten für Ihr Monogramm anpassen. Wählen Sie aus Satin, läuft, oder Füllstiche, je nach gewünschtem Finish. Passen Sie die Stichdichte und die Unterlageoptionen an, um ein glattes Ergebnis zu erzielen, gut genähtes Ergebnis.
5. Fügen Sie Ränder und dekorative Elemente hinzu
Wenn Sie Ihr Monogramm aufwerten möchten, Sie können Ränder oder dekorative Elemente um die Initialen herum hinzufügen. Wilcom bietet verschiedene Designelemente, die Ihr Monogramm ergänzen und einzigartiger machen können.
6. Testen und passen Sie Ihr Design an
Sobald Ihr Monogramm fertig ist, Verwenden Sie das Simulationstool, um eine Vorschau des Entwurfs anzuzeigen. Überprüfen Sie, ob es möglicherweise Probleme mit der Naht gibt, und passen Sie die Platzierung an, Größe, oder Sticheinstellungen nach Bedarf.
7. Speichern und exportieren Sie das Design
Nachdem Sie Ihr Monogramm fertiggestellt haben, Speichern Sie die Datei im entsprechenden Format, das für Ihre Stickmaschine erforderlich ist. Wilcom unterstützt verschiedene Dateiformate, Dies erleichtert die Verwendung des Designs auf verschiedenen Maschinen.
Fortgeschrittene Techniken zur Monogrammdigitalisierung
Um Ihre Monogramm-Stickerei zu digitalisieren, Probieren Sie diese fortgeschrittenen Techniken aus:
1. Verwendung mehrerer Sticharten
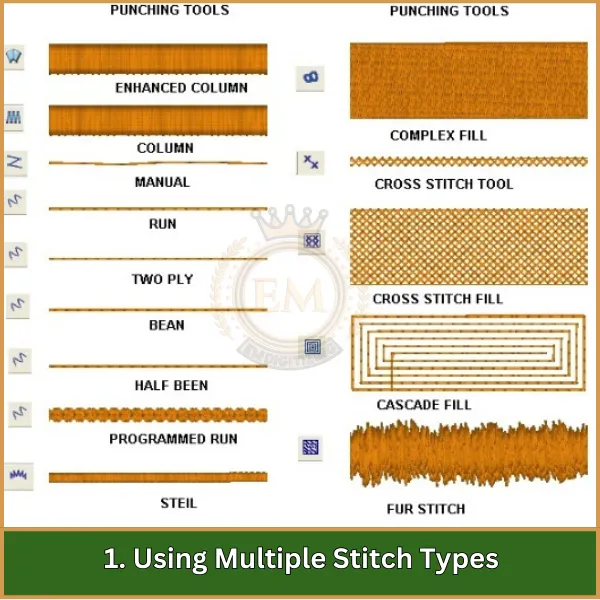
Einbindung einer Mischung verschiedener Sticharten, wie Satin, füllen, und Laufstiche, kann Ihrem Monogramm Tiefe und Struktur verleihen. Diese Technik hilft dabei, verschiedene Teile des Designs hervorzuheben und einen dynamischeren Look zu erzeugen.
2. Anpassen der Stichdichte an den Stofftyp
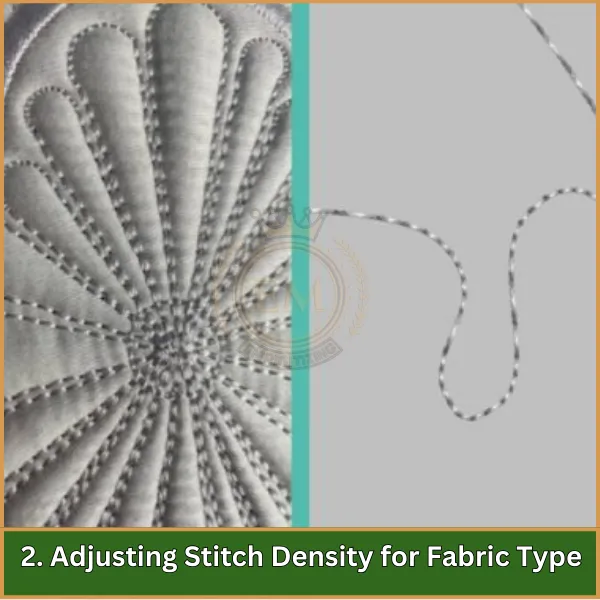
Verschiedene Stoffe erfordern bestimmte Stichdichten, um saubere und glatte Nähte zu gewährleisten. Durch die Anpassung der Stichdichte an das Material (wie Seide oder Denim), Sie können Faltenbildung verhindern und ein hochwertiges Finish gewährleisten.
3. Erstellen benutzerdefinierter Ränder und Rahmen
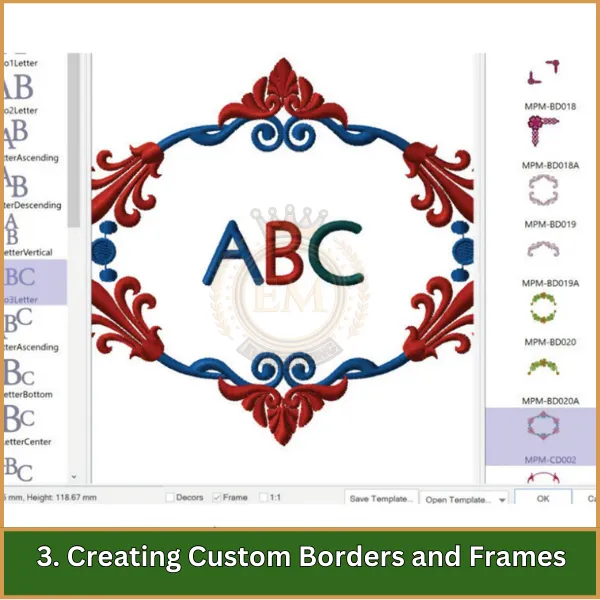
Die Aufwertung von Monogrammen durch individuelle Ränder oder Rahmen verleiht dem Design Eleganz. Use Wilcom’;Nutzen Sie das Tool zur Rahmenerstellung oder entwerfen Sie manuell einen Rahmen, der das Monogramm ergänzt und ihm eine persönliche Note verleiht.
4. Layering-Designelemente
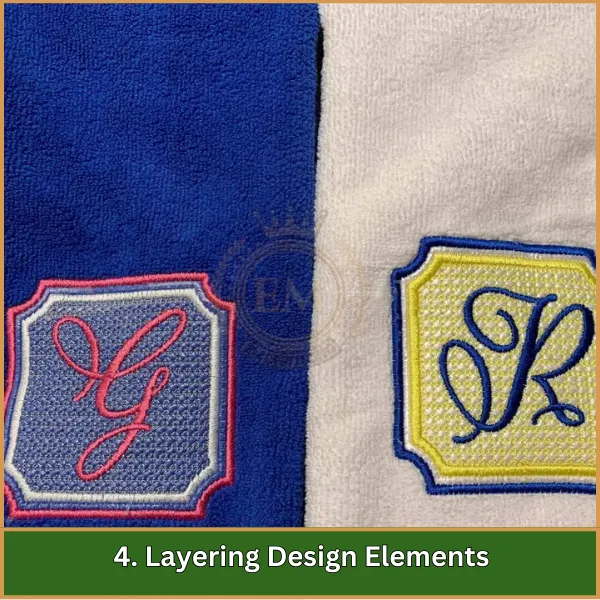
Kombination von Monogrammen mit zusätzlichen Designelementen, wie Blumenmuster oder Logos, kann die Stickerei aufwendiger und optisch ansprechender machen. Das Überlagern dieser Elemente erfordert eine präzise Digitalisierung, um Überlappungen oder Heftfehler zu vermeiden.
5. Hinzufügen dekorativer Unterlagen
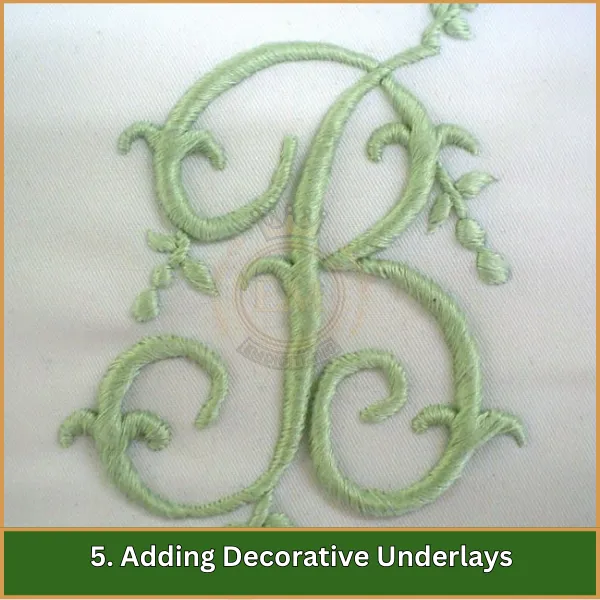
Unterlagen unterstützen nicht nur die Oberstiche, sondern können auch kreativ eingesetzt werden, um dem Monogramm eine dezente dekorative Note zu verleihen. Das Experimentieren mit verschiedenen Unterlagemustern kann zu einzigartigen Effekten und einer verbesserten Nähqualität führen.
6. Verwenden von Farbmischungen für Schattierungseffekte
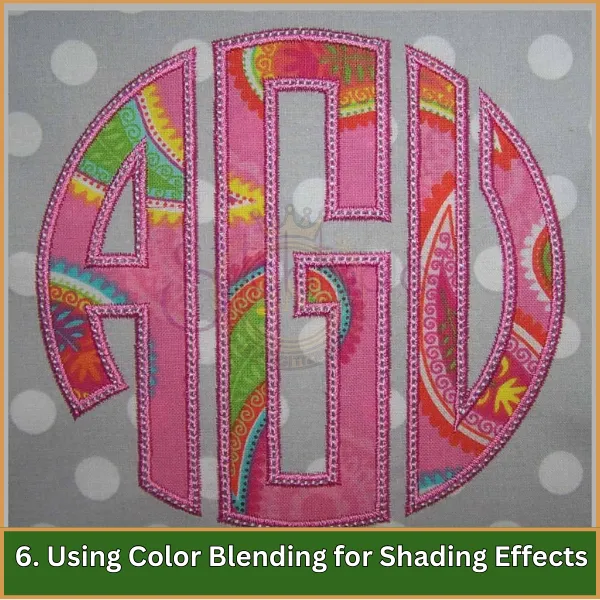
Farbmischtechniken, wo zwei oder mehr Garnfarben allmählich übergehen, kann dem Monogramm einen schattierten oder 3D-Effekt verleihen. Diese Technik erfordert eine sorgfältige Planung und eine präzise Stichplatzierung, kann aber das Gesamtdesign erheblich verbessern.
Tipps zum Erstellen hochwertiger Monogramme
Um hochwertige Monogramme zu erzielen, it’;Es ist wichtig, sich auf mehrere Schlüsselelemente zu konzentrieren:
- Wählen Sie die richtige Schriftart: Wählen Sie Schriftarten aus, die sauber und gut lesbar sind, insbesondere für kleinere Designs. Für eine bessere Lesbarkeit und Klarheit werden Schriftarten wie Arial oder Century Gothic empfohlen.
- Optimale Stichdichte: Stellen Sie sicher, dass die Stichdichte für den Stofftyp geeignet ist, um Kräuselungen zu vermeiden und ein gleichmäßiges Nähen zu gewährleisten.
- Richtige Fadenauswahl: Verwenden Sie hochwertiges Garn, wie Polyester oder Viskose, für Haltbarkeit und ein professionelles Finish.
- Platzierung und Ausrichtung: Achten Sie auf die Platzierung und Ausrichtung Ihres Monogramms, vor allem auf Kleidungsstücken, für einen ausgewogenen und polierten Look.
- Probenähen: Testen Sie Ihr Monogramm immer an einem Musterstoff, um Anpassungen vorzunehmen, bevor Sie das Design fertigstellen.
Diese Tipps sind für die Erstellung professioneller Monogramme unerlässlich, whether you’;Sie arbeiten für persönliche Projekte oder ein Monogrammunternehmen.
Fazit
Das Digitalisieren von Monogrammen kann zeitaufwändig und herausfordernd sein, Aber Sie müssen es nicht alleine tun. Lassen EMdigitalisieren Machen Sie es Ihnen einfach! Wir bieten hochwertige individuelle Monogramme Digitalisierung von Dienstleistungen die Ihnen Zeit und Mühe sparen. Mit unserer schnellen Abwicklung, bezahlbare Preise, und Liebe zum Detail, Sie erhalten ohne Probleme genau das, was Sie brauchen.
Plus, als Erstkunde, du bekommst 50% Rabatt auf Ihre erste Bestellung. Wir kümmern uns darum Digitalisierung damit Sie es schön genießen können, professionelle Ergebnisse schnell und bequem!
Häufig gestellte Fragen
Für die Monogrammierung ist die Digitalisierung notwendig, da sie die Motive in ein digitales Format umwandelt, das Stickmaschinen genau lesen und befolgen können. Dies sorgt für Konsistenz, Hochwertige Nähte für professionell aussehende Monogramme.
Häufig verwendete Dateiformate in Digitalisierung der Monogrammstickerei Sommerzeit einschließen, PES, EXP, JEF, und HUS. Diese Formate sind mit verschiedenen Stickmaschinen und Software kompatibel.
Die Zeit zum Digitalisieren eines Monogramms kann variieren, normalerweise irgendwohin mitnehmen 30 Minuten bis einige Stunden, abhängig von der Komplexität des Designs. Einfache Monogramme sind schneller, während komplizierte Designs mehr Zeit und Liebe zum Detail erfordern.
Zu den wichtigsten Tipps für eine erfolgreiche Monogrammstickerei gehört die Verwendung hochwertiger digitalisierter Designs, Auswahl geeigneter Garn- und Nadeltypen, und das Design zunächst auf Stoffresten testen. Zusätzlich, Um die besten Ergebnisse zu erzielen, ist es wichtig, dass die richtigen Spann- und Spannungseinstellungen gewährleistet sind.
