Haben Sie sich jemals gefragt, wie Sie eine Schürze maschinell besticken und ihr ein professionelles Aussehen verleihen können?? Es ist einfacher als Sie denken! Stickereien verleihen Schürzen eine persönliche Note, Damit eignen sie sich perfekt als Geschenk, Persönlicher Gebrauch, oder sogar eine kreative Geschäftsidee.
In diesem Ratgeber, Wir erklären Ihnen alle Schritte, die Sie benötigen, um eine wunderschön bestickte Schürze herzustellen. Von der Vorbereitung Ihres Entwurfs bis hin zum letzten Schliff, Sie erfahren, wie Sie Ihre Schürze hervorstechen lassen. Bereit, aus einer schlichten Schürze etwas Außergewöhnliches zu machen? Lass uns eintauchen!
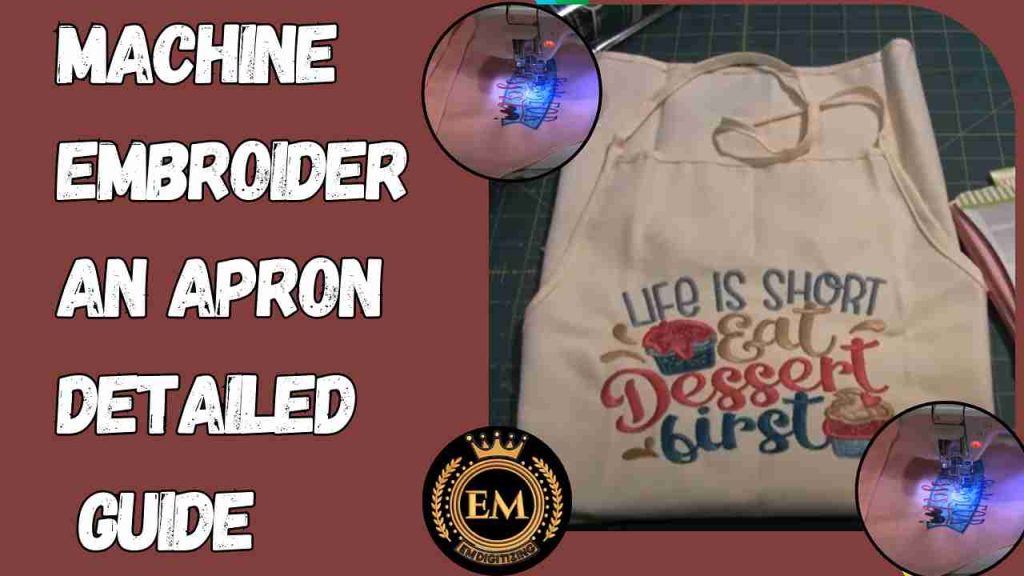
Maschinell eine Schürze besticken | Detaillierte Anleitung
Benötigte Materialien für die individuelle Schürzenstickerei
Sammeln Sie diese Materialien, um eine perfekt bestickte Schürze mit professionellen Ergebnissen zu erstellen.
- Stoff (Baumwolle): Baumwolle ist ein strapazierfähiger und atmungsaktiver Stoff, daher ideal für Schürzen. Es bietet eine stabile Basis für Stickereien und hält auch häufigem Waschen gut stand.
- Stickgarn (Polyester): Aufgrund seiner Festigkeit wird Polyesterfaden empfohlen, Beständigkeit gegen Ausbleichen, und die Fähigkeit, häufigem Waschen standzuhalten. Es sorgt für Lebendigkeit, langlebige Designs.
- Ausgeschnittener Stabilisator: Dieser Stabilisator unterstützt den Stoff beim Nähen, verhindert Faltenbildung und stellt sicher, dass Ihr Design auch nach dem Waschen intakt bleibt.
- Design-Software: Verwenden Sie zum Erstellen Software, bearbeiten, oder passen Sie Ihre an Stickmotive. Es ermöglicht eine präzise Anpassung der Stichdichte, Größe, und Platzierung.
- Stickmaschine: Um Ihre Designs präzise und gleichmäßig auf die Schürze zu nähen, ist eine zuverlässige Stickmaschine unerlässlich.
- Stoffmarker oder Kreide: Diese werden verwendet, um die Mitte und Platzierung Ihres Designs auf der Schürze zu markieren und so eine präzise Naht zu ermöglichen.
- Schere: Zum sauberen Abschneiden von Fäden und Vlies ist eine scharfe Schere erforderlich. Eine kleine Stickschere eignet sich zum detaillierten Beschneiden von Motiven.
- Bügeleisen und Bügelbrett: Durch das Bügeln der Schürze vor Beginn werden Falten entfernt, sorgt für eine glatte Stickoberfläche. Nach Abschluss des Projekts, Durch das Pressen erhält die Schürze ein poliertes Aussehen, professionelles Aussehen.
- Nadeln und Spulen: Verwenden Sie Sticknadeln, die mit Ihrer Maschine und Ihrem Stoff kompatibel sind. Halten Sie zusätzliche Spulen bereit, um Unterbrechungen beim Nähen zu vermeiden.
8 Einfache Schritte zum maschinellen Sticken einer Schürze
Eine einfache Schürze in ein personalisiertes Meisterwerk zu verwandeln ist einfacher als Sie denken. Hier ist eine Schritt-für-Schritt-Anleitung, die Ihnen dabei hilft, bestickte Schürzendesigns mit professionellen Ergebnissen zu erstellen.
Schritt 1: Wählen Sie das perfekte Design

Wählen Sie zunächst ein Design aus, das zum Zweck der Schürze passt. Ob es ein Monogramm ist, Blumenmuster, oder Logo, Stellen Sie sicher, dass das Design zur Schürzengröße passt. Wenn benötigt, Verwenden Sie eine Sticksoftware, um das Design anzupassen, oder kaufen Sie ein fertiges Stickprogramm, der Einfachheit halber digitalisierte Stickmuster.
Schritt 2: Bereiten Sie Ihre Schürze zum Besticken vor
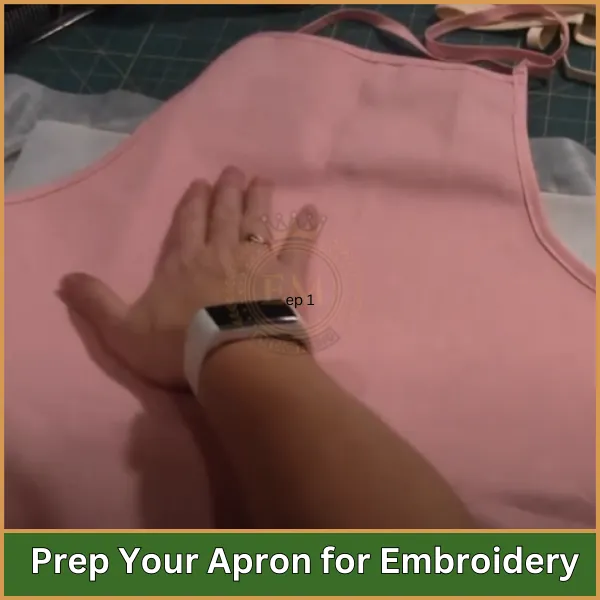
Falten Sie die Schürze vertikal, um eine sichtbare Mittelfalte zu erzeugen. Diese Falte dient als Orientierungshilfe für die Platzierung Ihres Stickerei-Design genau. Glätten Sie den Stoff mit einem Bügeleisen, um Falten zu beseitigen, die das Nähen beeinträchtigen könnten.
Schritt 3: Spannen Sie den Stoff und das Vlies ein
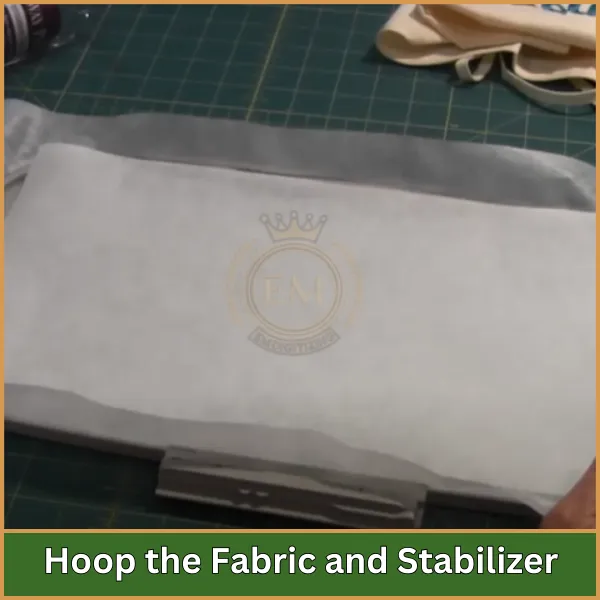
Befestigen Sie zunächst einen Stabilisator am Stickrahmen, Stellen Sie sicher, dass es straff ist. Legen Sie die Schürze über den Stabilisator, Stellen Sie sicher, dass der Designbereich gut auf den Stickrahmen ausgerichtet ist. Stellen Sie sicher, dass der Stoff flach ist, um Falten oder Kräuselungen beim Nähen zu vermeiden.
Schritt 4: Laden Sie Ihr Design und richten Sie es aus
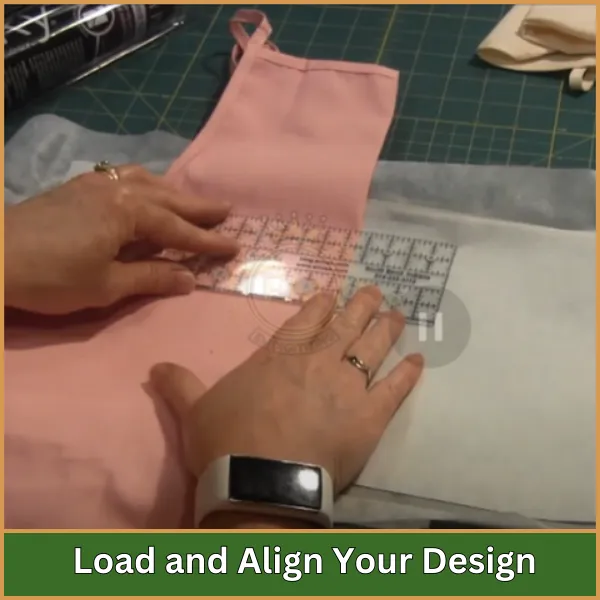
Laden Sie Ihr ausgewähltes Design über einen USB-Stick oder eine direkte Verbindung auf die Stickmaschine. Positionieren Sie den Stickrahmen auf der Maschine und richten Sie die Nadel mit den Bedienelementen der Maschine auf die Mitte Ihres Designs aus.
Schritt 5: Lassen Sie die Maschine die Arbeit machen
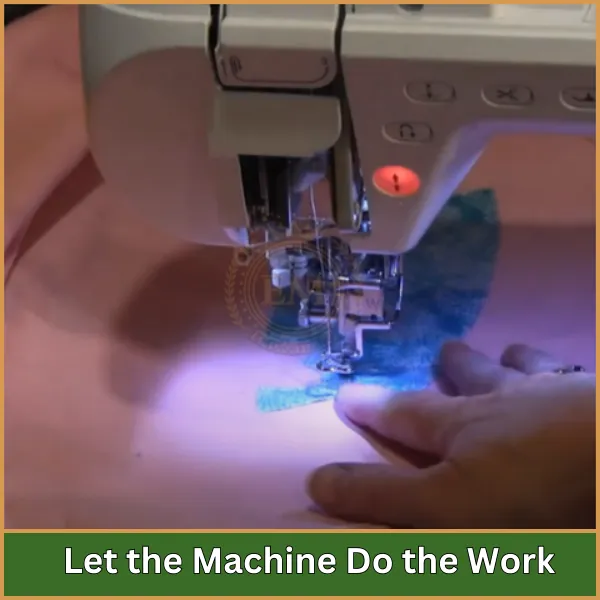
Entfernen Sie alle Stifte, die die Designvorlage halten, um eine Schürze maschinell zu besticken, und starten Sie den Stickvorgang. Behalten Sie die Nähte im Auge, insbesondere für Designs mit mehreren Garnfarben, und wechseln Sie die Threads nach Bedarf.
Schritt 6: Beenden der Stickerei
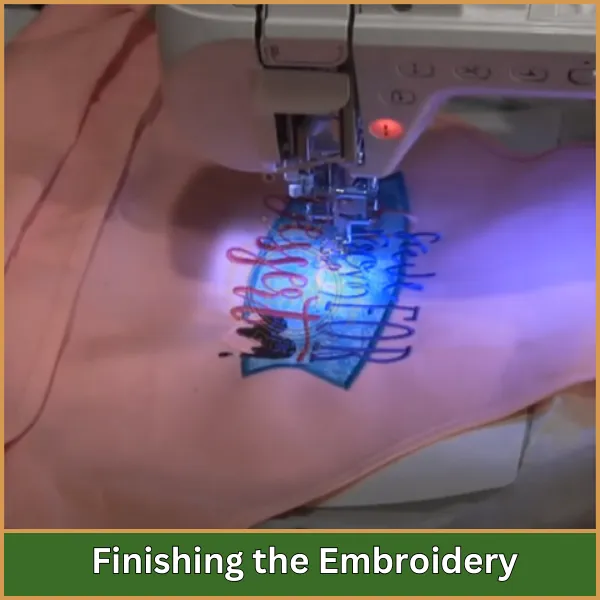
Sobald das Nähen abgeschlossen ist, Nehmen Sie den Stickrahmen vorsichtig aus der Maschine. Schneiden Sie alle losen Fäden ab und entfernen Sie das Vlies vorsichtig von der Rückseite der Schürze, ohne die Nähte zu beschädigen.
Schritt 7: Fügen Sie den letzten Schliff hinzu
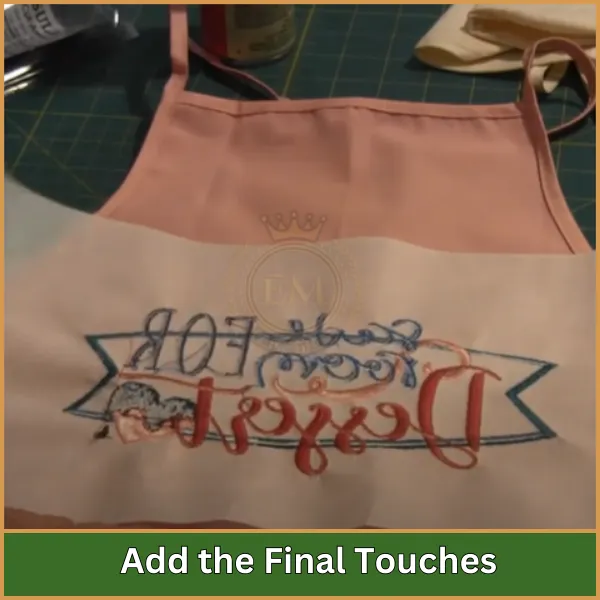
Drücken Sie auf die Schürze, um ihr ein poliertes Aussehen zu verleihen. Legen Sie ein Bügeltuch über die Stickerei, um die Stiche beim Bügeln zu schützen.
Schritt 8: Stellen Sie Ihre Kreation zur Schau
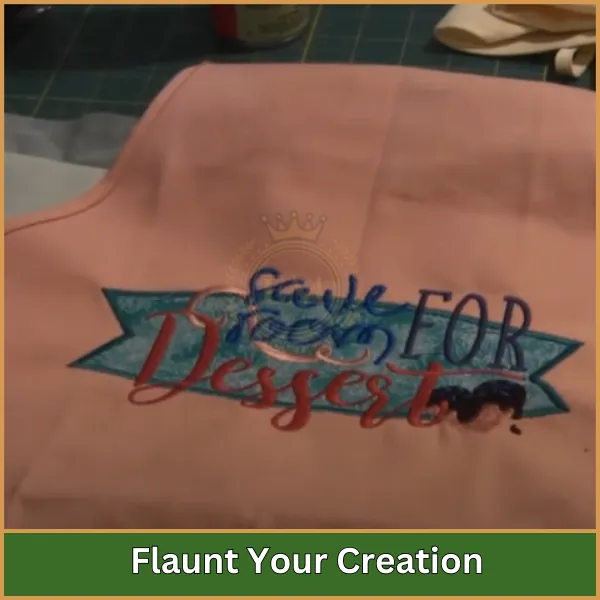
Dein bestickte Schürze ist gebrauchsfertig! Ob Sie es verschenken oder selbst nutzen, Genießen Sie den Charme Ihrer personalisierten Kreation.
Top-Tipps für die Maschinenstickerei einer Schürze
Befolgen Sie diese Tipps zum Sticken von Schürzen, um jedes Mal perfekte Ergebnisse zu erzielen!
- Wählen Sie langlebige Stoffe: Wählen Sie Baumwolle oder Polyester für eine starke, waschbarer Boden.
- Wählen Sie den rechten Stabilisator: Verwenden Sie zur Unterstützung des Nähens ein mittleres Abreißvlies.
- Markieren Sie Ihr Design Center: Messen und markieren Sie die Mitte für eine perfekte Ausrichtung.
- Meistern Sie die Hooping-Techniken: Spannen Sie zuerst den Stabilisator ein und lassen Sie die Schürze schweben, um die Anpassung zu erleichtern.
- Überprüfen Sie regelmäßig die Maschineneinstellungen: Vermeiden Sie Fadenbrüche, indem Sie Spannung und Einstellungen überprüfen.
- Organisieren Sie Ihre Threads: Ordnen Sie die Threads nach Farben, um schnelle und reibungslose Änderungen zu ermöglichen.
- Vor und nach dem Sticken bügeln: Entfernen Sie Falten und polieren Sie den endgültigen Look mit einem Bügeleisen.
- Stabilisator ordentlich trimmen: Schneiden Sie überschüssiges Stabilisatormaterial ab, um einen sauberen und gepflegten Rücken zu erhalten.
- Nehmen Sie sich Zeit: Gehen Sie langsam vor, um präzise zu positionieren und zu nähen.
- Probieren Sie neue Designs auf Stoffresten aus: Testen Sie Designs an Resten, um Fehler zu vermeiden.
Fazit:
Stickerei ist die perfekte Möglichkeit, Ihre Schürze einzigartig zu machen, Und wenn Sie wissen, wie man eine Schürze maschinell stickt, können Sie erstaunliche Ergebnisse erzielen. Von der persönlichen Note bis zur Erstellung professioneller Designs, Eine digitalisierte Datei ist der Schlüssel zu einer makellosen Stickerei.
Das ist wo EMDigitalisierung kommt rein! Wir bieten hochwertige Qualität Digitalisierung von Dienstleistungen zu unschlagbaren Preisen. Mit superschnellen Bearbeitungszeiten und garantierten Ergebnissen, Wir sorgen dafür, dass Ihre Designs in kürzester Zeit zum Sticken bereit sind. Plus, Mit unserer Vorschau-Option können Sie das Design sehen, bevor es fertiggestellt ist.
Wenn Sie unseren Service zum ersten Mal ausprobieren, Genießen Sie ein exklusives 50% Rabatt bei Ihrer ersten Bestellung. Überlassen Sie uns die Digitalisierung, So können Sie sich auf die Herstellung von Schürzen konzentrieren, die wirklich auffallen!
Häufig gestellte Fragen
Baumwolle und Polyester sind die erste Wahl für Schürzen. Sie sind stark, leicht zu reinigen, und bieten die perfekte Oberfläche für detaillierte Stickarbeiten.
Absolut! Ein Stabilisator sorgt dafür, dass Ihr Design ordentlich aussieht und an Ort und Stelle bleibt. Ohne es, Der Stoff kann sich beim Nähen dehnen oder kräuseln.
Jede Stickmaschine mit einer angemessenen Stickrahmengröße, like 5″; x 7″;, eignet sich gut für Schürzen. Funktionen wie integrierte Designs und automatisches Fadenschneiden machen die Arbeit noch einfacher.
Markieren Sie mit Kreide oder einem abwaschbaren Marker die Mitte Ihrer Schürze und richten Sie Ihre Designvorlage daran aus. Dadurch wird gewährleistet, dass Ihre Stickerei perfekt platziert wird.
