Es fällt Ihnen schwer, aus Ihren digitalisierten Logos eine einwandfreie Stickerei zu erhalten? Suchen Sie nicht weiter! In diesem Ratgeber, Wir geben wichtige Tipps zur Logo-Digitalisierung, die jedes Mal perfekte Ergebnisse garantieren.
Egal, ob Sie Hobbybastler oder Profi sind, Diese unkomplizierten Tipps zum Digitalisieren von Logos werden Ihr Stickspiel auf ein neues Niveau heben.
Lassen Sie uns gleich loslegen und lernen, wie Sie jedes Logo in ein atemberaubendes Stickdesign verwandeln!
Tipps zur Logo-Digitalisierung für eine perfekte Stickerei
6 Tipps zur Logo-Digitalisierung
Erfahren Sie, wie es geht Logos digitalisieren zum einfachen Besticken damit 6 Einfache Tipps zum Digitalisieren von Logos, um jedes Mal perfekte Stickergebnisse zu erzielen.
- Verbessern Sie die Lesbarkeit von kleinem Text in Stickereien
- Vereinfachen Sie Logos für eine reibungslose Stickerei
- Wählen Sie die beste Digitalisierungssoftware für Ihre Anforderungen
- Verwenden Sie hochauflösende Bilder für eine präzise Digitalisierung
- Befolgen Sie eine effiziente Nähreihenfolge
- Passen Sie die Stichdichte an, um optimale Ergebnisse zu erzielen
Let’;Sehen Sie sich diese Tipps an, um zu erfahren, welche Schritte Sie befolgen müssen und wie Sie Ihre Leistung verbessern können Stickprojekte für bestmögliche Ergebnisse.
1. Verbessern Sie die Lesbarkeit von kleinem Text in Stickereien
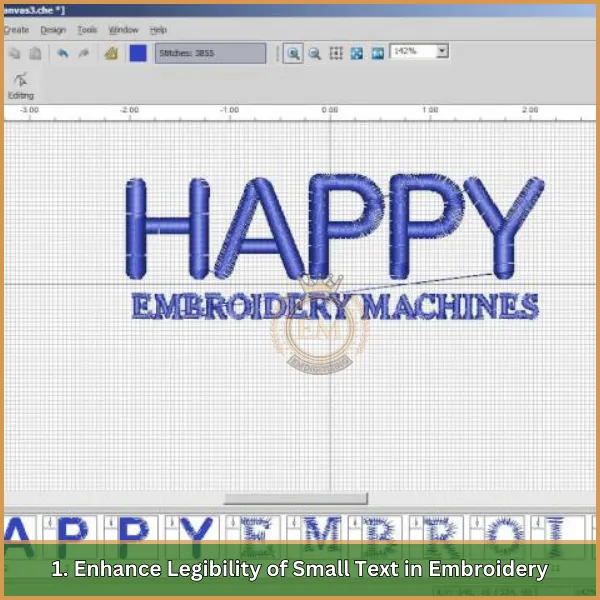
Der kleine Text erfordert beim Sticken besondere Liebe zum Detail. Einer der wichtigsten Tipps zur Logo-Digitalisierung ist die Wahl von Block- oder serifenlosen Schriftarten, die in kleineren Größen tendenziell klarer und besser lesbar sind.
Entscheiden Sie sich für Block- oder serifenlose Schriftarten, die in kleineren Größen tendenziell klarer und besser lesbar sind.
Es ist auch wichtig, den Abstand zwischen den Zeichen anzupassen. Durch die Vergrößerung dieses Abstands wird sichergestellt, dass die Buchstaben nicht verschmelzen, Dies ist ein häufiges Problem bei kleinen Texten in Stickereien.
Durch diese Anpassung wird jeder Buchstabe deutlich und lesbar, Beibehaltung der Klarheit im gesamten Design.
2. Vereinfachen Sie Logos für eine reibungslose Stickerei
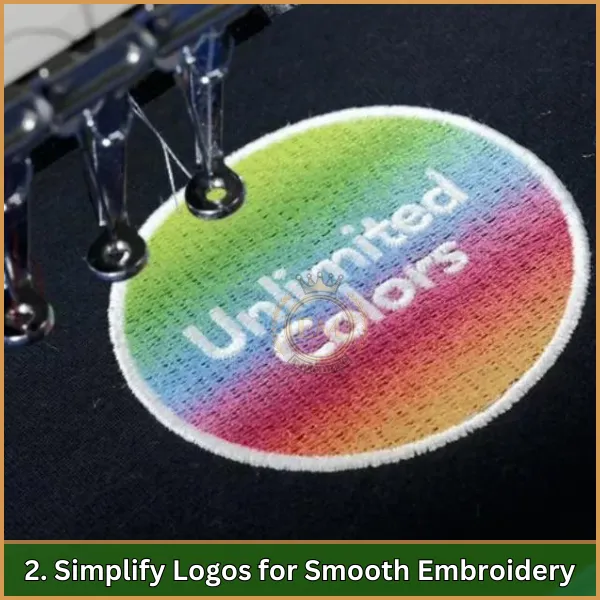
Logos müssen bei der Konvertierung zum Sticken häufig vereinfacht werden. Komplizierte Details, wie Farbverläufe oder winziger Text, lässt sich möglicherweise nicht gut in Stiche übertragen und sollte entweder entfernt oder vergrößert werden.
Durch die Reduzierung der Anzahl der Farben im Logo kann auch der Stickprozess rationalisiert werden, Halten Sie es einfach und dennoch optisch auffällig.
Durch diese Anpassungen eignet sich das Logo besser zum Sticken und bleibt gleichzeitig erkennbar und von hoher Qualität.
3. Wählen Sie die beste Digitalisierungssoftware für Ihre Anforderungen

Die Auswahl der richtigen Software zum Digitalisieren von Logos ist entscheidend für die Erstellung eines gelungenen Logos Stickerei-Design.
Suchen Sie nach Software, die sowohl automatische Digitalisierungsfunktionen für einfache Designs als auch manuelle Tools für präzise Anpassungen bietet.
Dadurch können Sie jeden Aspekt des Designs verfeinern, Gewährleistung der Qualitätskontrolle bei jedem Stich.
Zusätzlich, Stellen Sie sicher, dass die Software die von Ihnen benötigten Dateiformate unterstützt Stickmaschine um eine reibungslose Produktion zu gewährleisten.
4. Verwenden Sie hochauflösende Bilder für eine präzise Digitalisierung
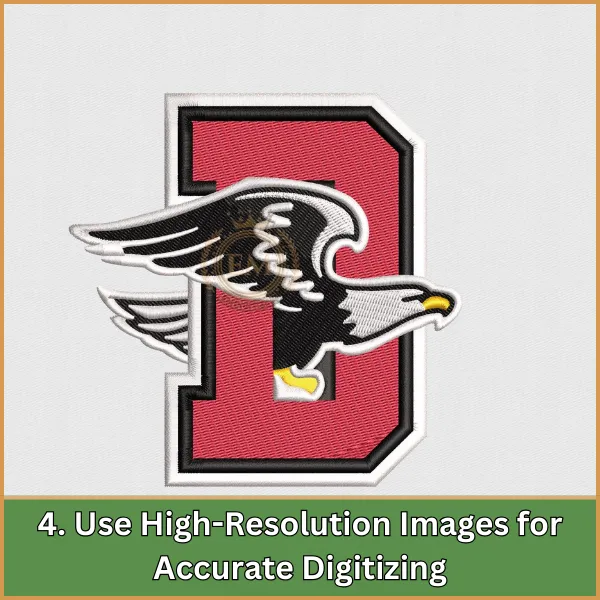
Wenn Sie mein Logo oder meine Bilder digitalisieren, Es ist wichtig, mit einer hochauflösenden Datei zu beginnen.
Hochauflösende Bilder stellen sicher, dass Details während des Konvertierungsvorgangs erhalten bleiben, Vermeidung von Problemen wie Pixelbildung oder Unschärfe im endgültigen Stickdesign.
Dies ist besonders wichtig, wenn das Design skaliert oder an die Größe angepasst werden muss, da eine höhere Auflösung zu einer besseren Klarheit und besseren Gesamtergebnissen führt.
5. Befolgen Sie eine effiziente Nähreihenfolge

Die Reihenfolge, in der Sie Ihr Design zusammenfügen, kann großen Einfluss auf das Endergebnis haben.
Beginnen Sie mit Unterstichen, um den Stoff zu stabilisieren, gefolgt von größeren Hintergrundelementen, und mit kleineren abschließen, detailliertere Bereiche.
Diese Methode hilft, Verformungen im Stoff zu verhindern und sorgt dafür, dass das Design flach aufliegt.
Zusätzlich, Das Nähen von der Mitte nach außen kann Faltenbildung verhindern und ein gleichmäßigeres Ergebnis auf dem gesamten Kleidungsstück erzielen.
6. Passen Sie die Stichdichte an, um optimale Ergebnisse zu erzielen
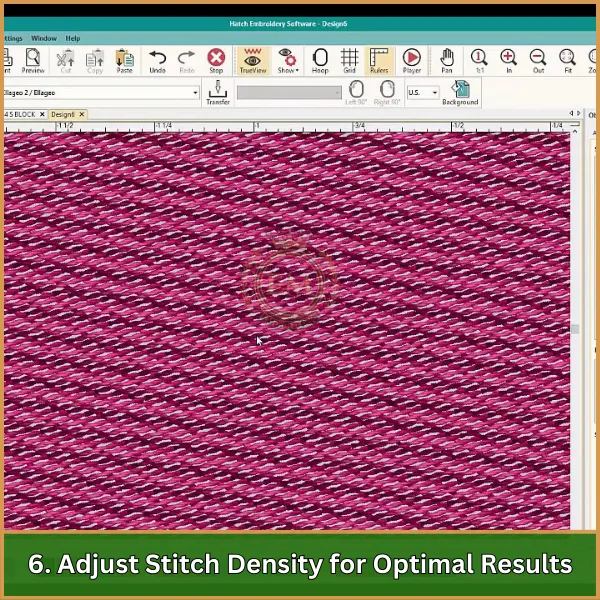
Die Stichdichte spielt eine entscheidende Rolle für das Aussehen und die Haltbarkeit Ihrer Stickerei.
Für dickere Stoffe, Um ein vollständiges und solides Design zu erzielen, können dichtere Stiche erforderlich sein.
Umgekehrt, Leichtere Stoffe erfordern eine geringere Stichdichte, um Schäden wie Faltenbildung oder Risse zu vermeiden.
Das Testen an einem Musterstoff gewährleistet die besten Ergebnisse, wie in diesen Tipps zur Logo-Digitalisierung empfohlen.
Fazit: Tipps zur Logo-Digitalisierung für eine perfekte Stickerei
Indem Sie diese Tipps befolgen, Sie können sicherstellen, dass bei der Digitalisierung Ihrer Logos stets hochwertige Stickereien entstehen. Vereinfachte Designs, mit der richtigen Software, und die Anpassung der Stichdichte sind wichtige Schritte, um die besten Ergebnisse zu erzielen. Wenn Sie Ihr Design vor der endgültigen Produktion auf Stoff testen, können Sie außerdem Probleme vermeiden.
If you’;Ich beginne ein Stickprojekt, EMdigitizing ist die perfekte Wahl für Sie. Wir bieten schnell und zuverlässig Stickerei digitalisieren und Vektorkunstdienste. Für Erstkunden, Gerne stellen wir Ihnen eine zur Verfügung 50% Rabatt auf alle Leistungen, zusammen mit einem kostenlosen Angebot in nur 5 Protokoll.
Nutzen Sie dieses tolle Angebot und vermieten Sie EMdigitalisieren Helfen Sie dabei, Ihre Stickideen zum Leben zu erwecken. Gerne können Sie uns Ihre Fragen stellen, und danke fürs Lesen!
Häufig gestellte Fragen
Ein Firmenlogo digitalisieren, Sie können eine Vektorgrafiksoftware wie Adobe Illustrator verwenden, um das Logo nachzuzeichnen und in einem digitalen Format neu zu erstellen.
Um ein zu digitalisieren Entwurf, Scannen Sie es oder machen Sie ein hochauflösendes Foto davon, Verwenden Sie dann eine Grafikdesign-Software, um die digitale Version zu verfeinern und zu bearbeiten.
Die Kosten für die Digitalisierung eines Logos variieren, aber es kann variieren $10 zu $100 basierend auf Komplexität, Größe, und die damit verbundenen Details.
Eine Standard-Digitalisierungsgebühr liegt normalerweise zwischen $15 zu $50, depending on the design’;s Komplexität und der Industriestandard.
Um Ihr Logo zu digitalisieren, Scannen oder fotografieren Sie es in hoher Qualität und verwenden Sie eine Grafikdesign-Software, um das digitale Bild zu vektorisieren und zu verfeinern.
