Das Sticken auf Kunstpelz kann auf den ersten Blick schwierig erscheinen, aber mit den richtigen Tipps, Sie können auch auf flauschigen Oberflächen schöne Designs kreieren! Kunstpelz ist aufgrund seiner Textur einzigartig, hinter dem oft feine Details verborgen bleiben, Um die Stickerei hervorzuheben, sind daher einige spezielle Techniken erforderlich.
In diesem Ratgeber, Ich führe Sie durch einfache Schritte und wichtige Tipps, damit Ihre Kunstpelzstickerei professionell und elegant aussieht. Egal, ob Sie neu im Bereich Kunstpelz sind oder Ihre Fähigkeiten verbessern möchten, Mit diesen einfachen Methoden können Sie Designs erstellen, die großartig aussehen, bleib klar, und den Wow-Faktor haben.
Lass uns eintauchen!
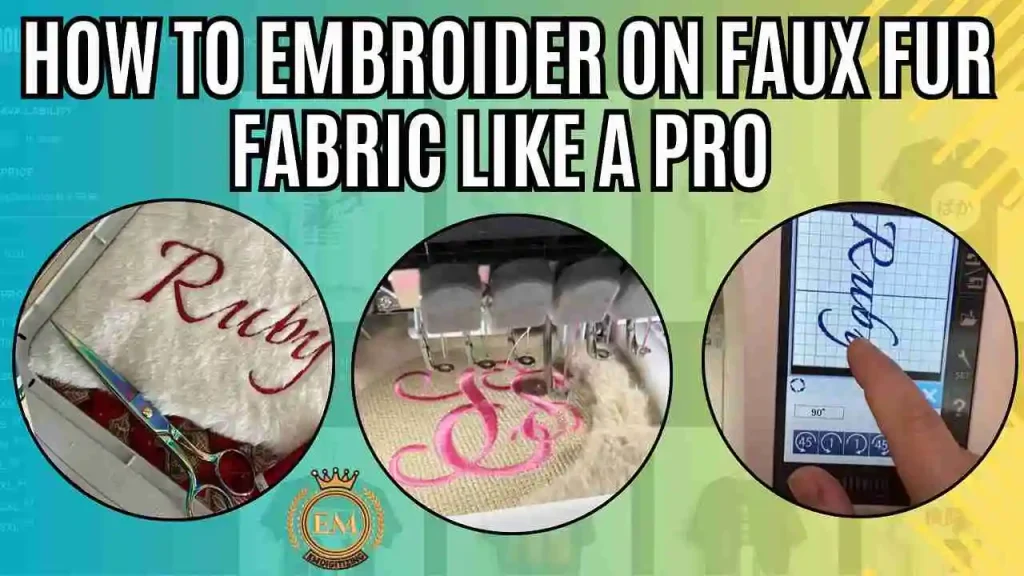
So sticken Sie wie ein Profi auf Kunstpelzstoff?
Wichtige Materialien zum Sticken auf Kunstpelz
Um die besten Ergebnisse auf Kunstpelz zu erzielen, Die Verwendung der richtigen Materialien ist unerlässlich. Here’;Es ist eine Liste von Elementen, die Ihnen bei der sauberen Erstellung helfen, professionelle Stickerei auf diesem einzigartigen Stoff.
- Kunstpelzstoff
- Stickmaschine
- Sticknadeln (scharf oder Kugelschreiber)
- Stickgarn (Polyester oder Viskose)
- Stabilisator (Cutaway oder Tear-Away)
- Temporärer Sprühkleber
- Schere (zum Trimmen von Fell und Fäden)
- Markierungswerkzeug (wasserlöslich oder hitzelöschbar)
- Stickrahmen
1. Kunstpelzstoff
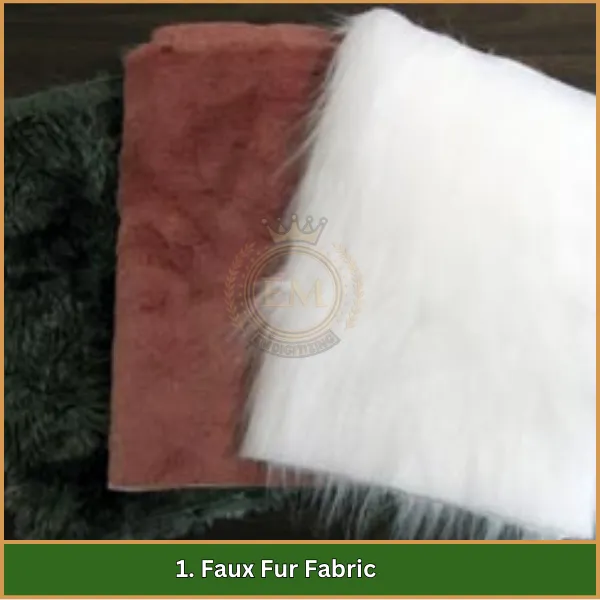
Kunstpelzstoff ist das Hauptmaterial, das für die Stickerei eine besondere Handhabung und Vorbereitung erfordert. Es gibt ihn in verschiedenen Ausführungen, einschließlich kurz, Mittel, und lange Florlängen.
Zum Besticken empfiehlt sich grundsätzlich kurzfloriges Kunstfell, da es eine stabilere Oberfläche bietet, Dadurch werden die Designdetails besser sichtbar und der Stickvorgang einfacher. Die Wahl der richtigen Kunstpelzart ist wichtig, um übermäßige Flusen zu vermeiden, die das Design verdecken können.
2. Stickmaschine
Für präzises und professionelles Sticken auf Kunstpelzstoff ist eine Stickmaschine unerlässlich. Eine Maschine mit einstellbarer Spannung und verschiedenen Stichoptionen ist ideal für die Bearbeitung dicker Stoffe wie Kunstpelz, da es mehr Anpassungsmöglichkeiten ermöglicht und einen reibungslosen Ablauf gewährleistet, gleichmäßige Nähte.
3. Sticknadeln
Die Verwendung des richtigen Nadeltyps ist entscheidend für Stickerei aus Kunstfell. Wir empfehlen scharfe Nadeln, da sie den dicken Stoff sanft durchdringen, ohne die Fasern zu beschädigen. Kugelschreibernadeln sind auch eine Option für Kunstpelz mit Stoffrücken, da sie zwischen den Fasern gleiten, ohne zu schneiden.
4. Stickgarn
Polyester- oder Rayonfäden eignen sich am besten für Kunstpelz, da sie stark und lichtbeständig sind, auch auf strukturierten Oberflächen. Polyesterfaden, insbesondere, wird für Haltbarkeit und Farbbrillanz empfohlen, sorgt dafür, dass das Design auf weichen Stoffen wie Kunstpelz hervorsticht.
5. Stabilisator
Ein Stabilisator ist wichtig, um Kunstpelz an Ort und Stelle zu halten und ein Verrutschen des Stoffes zu verhindern. Für dickeres Kunstfell wird ein Cutaway-Stabilisator empfohlen, da er festen Halt bietet. Wenn das Kunstfell leicht ist und nicht so viel Stabilität erfordert, kann auch ein abreißbarer Stabilisator verwendet werden.
6. Temporärer Sprühkleber
Temporärer Sprühkleber sorgt dafür, dass das Vlies und der Kunstfellstoff während des Stickens sicher an Ort und Stelle bleiben. Dadurch wird ein Verrutschen verhindert, was bei der flauschigen Textur von Kunstpelz üblich ist, Sicherstellen, dass das Design während des gesamten Prozesses ausgerichtet bleibt.
7. Schere
Eine scharfe Stickschere ist unerlässlich, um Fell und Faden zu schneiden, ohne den Stoff zu ziehen oder zu beschädigen. Kleiner, Eine präzise Schere ist besonders hilfreich, um das Design zu schneiden, verleiht dem bestickten Kunstpelz ein sauberes Finish.
8. Markierungswerkzeug
Ein wasserlösliches oder hitzelöschbares Markierungswerkzeug eignet sich ideal zum Markieren von Richtlinien auf Kunstpelzstoffen. Diese Markierungen helfen bei der genauen Platzierung des Motivs und können nach dem Sticken leicht entfernt werden, Stellen Sie sicher, dass keine Rückstände auf dem Stoff zurückbleiben.
9. Stickrahmen
Ein Stickrahmen ist von entscheidender Bedeutung, um Kunstpelzstoffe fest an Ort und Stelle zu halten, ermöglicht präzises Nähen. Wählen Sie eine Rahmengröße, die zu Ihrem Design passt, um ein Verrutschen zu verhindern, Das Einrahmen hilft dabei, die Flauschigkeit von Kunstpelz zu kontrollieren und verhindert, dass es die Stickerei beeinträchtigt.
So sticken Sie Kunstpelz: Schritt für Schritt Anleitung
Beim Sticken auf Kunstpelz sind spezielle Techniken erforderlich, um professionelle Ergebnisse zu erzielen. Befolgen Sie diese Schritte, um sicherzustellen, dass Ihre Maschinenstickerei auf Kunstpelz sauber und klar aussieht.
1. Bereiten Sie den Kunstpelzstoff vor
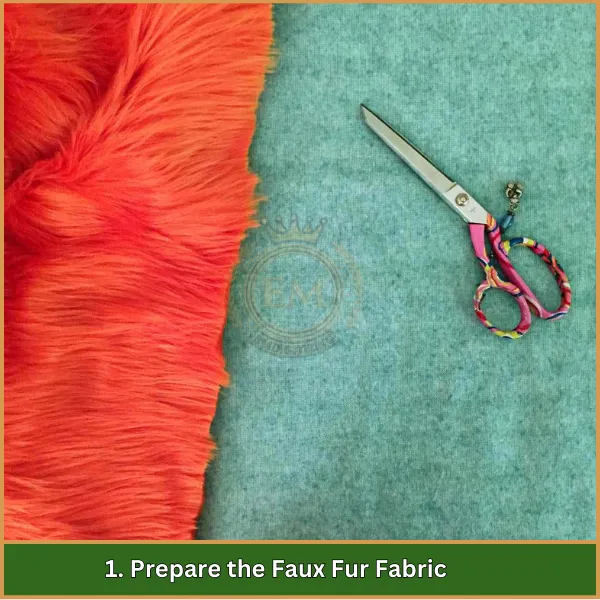
Bevor es losgeht, Bereiten Sie das Kunstfell vor, indem Sie überschüssige Flusen von der Stelle abschneiden, an der Sie sticken möchten. Dieser Schritt ist unerlässlich, wenn Sie mit langflorigem Kunstpelz arbeiten, da es die Designdetails verdecken kann.
2. Wählen und befestigen Sie den Stabilisator

Bringen Sie auf der Rückseite des Kunstfellstoffs ein ausgeschnittenes oder abreißbares Vlies an. Verwenden Sie temporären Sprühkleber, um ihn an Ort und Stelle zu halten, Dadurch bleibt der Stoff während des gesamten Stickvorgangs stabil.
3. Markieren Sie den Stickbereich
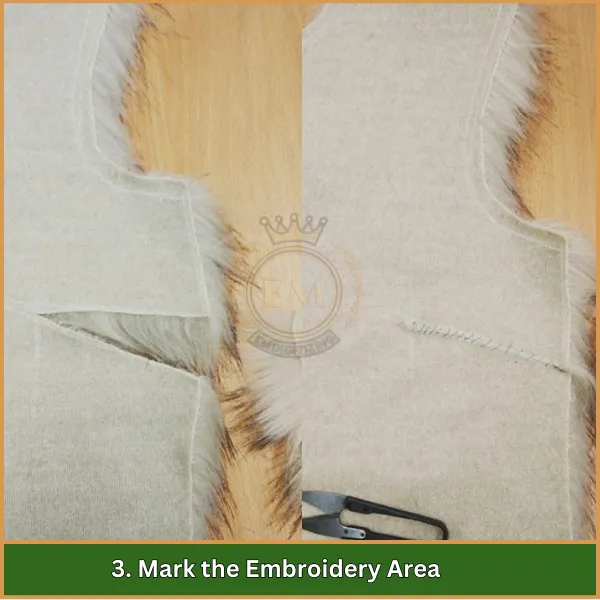
Verwendung eines wasserlöslichen oder hitzelöschbaren Markierungswerkzeugs, Markieren Sie die Mitte Ihres Designs auf dem Kunstpelz. Diese Markierung hilft bei der genauen Platzierung des Designs auf dem Stoff.
4. Lassen Sie den Stoff und das Vlies schweben (Statt Hooping)
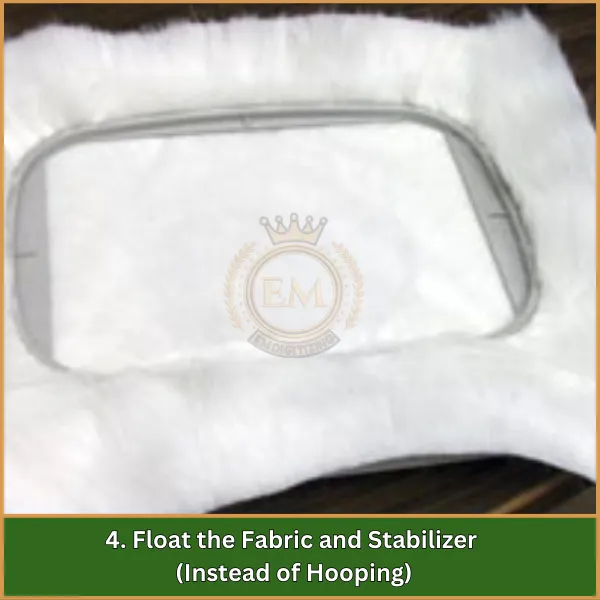
Für Kunstpelz, Das Schweben des Stoffes wird oft dem Spannen vorgezogen. Platzieren Sie das stabilisierte Kunstfell auf dem Stickvlies, ohne es direkt im Stickrahmen zu befestigen. Das Schweben hilft, ein Abflachen des Fells zu verhindern und das Verbrennen des Reifens zu reduzieren, die Spuren auf dem Stoff hinterlassen können.
5. Digitalisieren Sie das Stickdesign für Kunstpelz
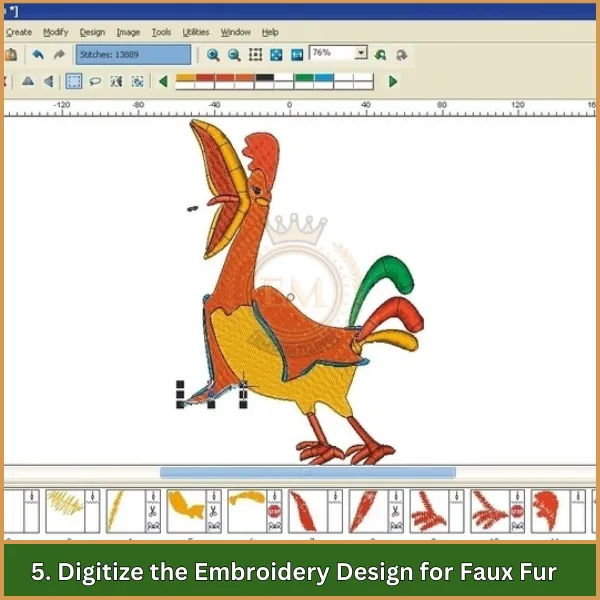
Zu wissen, wie man Kunstpelz erfolgreich bestickt, beginnt mit der richtigen Digitalisierung. Designs mit größeren, Kräftigere Formen und eine geringere Stichdichte funktionieren am besten, da sie sich deutlicher von der flauschigen Textur des Kunstfells abheben.
Wenn Sie kein digitalisiertes Design haben, Sie können es fachmännisch digitalisieren lassen EMdigitalisieren. Wir bieten hochwertige Digitalisierungsdienstleistungen zu erschwinglichen Preisen, Gewährleistung der besten Ergebnisse bei der Kunstpelzstickerei, wobei jedes Design auf Klarheit und Professionalität optimiert ist.
6. Laden Sie die Stickmaschine und richten Sie sie ein

Sobald Ihr Design digitalisiert ist, Laden Sie es in die Stickmaschine, um Kunstpelz effektiv zu besticken. Stellen Sie sicher, dass die Einstellungen der Dicke des Kunstfells entsprechen, und stellen Sie die Geschwindigkeit nach Möglichkeit auf eine niedrigere Geschwindigkeit ein, Da Kunstpelz ein kontrollierteres Nähen erfordert, um das Design ausgerichtet und präzise zu halten.
7. Beginnen Sie mit dem Stickvorgang
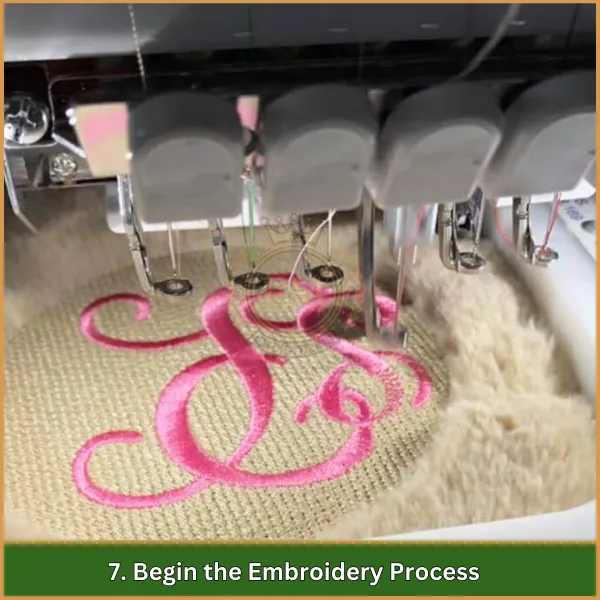
Beginnen Sie mit dem Sticken des Motivs, den Prozess sorgfältig überwachen. Kunstpelz erfordert möglicherweise leichte Anpassungen oder Pausen, um sicherzustellen, dass der Stoff ausgerichtet bleibt und die Stiche klar und definiert bleiben.
8. Schneiden und reinigen Sie den Designbereich
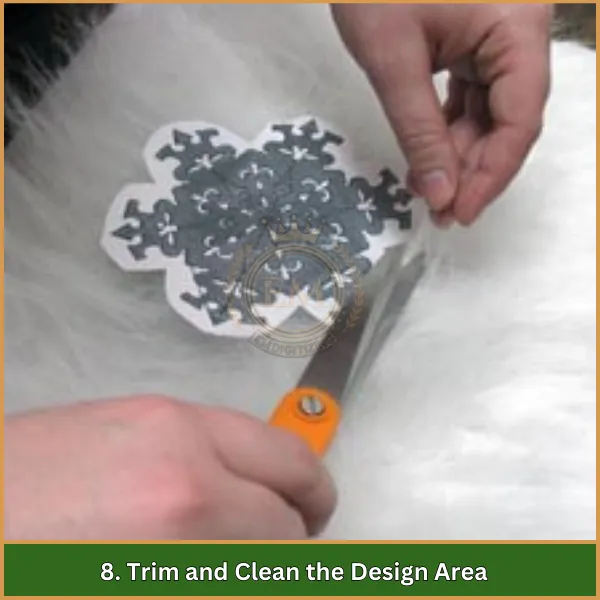
Nachdem die Stickerei abgeschlossen ist, Schneiden Sie alle losen Fäden ab und lockern Sie das Fell rund um das Design auf, um seine Textur wiederherzustellen. Achten Sie darauf, nicht zu stark zu ziehen, da dies die Stickerei oder den Stoff beschädigen könnte.
9. Entfernen Sie die Markierungen und den Stabilisator
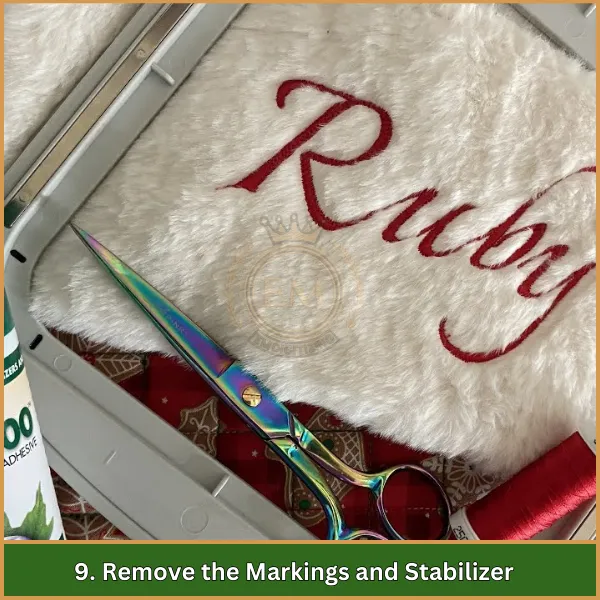
Endlich, Entfernen Sie das restliche Vlies von der Rückseite des Stoffes. Wenn Sie ein wasserlösliches Markierungswerkzeug verwendet haben, Reinigen Sie die Markierungen vorsichtig mit einem feuchten Tuch, Stellen Sie sicher, dass keine Rückstände auf dem Stoff zurückbleiben.
Tipps zum Digitalisieren von Stickmustern für Kunstpelz
- Wählen Sie Fett, Einfache Designs: Vermeiden Sie komplizierte Details; Auf Kunstpelz kommen kräftige Formen besser zur Geltung.
- Geringere Stichdichte: Reduziert die Mattierung und sorgt dafür, dass das Design auf der Stoffoberfläche sichtbar bleibt.
- Erhöhen Sie die Zugkompensation: Verhindert Designverzerrungen auf Kunstpelz durch Anpassung an Stoffverschiebungen.
- Verwenden Sie Satinstiche für Konturen: Erzeugt Fettdruck, sichtbare Linien; Vermeiden Sie dünne oder verlaufende Stiche.
- Vermeiden Sie kleine Buchstaben: Groß verwenden, einfache Schriftarten für bessere Lesbarkeit; kleiner Text kann im Fell verloren gehen.
- Test auf Musterstoff: Führen Sie einen Teststich durch, um das Erscheinungsbild des Designs zu überprüfen und Anpassungen vorzunehmen.
- Professionelle Digitalisierungsoption: Lassen Sie sich von uns fachmännisch digitalisieren, um hochwertige Ergebnisse auf Kunstpelz zu erzielen.
Endeffekt
Das Besticken von Kunstpelz kann eine unterhaltsame und lohnende Erfahrung sein, wenn Sie die richtigen Techniken kennen. Indem Sie die Schritte und Tipps in dieser Anleitung befolgen, Sie können Designs kreieren, die auf flauschigen Stoffen wirklich hervorstechen. Die richtige Digitalisierung ist für Kunstfellstickereien unerlässlich, um sicherzustellen, dass Ihr Design klar und professionell erscheint.
Wenn Sie Hilfe bei der Digitalisierung benötigen, EMdigitalisieren bietet erstklassige Dienstleistungen zu den günstigsten Preisen, mit einer superschnellen Abwicklung und garantierter Qualität. Plus, Wir bieten eine Vorschauoption, damit Sie Ihr Design vor der Fertigstellung sehen können.
Und wenn Sie zum ersten Mal Kunde sind, Genießen Sie ein besonderes Erlebnis 50% Rabatt auf Ihre Bestellung. Wir helfen Ihnen dabei, Ihre Kunstpelzstickerei zum Leben zu erwecken Experte für Digitalisierung!
