Jemals darüber nachgedacht wie man ein Visier stickt aber wusste nicht, wo ich anfangen sollte? Das Sticken eines Visiers ist eine unterhaltsame und kreative Möglichkeit, Ihrem Accessoire eine persönliche Note zu verleihen, Und es ist einfacher als Sie vielleicht denken.
Ob Sie Ihre Initialen präsentieren möchten, das Logo, oder ein einzigartiges Design, Dieser Leitfaden hilft Ihnen bei jedem Schritt des Weges. Ich werde alles abdecken, von der Vorbereitung Ihres Visiers bis zum Beenden wie ein Profi. Auch wenn Sie neu im Sticken sind, Sie werden feststellen. Schnapp dir also dein Visier und verwandeln wir es in etwas ganz Besonderes!
So besticken Sie ein Visier | Einfache Schritte-Anleitung
Wesentliche Materialien zum Sticken einer Visierkappe
Ich frage mich, wie man mühelos eine Visierkappe stickt? Die richtigen Werkzeuge und Vorräte zu haben, ist der erste Schritt zum Erfolg. Hier ist eine kurze Checkliste, um einen reibungslosen Stickvorgang zu gewährleisten:
- Visierkappe
- Stickmaschine
- Stabilisator (wegreißen oder wegschneiden)
- Stickgarn
- Sticknadel
- Reifengerät
- Schere
- Entwurfsvorlage
- Stoffmarker oder Kreide
1. Visierkappe
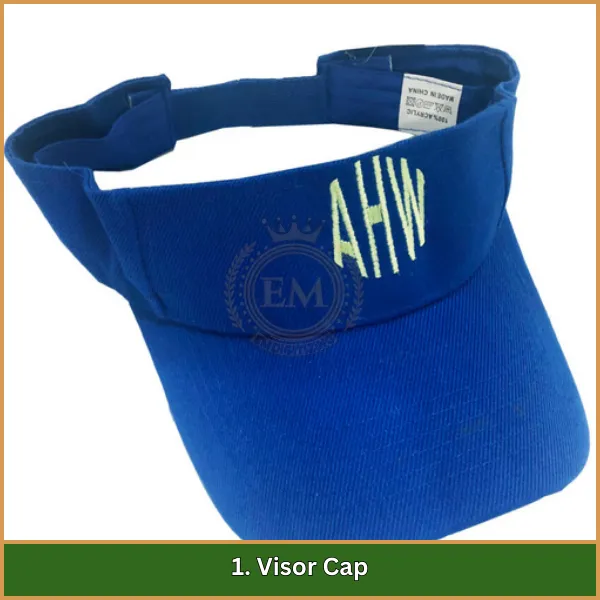
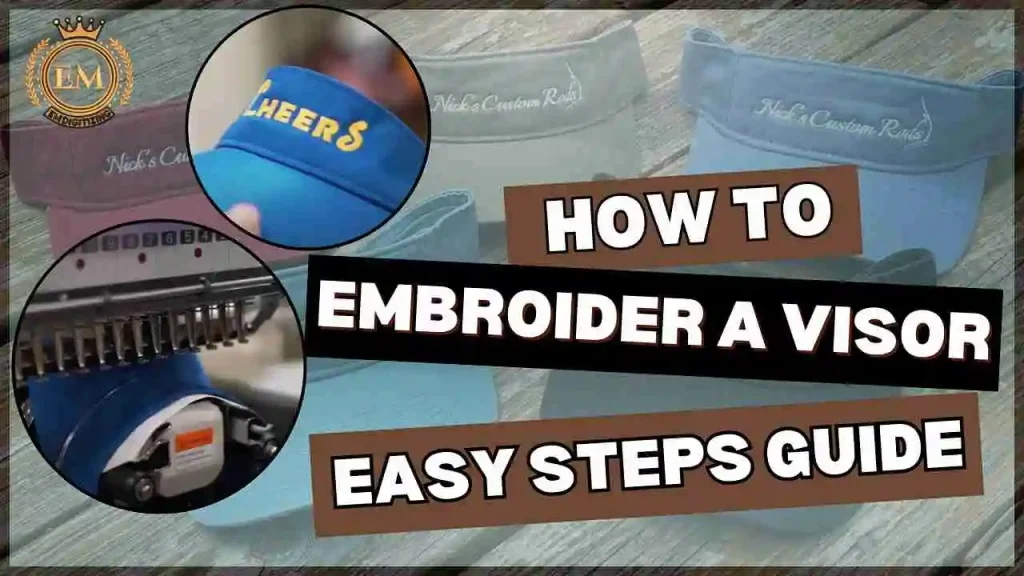
Beim Erstellen von a Visier Maschinenstickerei-Design, Die Auswahl der richtigen Visierkappe ist entscheidend. Suchen Sie nach einem Stoff, der gut mit Stickwäsche und Stabilisatoren passt, wie Baumwolle oder Polyester.
2. Stickmaschine
Eine Stickmaschine ist wichtig, um komplizierte Designs auf einem Visier zu erstellen. Stellen Sie sicher, dass Ihre Maschine kleinere Reifen unterstützt und dicke Stoffe umgehen kann.
3. Stabilisator (Wegreißen oder wegschneiden)
Stabilisatoren sind entscheidend für die Unterstützung des Stoffes während des Stickens. Wählen Sie Tränenstabilisatoren für einfache Designs oder abschneidende Stabilisatoren für detailliertere Muster.
4. Stickgarn
Hochwertiger Stickfaden, Wie Polyester oder Rayon, Gewährleistet dauerhafte und lebendige Ergebnisse. Polyester ist ideal für Gegenstände, die den Outdoor -Bedingungen ausgesetzt sind, wie Visierkappen.
5. Sticknadel
Sticknadeln sind speziell für dickere Fäden ausgelegt. Verwenden Sie Größen wie 75/11 oder 90/14, abhängig vom Gewicht und Stoff.
6. Reifengerät
Ein Reifengerät hält den Stoff sicher an Ort und Stelle, Gewährleistung von Präzision und Verhinderung von Fehlausrichtungen während des Nähens. Kleinere Reifen sind ideal für Visor -Stickereien.
7. Schere
Eine scharfe Stickerei ist notwendig, um Fäden und Stabilisatoren sauber zu beschneiden, ohne Ihr Design zu beschädigen.
8. Entwurfsvorlage
Eine Designvorlage sorgt für eine genaue Platzierung Ihrer Stickerei am Visier. Dies ist besonders hilfreich, wenn Sie auf gekrümmten Oberflächen arbeiten.
9. Stoffmarker oder Kreide
Stoffmarkierungen oder Kreide helfen bei der Markierung von Richtlinien für wie man ein Visier stickt genau. Stellen Sie sicher, dass die Markierungen waschbar oder abnehmbar sind, um ein sauberes Finish aufrechtzuerhalten.
So besticken Sie ein Visier | Schritt für Schritt
Das Sticken eines Visiers ist eine kreative Möglichkeit, Ihrem Accessoires eine persönliche Note zu verleihen. Mit den richtigen Werkzeugen und Schritten, Sie können schöne und professionell aussehende Designs auf Ihrem Visier erstellen. Lassen Sie uns in den Prozess eintauchen!
Schritt 1: Planen Sie Ihr Design
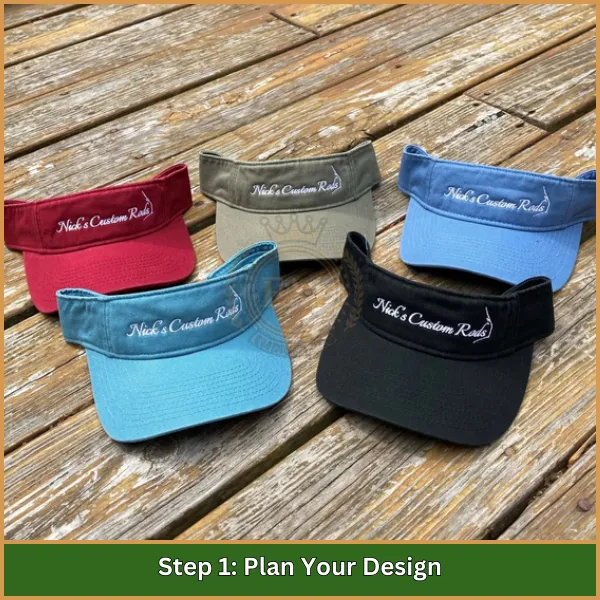
- Denken Sie an die Stickereien für Visor Das passt am besten zu Ihrem Stil oder Zweck. Zu den beliebten Optionen gehören Monogramme, Logos, oder Blumenmuster.
- Messen Sie den Stickbereich auf dem Visier und stellen Sie sicher, dass Ihr Design perfekt in diesen Raum passt.
Schritt 2: Bereiten Sie das Visier vor
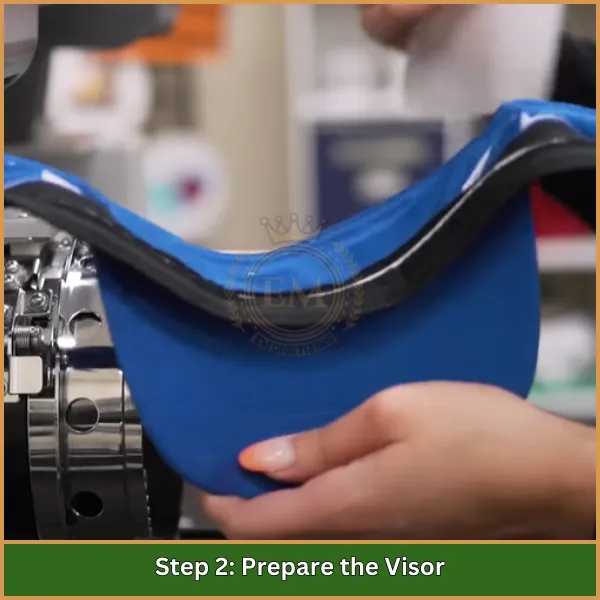
- Verwenden Sie einen Stoffmarker, um das Zentrum Ihres Entwurfsbereichs zu identifizieren.
- Wenn Ihr Visier gebogen ist, Erwägen Sie, einen spezialisierten Reifen- oder Cap -Rahmen zu verwenden, um ihn sicher an Ort und Stelle zu halten.
Schritt 3: Wählen Sie den richtigen Stabilisator
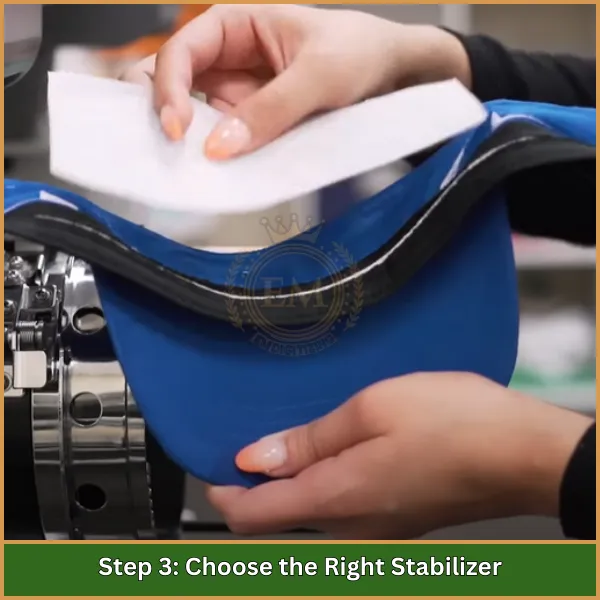
- Wählen Sie einen Stabilisator basierend auf dem Stofftyp und der Entwurfskomplexität aus:
- Abreißstabilisator: Am besten für einfache Designs.
- Ausschnittstabilisator: Ideal für detaillierte oder dichte Designs.
- Befestigen Sie den Stabilisator mit Klebstoffspray oder Stiften zur Stabilität an der Rückseite des Visiers.
Schritt 4: Richten Sie die Stickmaschine ein
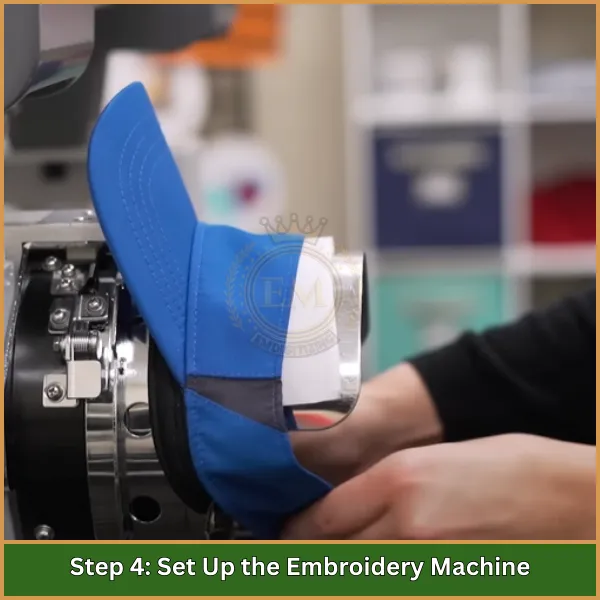
- Laden Sie Ihren Stickstoff und stellen Sie sicher, dass die richtige Nadel vorhanden ist.
- Importieren Sie Ihr ausgewähltes Design in die Maschine und passen Sie die Platzierung an den markierten Bereich auf dem Visier ein.
Schritt 5: Sticken Sie Ihr Design
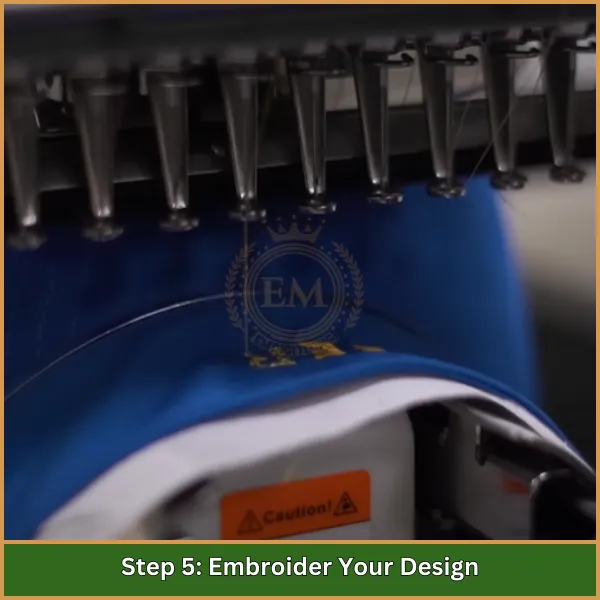
- Beginnen Sie mit dem Nähen, Behalten Sie den Prozess im Auge, um Ausrichtung und reibungslose Nähte zu gewährleisten.
- Wenn Probleme auftreten, Machen Sie die Maschine an und nehmen Sie die erforderlichen Anpassungen vor.
Schritt 6: Feinschliff
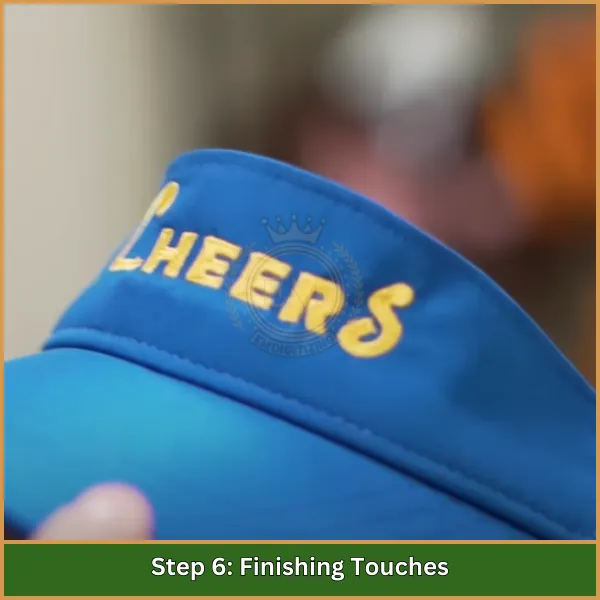
- Entfernen Sie das Visier vorsichtig aus dem Reifen oder Rahmen.
- Schneiden Sie überschüssige Stabilisator und lose Gewinde für eine saubere Finish weg.
- Überprüfen Sie die Stickerei für Bereiche, die möglicherweise nachbessern müssen.
Mastering Visor Stickerei: Experten -Tipps
Erstellen professioneller Stickereien auf einem Visier erfordert sorgfältige Planung und Liebe zum Detail. So können Sie beim Lernen die besten Ergebnisse erzielen wie man eine Visorkappe stickt:
- Wählen Sie den perfekten Stabilisator aus: Passen Sie den Stabilisator an den Stoff Ihres Visiers an. Verwenden Sie Tränenausflug für leichte Stoffe und schneiden für kompliziertere Designs, die zusätzliche Unterstützung benötigen.
- Sichern Sie Ihr Visier: Stellen Sie sicher. Haftstabilisatoren können eine große Hilfe sein, um das Visier stabil zu halten.
- Richten Sie Ihr Design genau aus: Markieren Sie immer das Zentrum und den Platzierungsbereich am Visier. Das Design des Visiers leicht zu senken verstärkt oft sein Aussehen.
- Verwenden Sie spezielle Werkzeuge: Ein Cap -Rahmen, falls verfügbar, kann einen besseren Griff und Präzision liefern, wenn sie an Visiere oder Hüten arbeiten.
- Präzision einstellen: Reduzieren Sie die Maschinengeschwindigkeit, wenn Sie an komplizierten oder detaillierten Designs arbeiten, um die Genauigkeit aufrechtzuerhalten und Fehler zu vermeiden.
- Testen Sie zuerst: Führen Sie einen Teststich auf einem ähnlichen Stoff durch, um die Ausrichtung zu überprüfen, Größe, und allgemeine Erscheinung, bevor Sie sich zum letzten Stück verpflichten.
- Beobachten Sie, wie Sie nähen: Bleiben Sie während des Stickprozesses aufmerksam, um Probleme wie Thread -Pausen oder Fehlausrichtungen schnell zu beheben.
- Sollige Schliffung: Schneiden Sie alle losen Fäden ab und reinigen Sie Sprungstiche sorgfältig, um Ihr Design poliert zu halten.
- Glätten Sie es aus: Nach dem Sticken, Entfernen Sie vorsichtig Stabilisatorreste und drücken Sie das Visier leicht mit einem Tuch, um Falten zu beseitigen und das Aussehen des Designs zu verbessern.
- Regelmäßig üben: Experimentieren Sie mit unterschiedlichen Vene und Designs, um Ihre Fähigkeiten zu verfeinern und Vertrauen zu schaffen.
Fazit
Lernen, wie man ein Visier stickt, ist ein lustiger und lohnender Prozess, aber manchmal, Das Erstellen des perfekten Designs kann Zeit und Fachwissen in Anspruch nehmen. Hier kommt die Emdigitation ins Spiel!
Wir sind spezialisiert auf eine qualitativ hochwertige Bereitstellung Digitalisierung von Dienstleistungen zu unschlagbaren Preisen. Unser Team sorgt für superschnelle Abwicklungszeiten und liefert Designs mit garantierter Präzision und Qualität. Sie können sogar Ihr Design vorantreiben, bevor Sie es fertigstellen, um sicherzustellen, dass genau das ist, was Sie benötigen.
Und hier ist der beste Teil: wenn Sie zum ersten Mal mit uns zusammenarbeiten, Du wirst es genießen 50% Rabatt auf Ihre erste Bestellung. Lassen Sie uns mit der Digitalisierung umgehen, während Sie sich darauf konzentrieren, etwas Erstaunliches zu schaffen. Bereit zu beginnen? Kontaktieren Sie uns EMDigitalisierung Heute und erwecken Sie Ihre Vision zum Leben!
Häufig gestellte Fragen
Ein Visier zu sticken, Sie benötigen ein Visier, Stickgarn, ein Stabilisator (wegreißen oder wegschneiden), und eine Sticknadel. Ein Stoffmarker oder eine Kreide ist auch hilfreich, um die Designplatzierung zu markieren.
Ja, Eine Stickmaschine mit der Fähigkeit, auf gekrümmten Oberflächen oder einem geeigneten Reifen zu arbeiten, ist unerlässlich. Eine Visierklemme oder ein Cap -Rahmen kann auch dazu beitragen, das Visier während des Stickprozesses zu sichern.
Wählen Sie ein Design, das der Größe und Form der Visiervorderseite entspricht. Klein, Einfache Designs sind oft die beste Wahl, da sie leichter ausrichten und auf dem begrenzten Raum nähen können.
Sie können einen Stoffmarker oder einen wasserlöslichen Stift verwenden, um die Platzierung des Designs auf dem Visier zu markieren. Einmal markiert, Laden Sie das Design in Ihre Stickmaschine und richten Sie es vor dem Nähen mit den Markierungen aus.
