Habe mich jemals gefragt wie man mit Cricut sublimiert um auffällige personalisierte Designs zu erstellen? Hier sind Sie richtig! Sublimation mag kompliziert klingen, aber mit einer Cricut-Maschine und ein wenig Anleitung, es ist einfach und macht Spaß.
In diesem Ratgeber, Wir werden den gesamten Prozess Schritt für Schritt aufschlüsseln, damit Sie Ihre kreativen Ideen in die Realität umsetzen können. Von der Vorbereitung Ihrer Materialien bis zur Übertragung Ihres Designs, Wir werden alles abdecken. Machen Sie sich bereit, schlichte Gegenstände in lebendige zu verwandeln, individuelle Kreationen ganz einfach!
So führen Sie eine Sublimation mit Cricut durch | Detaillierte Anleitung
Unverzichtbare Materialien für die Sublimation mit der Cricut-Heißpresse
If you’;Ich frage mich Wie man mit Cricut Maker Sublimation macht, Es ist wichtig, über die richtigen Materialien zu verfügen. Here’;Es ist alles, was Sie brauchen, um loszulegen:
- Sublimationsrohlinge
- Sublimationstinte
- Sublimationsdrucker
- Hitzepresse
- Sublimationspapier
- Hitzebeständiges Klebeband
- Design-Software
- Schutzpapier oder Pergamentpapier
- Handschuhe
1. Sublimationsrohlinge
Hierbei handelt es sich um speziell zubereitete Gegenstände wie Tassen, T-Shirts, und Handyhüllen, die Sublimationstinte aufnehmen können. Sie bestehen aus Polyester oder sind mit einer Polymerbeschichtung versehen, um eine dauerhafte Verbindung des Designs zu gewährleisten.
2. Sublimationstinte
Diese einzigartige Tinte verwandelt sich beim Erhitzen von einem Feststoff in einen Gaszustand, lebendige Designs direkt in das Rohlingsmaterial einbringen. Normale Tinte kann nicht für die Sublimation verwendet werden.
3. Sublimationsdrucker
Zum Drucken Ihrer Designs mit Sublimationstinte ist ein spezieller Sublimationsdrucker erforderlich. Beliebte Modelle sind Sawgrass-Drucker oder umgebaute Epson EcoTank-Drucker.
4. Hitzepresse
Eine Heißpressmaschine übt die nötige Hitze und den nötigen Druck aus, um das Design auf den Rohling zu übertragen. Für kleine Projekte, Eine Cricut EasyPress ist ebenfalls eine gute Option.
5. Sublimationspapier
Dieses Spezialpapier hält die Sublimationstinte, bis sie erhitzt wird, Übertragen Sie das Design präzise und sorgen Sie für lebendige Ergebnisse.
6. Hitzebeständiges Klebeband
Dieses Band sichert das Sublimationspapier zum Rohling, Halten Sie das Design während des Wärmeübertragungsprozesses an Ort und Stelle, um eine Fehlausrichtung zu verhindern.
7. Design-Software
Verwenden Sie zum Erstellen Software wie Cricut Design Space, anpassen, und bereiten Sie Ihre Designs für die Sublimation vor. Es hilft beim Festlegen der richtigen Abmessungen und beim Erstellen detaillierter Kunstwerke.
8. Schutzpapier oder Pergamentpapier
Legen Sie diese beim Pressen über Ihr Sublimationspapier, um die Heißpresse und den Rohling vor überschüssiger Tinte oder Feuchtigkeit zu schützen.
9. Handschuhe
Während optional, Hitzebeständige Handschuhe eignen sich hervorragend für den sicheren Umgang mit heißen Gegenständen, direkt nachdem diese aus der Heißpresse kommen.
10 Schritte zum Sublimationsprozess mit der Cricut-Heißpresse
Verwandeln Sie Ihre Kreativität in atemberaubende Designs mit dieser Schritt-für-Schritt-Anleitung Kann man mit Cricut sublimieren?. Here’;So erzielen Sie mühelos makellose Ergebnisse:
1. Das Wesentliche, das Sie für den Einstieg benötigen
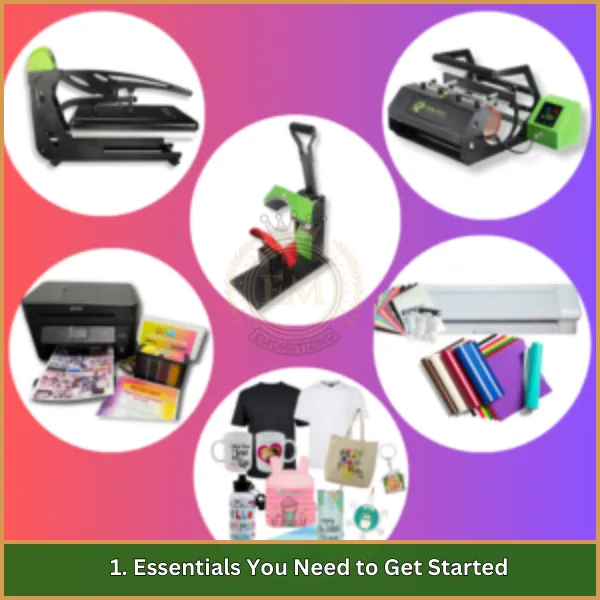
Beginnen Sie damit, alle Materialien zusammenzustellen, die Sie benötigen, inklusive Sublimationsdrucker, Sublimationstinte, Sublimationspapier, Hitzepresse, Sublimationsrohlinge, hitzebeständiges Klebeband, Schutzpapier, und Handschuhe.
2. Richten Sie Ihren Drucker für die Sublimation ein
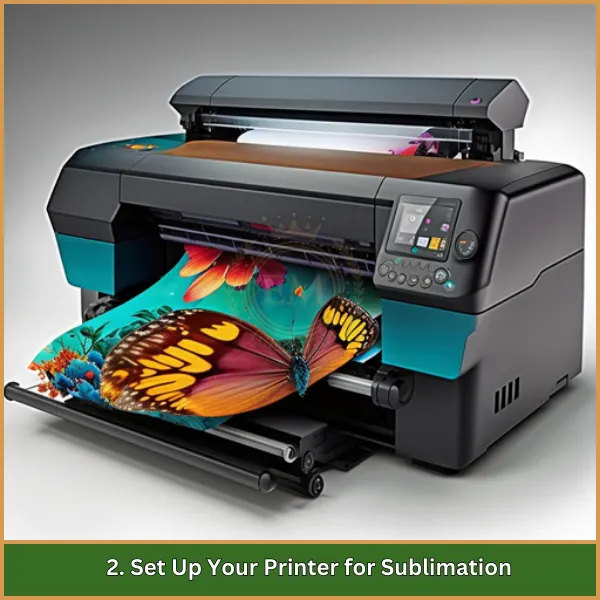
Installieren Sie Sublimationstinte in Ihrem Drucker, ensuring it’;Wird bei Bedarf für die Sublimation konvertiert. Befolgen Sie die Anweisungen des Herstellers für eine reibungslose Einrichtung.
3. Erstellen Sie Ihr Design im Cricut Design Space
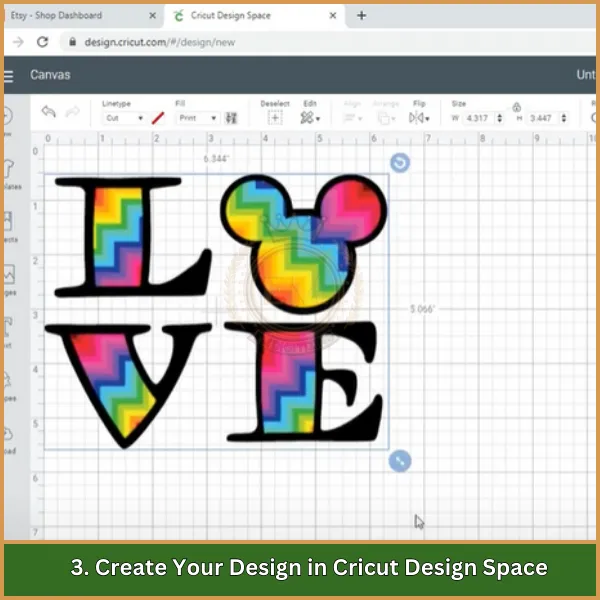
Laden Sie Ihr Design im PNG-Format in Cricut Design Space hoch. Passen Sie die Größe an, Aktivieren Sie die Option „Spiegeln“., und stellen Sie das Design auf „Komplex“ ein, um die feinen Details beizubehalten.
4. Drucken Sie das Sublimationsdesign aus
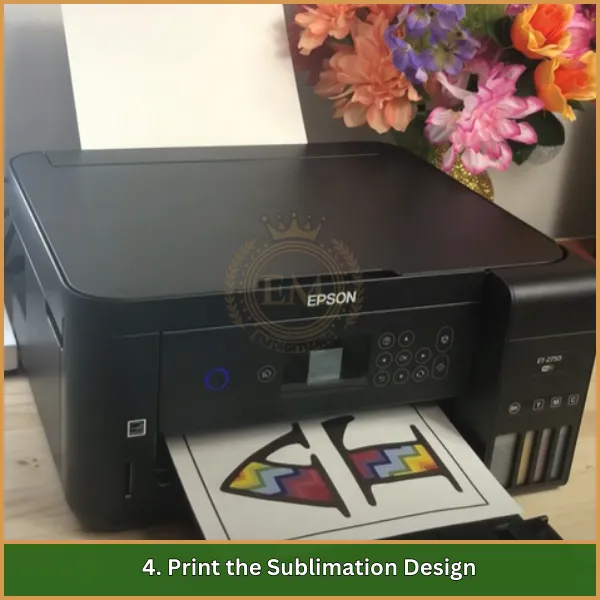
Verwenden Sie die Druckfunktion im Cricut Design Space, um Ihr Design an den zu senden Sublimationsdrucker. Wählen Sie die höchste Druckqualität und stellen Sie vor dem Drucken sicher, dass die Einstellungen korrekt sind.
5. Bereiten Sie Ihr Substrat für die Übertragung vor
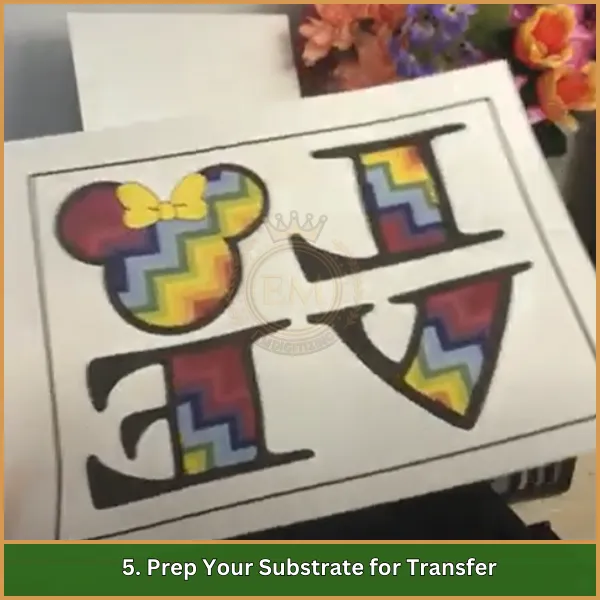
Heizen Sie Ihre Transferpresse oder EasyPress auf die gewünschte Temperatur vor (normalerweise zwischen 385°F und 400°F). Wenn benötigt, Den Untergrund einige Sekunden vorheizen, um Feuchtigkeit zu entfernen.
6. Richten Sie Ihr Design aus und sichern Sie es
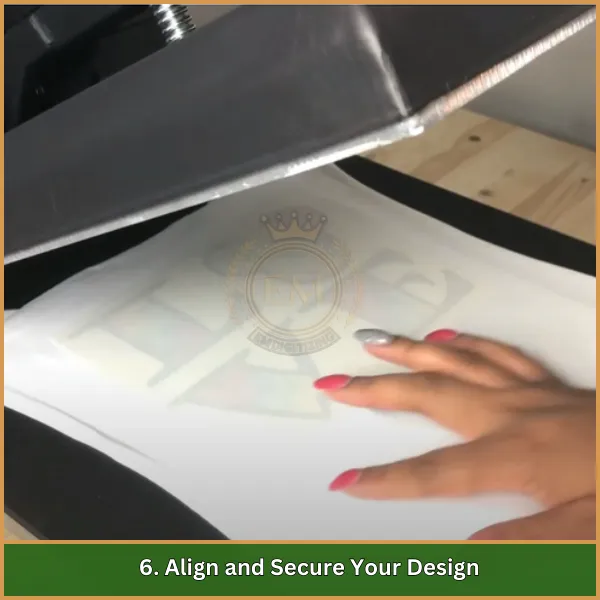
Schneiden Sie das gedruckte Design bei Bedarf zu, Legen Sie es mit der Vorderseite nach unten auf den Untergrund, und befestigen Sie es mit hitzebeständigem Klebeband, um jede Bewegung während des Übertragungsvorgangs zu vermeiden.
7. Wenden Sie Wärme an, um das Design zu übertragen
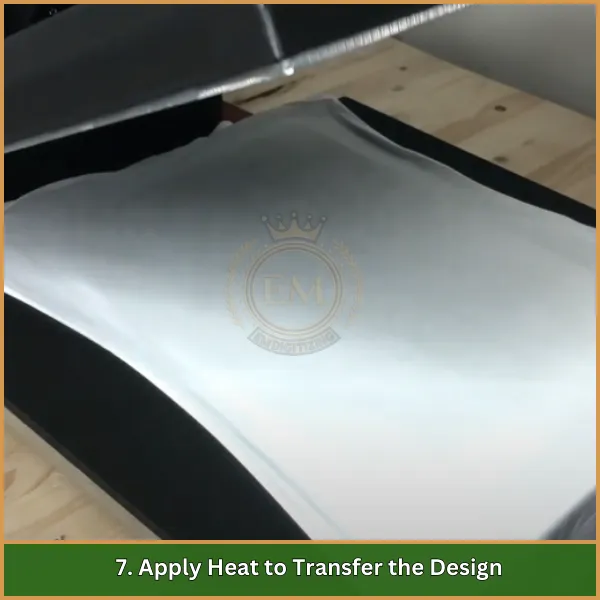
Decken Sie das Design mit Schutzpapier oder Pergamentpapier ab, Drücken Sie es dann mit Ihrer Heißpresse für die empfohlene Zeit (30-60 Sekunden) und Temperatur.
8. Vorsichtig herausnehmen und abkühlen lassen
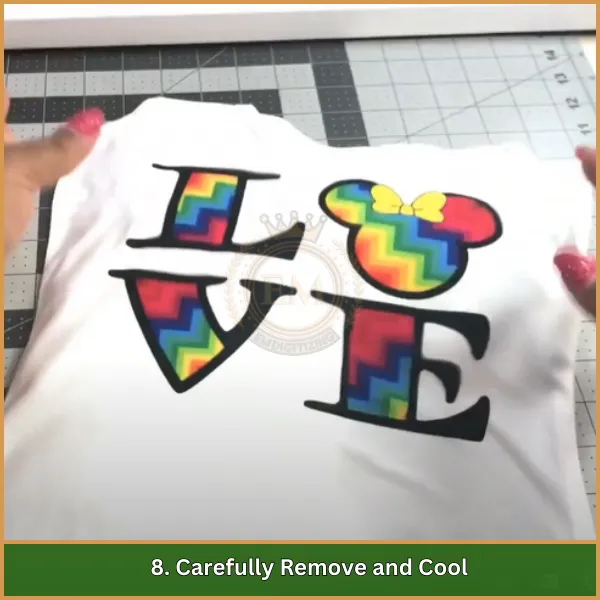
Sobald die Pressung abgeschlossen ist, Entfernen Sie den Untergrund, solange er noch warm ist, und lassen Sie ihn vollständig abkühlen, bevor Sie das Design berühren oder inspizieren.
9. Fügen Sie den letzten Schliff hinzu
Untersuchen Sie Ihr fertiges Produkt auf etwaige Mängel, Entfernen Sie überschüssiges Klebeband oder Papierreste, und bewundern Sie Ihre Arbeit!
10. Behalten Sie Ihre sublimierten Kreationen bei
Geben Sie Pflegehinweise für den Artikel weiter, wie schonende Wasch- und Trocknungsmethoden, damit Ihre sublimierten Designs lange lebendig und frisch aussehen.
Wichtige Tipps für die perfekte Sublimation mit Cricut
Erzielen Sie mit diesen wichtigen Tipps professionelle Ergebnisse wie man mit Cricut sublimiert:
- Verwenden Sie Premium-Materialien: Entscheiden Sie sich für hochwertiges Sublimationspapier (wie A-Sub) und richtig beschichtete Rohlinge für lebendige und langlebige Designs.
- Spiegeln Sie immer Ihr Design: Aktivieren Sie vor dem Drucken die Spiegeloption im Cricut Design Space, um sicherzustellen, dass das Design korrekt übertragen wird.
- Heizen Sie Ihr Substrat vor: Erhitzen Sie Ihren Rohling 10 Sekunden, um Feuchtigkeit und Falten zu beseitigen, Schaffung einer glatten Oberfläche für die Übertragung.
- Mit einer Fusselrolle reinigen: Entfernen Sie Staub und Schmutz von Ihrem Rohling, um Unvollkommenheiten im endgültigen Design zu vermeiden.
- Mit hitzebeständigem Klebeband befestigen: Kleben Sie Ihr Design fest auf den Rohling, um ein Verrutschen beim Pressen zu vermeiden.
- Befolgen Sie die richtigen Wärmeeinstellungen: Verwenden Sie die empfohlene Temperatur (etwa 385°F) und Zeit (30-60 Sekunden) basierend auf Ihrem Material.
- Schneiden Sie überschüssiges Papier ab: Schneiden Sie überschüssiges Papier um das Design herum ab, um Geisterbilder oder unerwünschte Spuren während der Übertragung zu vermeiden.
- Testen Sie vor der Fertigstellung: Führen Sie einen Testdruck auf Stoffresten durch, um Farben und Einstellungen zu optimieren.
- Vorsichtig behandeln: Lassen Sie den Gegenstand vollständig abkühlen, bevor Sie ihn berühren, um Flecken oder Beschädigungen zu vermeiden.
Indem Sie diese Tipps umsetzen, Sie können mit Ihrem Cricut makellose und lebendige Sublimationsdesigns erstellen!
Beheben häufiger Sublimationsprobleme mit Cricut
Herausforderungen meistern und gleichzeitig meistern wie man mit Cricut sublimiert? Hier sind die wichtigsten Probleme und schnelle Lösungen, die Ihnen zum Erfolg verhelfen:
1. Design wird nicht übertragen
- Ausgabe: Inkompatible Rohlinge oder falsche Heizeinstellungen.
- Fix: Verwenden Sie sublimationsspezifische Rohlinge und befolgen Sie die empfohlenen Richtlinien für die Heißpresse.
2. Verschwommene oder stumpfe Drucke
- Ausgabe: Minderwertiges Sublimationspapier oder ungleichmäßiger Druck.
- Fix: Verwenden Sie hochwertiges Sublimationspapier und stellen Sie sicher, dass Ihre Presse einen gleichmäßigen Druck ausübt.
3. Geisterbilder oder Fehlausrichtung
- Ausgabe: Beim Pressen bewegte sich das Sublimationspapier.
- Fix: Befestigen Sie das Design mit hitzebeständigem Klebeband und vermeiden Sie es, den Untergrund zu beschädigen, bis er abgekühlt ist.
4. Ungleichmäßige Farben oder Flecken
- Ausgabe: Feuchtigkeit im Rohling oder ungleichmäßige Wärmeeinwirkung.
- Fix: Heizen Sie den Rohling kurz vor und stellen Sie sicher, dass Ihre Heißpresse die Hitze gleichmäßig verteilt.
5. Farbprobleme vom Drucker
- Ausgabe: Fehlendes ICC-Profil oder falsche Druckeinstellungen.
- Fix: Installieren Sie das richtige ICC-Profil für Ihre Tinte und Ihren Drucker, und passen Sie die Druckeinstellungen für lebendige Farben an.
Abschließende Gedanken
Lernen wie man mit Cricut sublimiert kann die Tür zu endlosen kreativen Möglichkeiten öffnen. Von personalisierten T-Shirts bis hin zu individuellen Tassen, Sublimation ist eine einfache und unterhaltsame Möglichkeit, Ihre Designs zum Leben zu erwecken. Mit den richtigen Schritten, Sie werden jedes Mal professionell aussehende Ergebnisse erzielen!
Benötigen Sie Hilfe bei der Erstellung Ihrer Designs?? EMDigitalisierung ist für Sie da! Wir bieten professionelle Vektorkunstdienste zu unschlagbaren Preisen, mit einer superschnellen Bearbeitungszeit und garantierter Qualität. Plus, Sie erhalten eine Vorschauoption, um sicherzustellen, dass Ihr Design genau Ihren Wünschen entspricht.
Hier ist ein exklusives Angebot für Sie: als Erstkunde, Du wirst es genießen 50% aus bei Ihrer ersten Bestellung. Warten Sie nicht – kontaktieren Sie uns jetzt und lassen Sie uns Ihre Sublimationsprojekte zum Strahlen bringen!
Häufig gestellte Fragen
Absolut! Während Ihre Cricut-Maschine beim Schneiden komplizierter Designs hilft, Der eigentliche Sublimationsprozess erfordert einen Sublimationsdrucker und eine Heißpresse, um Designs auf Ihre Materialien zu übertragen.
Sie können auf Stoffen auf Polyesterbasis oder polymerbeschichteten Gegenständen wie Tassen sublimieren, Untersetzer, und Schlüsselanhänger. Diese Materialien wurden speziell für die Verwendung mit Sublimationstinte entwickelt, um lebendige und dauerhafte Designs zu erzielen.
Ja, Sublimationstinte ist ein Muss. Diese spezielle Tinte ist so konzipiert, dass sie sich beim Erhitzen in Gas verwandelt, Verklebung mit der Oberfläche Ihres Sublimationsrohlings. Mit normaler Tinte erzielen Sie nicht das gleiche Ergebnis.
Ja, solange die Transferpresse die erforderliche Temperatur erreicht und einen gleichmäßigen Druck erzeugt, Sie können es zur Sublimation verwenden. Kleinere Projekte können sogar mit einer Cricut EasyPress durchgeführt werden!
