Wollten Sie schon immer Ihre eigenen benutzerdefinierten Klettverschlüsse entwerfen?? Diese Patches eignen sich perfekt, um Uniformen eine persönliche Note zu verleihen, Taschen, oder sogar Jacken, Und das Beste daran ist, wie leicht sie mit Klettverschluss befestigen und entfernen.
Sie selbst mit einer Stickmaschine selbst zu machen, kann schwierig erscheinen, Aber mit den richtigen Schritten, it’;s unkompliziert und lustig! In diesem Ratgeber, you’;Ich lerne, wie man die richtigen Materialien sammelt, Entwerfen Sie Ihren Patch, und vervollständige es wie ein Profi. Bereit, kreativ zu werden?
Lassen Sie uns in den Prozess eintauchen!
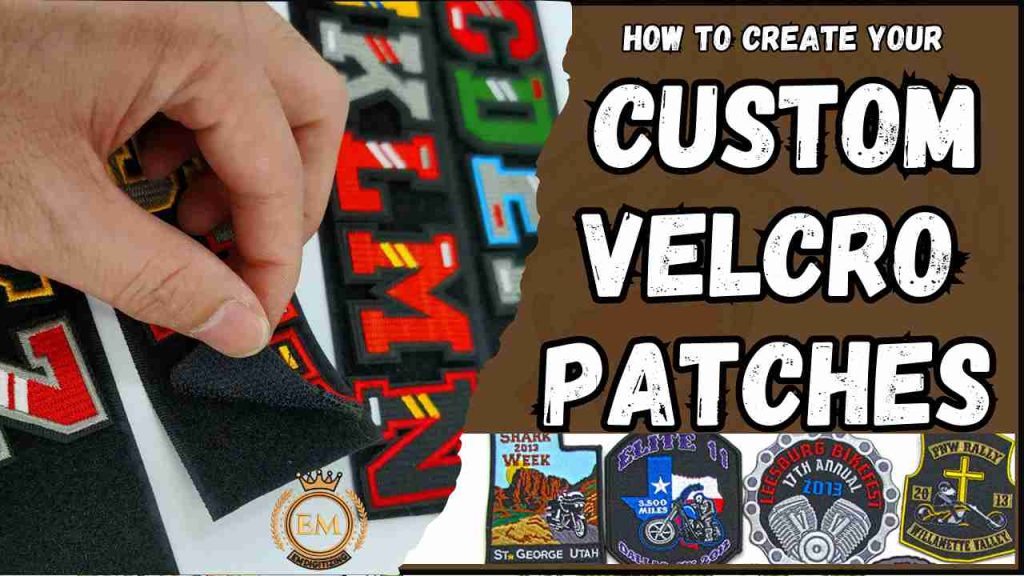
So erstellen Sie Ihre individuellen Klettpatches?
Was sind Klettverpte?
Klettwäsche sind eine Art Patch, der Haken- und Schleifenbefestigungen verwendet, allgemein als Klettverschluss bekannt, Um sich leicht von Oberflächen wie Kleidung zu befestigen und zu lösen, Taschen, oder Uniformen. Diese Patches sind vielseitig, Ermöglichen, dass Benutzer sie ein- und ausschalten, ohne den Stoff dauerhaft zu ändern.
Die Hakenseite des Klettverteilers wird normalerweise auf den Patch genäht, während die Schleife an der Oberfläche befestigt ist, auf der der Patch platziert wird. Diese Funktion macht Klettpatches ideal für Anwendungen, bei denen Flexibilität und schnelle Änderungen erforderlich sind, wie beim Militär, taktisch, oder Sportuniformen.
Materialien, die für benutzerdefinierte Klettverschlüsse benötigt werden
Hier sind die wesentlichen Materialien, die Sie benötigen, um Ihre eigenen Klettverpte mit einer Stickmaschine individuell zu erstellen.
- Stoff (langlebiges Material wie Twill oder Leinwand)
- Stickgarn
- Stickmaschine
- Sticknadeln
- Klettverschluss (Haken und Schleifen)
- Stabilisator (wegreißen oder wegschneiden)
- Stoffschere
- Heizdichtungsrücken (Optional)
- Stoffkleber oder Nähmaschine zum Befestigung von Klettverschluss
- Stickrahmen
1. Stoff (Strapazierfähiges Material wie Twill oder Canvas)
Der Stoff ist die Basis für Ihren Aufnäher. Oft wird Twill oder Canvas verwendet, da diese Materialien robust sind und dem z. B. standhalten könnenStickerei gut, ohne zu reißen oder zu dehnen.
2. Stickgarn
Für die Gestaltung des Aufnähers wird Stickgarn verwendet. Es gibt es in vielen Farben, So können Sie die besten auswählen, die zu Ihrem Design passen. Diese Fäden sind stark und verleihen Ihren Flicken ein glänzendes Finish.
3. Stickmaschine
Mit einer Stickmaschine sticken Sie das Design auf den Stoff. Stellen Sie sicher, dass Ihr Computer die Größe und Komplexität Ihres Patch-Designs bewältigen kann.
4. Sticknadeln
Sticknadeln sind speziell dafür konzipiert Maschinenstickerei. Sie sind scharf und präzise, So bleiben Faden und Stoff beim Nähen in einwandfreiem Zustand.
5. Klettverschluss (Klettverschluss)
Durch den Klettverschluss ist der Patch abnehmbar. Die Hakenseite wird auf den Patch genäht, Während die Schleife an dem Element befestigt ist, in dem Sie den Patch platzieren.
6. Stabilisator (Wegreißen oder wegschneiden)
Ein Stabilisator wird verwendet, um den Stoff während der Stickerei stabil zu halten. Es verhindert, dass der Stoff sich bündelt, sicherzustellen, dass die Stiche ordentlich und sogar sind.
7. Stoffschere
Sie benötigen Stoffschere, um den Patch in Form zu schneiden, sobald die Stickerei abgeschlossen ist. Scharfe Scheren tragen dazu bei, saubere Kanten rund um den Patch zu erzeugen.
8. Heizdichtungsrücken (Optional)
Eine Heizdichtsrücklage macht den Patch langlebiger. Dadurch können Sie den Patch auf Stoff bügeln, Bereitstellung zusätzlicher Stabilität und Stärke.
9. Stoffkleber oder Nähmaschine zum Befestigung von Klettverschluss
Nachdem der Patch gestickt ist, Sie müssen den Klettverschluss anbringen. Sie können den Klettverschluss mit Stoffkleber oder einer Nähmaschine sicher auf der Rückseite des Aufnähers befestigen.
10. Stickrahmen
Ein Stickerei Der Rahmen hilft dabei, den Stoff fest an Ort und Stelle zu halten, während die Maschine arbeitet. Dadurch wird gewährleistet, dass die Motivstiche gleichmäßig auf dem Stoff verteilt werden.
Schritt-für-Schritt-Anleitung zum Erstellen individueller Klettpatches
Befolgen Sie diese einfachen Schritte, um Ihre individuellen Patches mit Klettverschluss zu erstellen EmbRoidery-Maschine.
1. Wählen Sie Ihren Stoff aus und bereiten Sie ihn vor
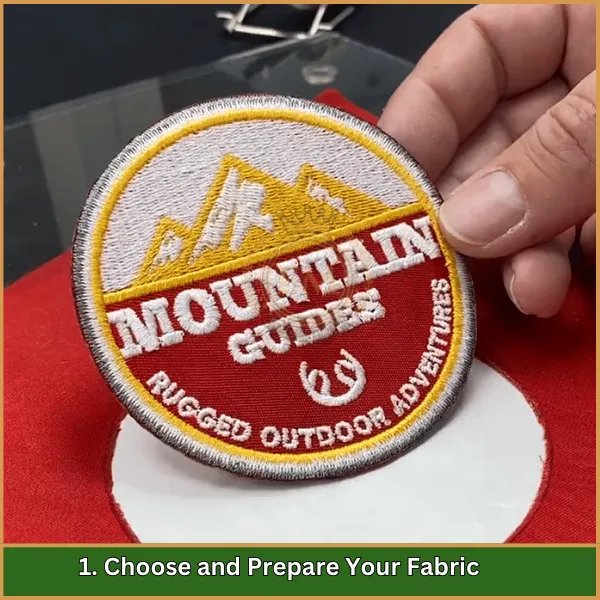
Wählen Sie einen strapazierfähigen Stoff wie Twill oder Canvas. Schneiden Sie es auf die gewünschte Größe zu, making sure it’;Es ist etwas größer als die endgültige Patchgröße.
2. Tragen Sie den Stabilisator auf
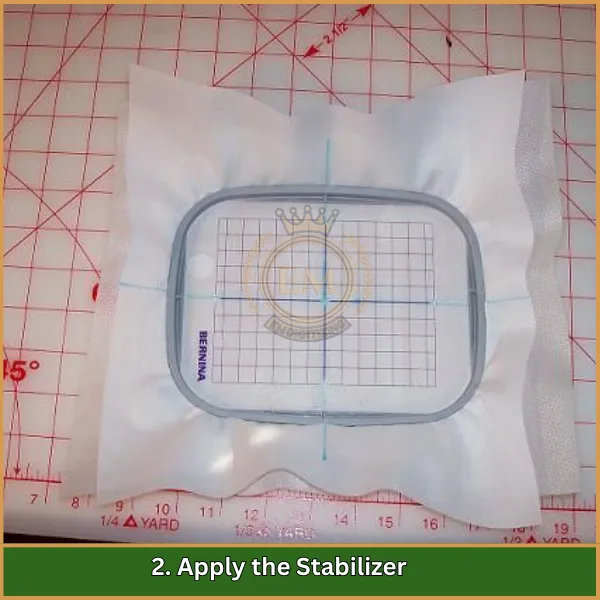
Platzieren Sie eine Unterlage hinter Ihrem Stoff, um ihn beim Sticken stabil zu halten. Verwenden Sie je nach Stoffstärke abreißbares oder abschneidbares Vlies.
3. Digitalisieren Sie Ihr Design

Bevor Sie mit dem Sticken beginnen, Sie müssen Ihr Design mit Sticksoftware digitalisieren. Dieser Prozess wandelt Ihr Bild in eine Stichdatei um, die die Stickmaschine lesen kann.
Jedoch, Zeit und Mühe sparen, Sie können diesen Schritt aus auslagern EMdigitalisieren! Unser Expertenteam kann qualitativ hochwertige digitalisierte Designs für Ihre Patches zu einem erschwinglichen Preis erstellen, Stellen Sie sicher, dass Sie eine perfekte Passform für Ihre Stickbedürfnisse haben.
4. Regieren Sie den Stoff
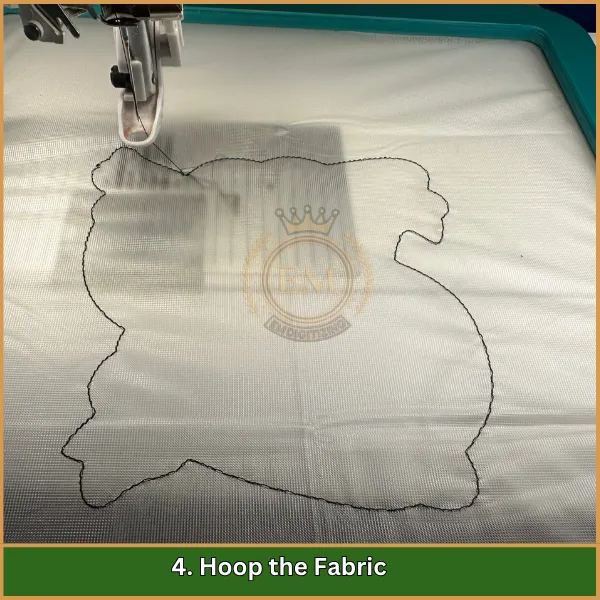
Legen Sie den Stoff und den Stabilisator in den Stickropp, sicherstellen, dass sie eng und sicher sind. Dies wird verhindern, dass sich während der Verschiebung verschoben hat Nähprozess.
5. Richten Sie Ihre Stickmaschine ein
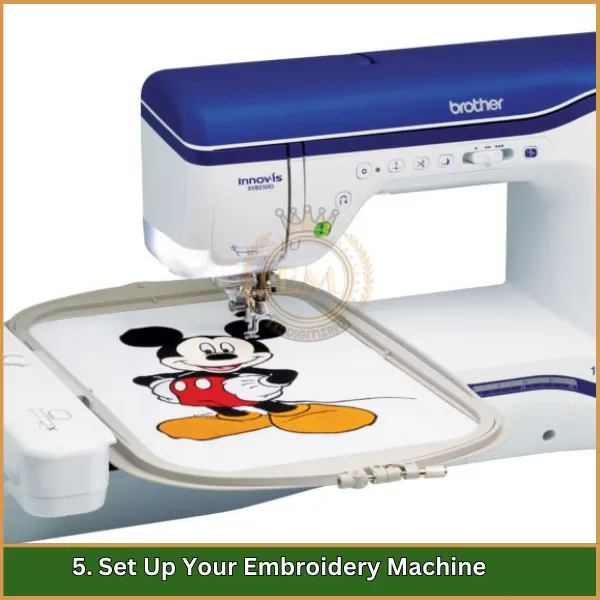
Richten Sie Ihre Stickmaschine ein, indem. Stellen Sie sicher, dass die Nadel für Ihren Stofftyp geeignet ist.
Nächste, Laden Sie das digitalisierte Design, das Sie von Emdigitizing erhalten haben in Ihre Stickmaschine. Diese Datei leitet die Maschine an, Ihren individuellen Aufnäher perfekt zu nähen.
6. Sticken Sie das Patch-Design
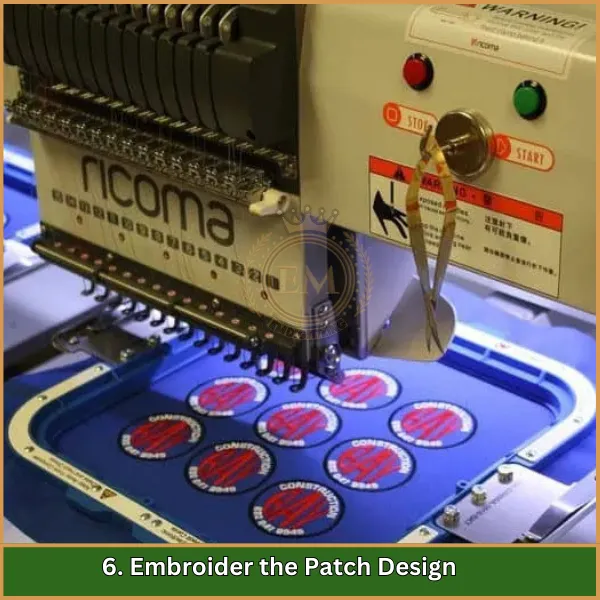
Starten Sie die Maschine und lassen Sie sie das Design auf Ihren Stoff sticken. Behalten Sie den Vorgang unbedingt im Auge, um sicherzustellen, dass alles reibungslos abläuft und es keine Probleme mit der Naht gibt.
7. Schneiden Sie den Flicken in Form
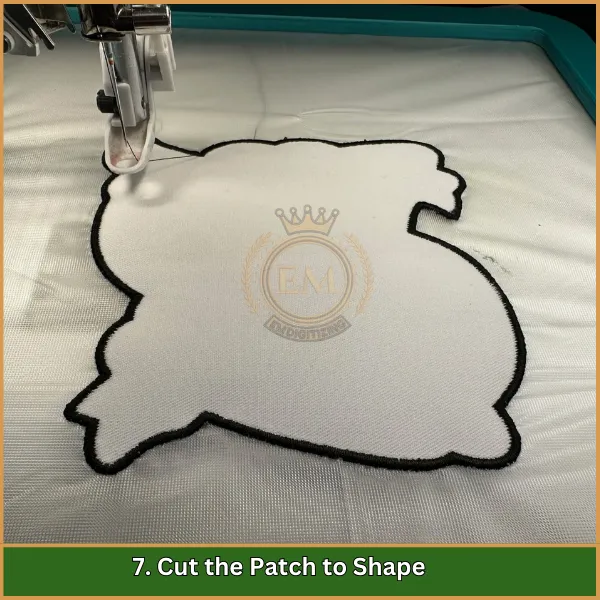
Sobald die Stickerei abgeschlossen ist, Nehmen Sie den Stoff aus dem Stickrahmen und schneiden Sie den Aufnäher mit einer Stoffschere in die gewünschte Form.
8. Befestigen Sie den Klettverschluss
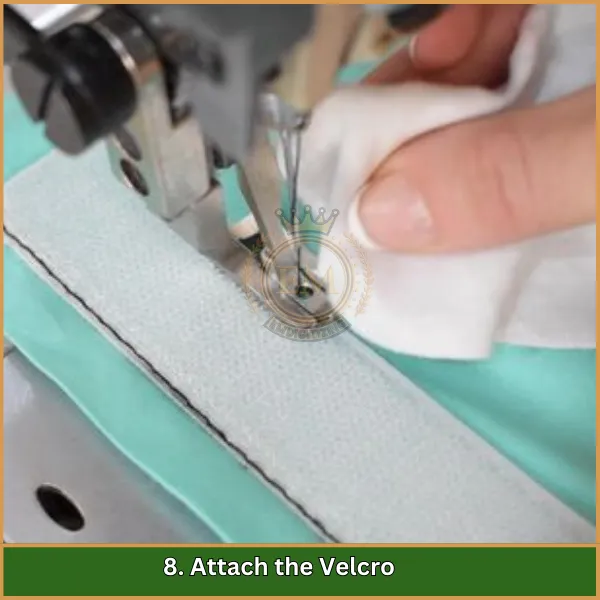
Nähen oder kleben Sie die Hakenseite des Klettverschlusses auf die Rückseite des Aufnähers. Ensure it’;Da das Pflaster sicher befestigt ist, kann es wiederholt verwendet werden.
9. Tragen Sie eine Heißsiegelfolie auf (Optional)
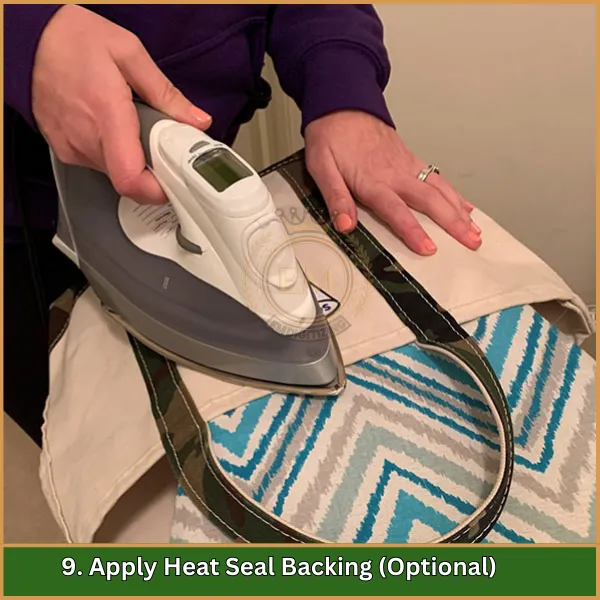
Wenn Sie möchten, dass Ihr Patch noch haltbarer ist, Sie können eine Heißsiegelrückseite auf den Aufnäher aufbügeln, sorgt für zusätzliche Stabilität.
10. Schneiden Sie die Kanten ab
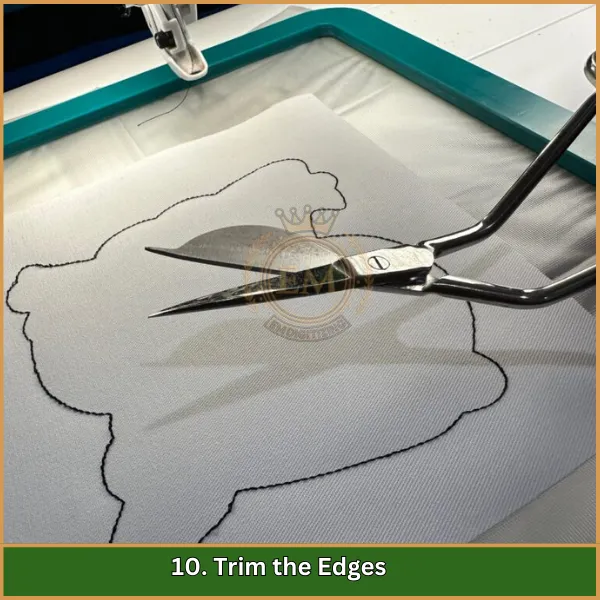
Verwenden Sie eine Schere, um überschüssigen Stoff oder Stabilisator an den Rändern des Patches für ein sauberes Finish ordentlich zu schneiden.
11. Befestigen Sie den Patch an einer Oberfläche
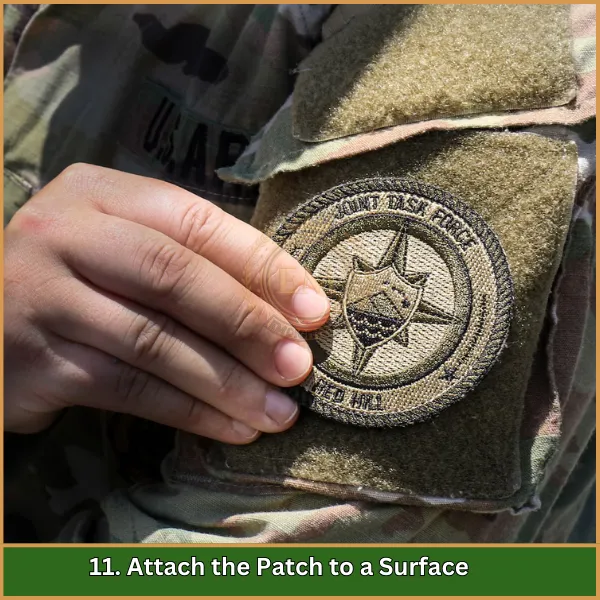
Endlich, Befestigen Sie das Patch an jeder Oberfläche, auf der die Schleifenseite des Klettverschlusss aufweist. Ihr benutzerdefinierter Klettverschluss ist jetzt zur Verwendung bereit!
Tipps zur Perfektionierung Ihrer gestickten Klettverschlüsse
Hier finden Sie einige kurze Tipps, um Ihre benutzerdefinierten Klettverschluss Patches zu perfektionieren:
- Wählen Sie hochwertige Stoff: Entscheiden Sie sich für langlebige Materialien wie Twill oder Leinwand, um die Langlebigkeit Ihrer Patches zu gewährleisten.
- Verwenden Sie den richtigen Stabilisator: Ein guter Stabilisator verhindert, dass Stoff klopft und Ihre Stiche ordentlich und sauber hält.
- Digitalisieren Sie Ihr Design richtig: Stellen Sie sicher.
- Sichern Sie den Klettverschluss: Befestigen Sie den Kletthaken sicher an der Rückseite des Patchs, um sicherzustellen, dass er während des Gebrauchs an Ort und Stelle bleibt.
- Testen Sie vor dem endgültigen Nähen: Führen Sie einen Testpatch aus, um die Threadspannung zu überprüfen, Entwurfsausrichtung, und Farbgenauigkeit.
- Personalisieren Sie mit Namen: Für benutzerdefinierte Klettverpackungen Patches, Stellen Sie sicher, dass der Name des Namens im Design klar und lesbar ist.
Diese Tipps helfen Ihnen dabei, hochwertige Qualität zu schaffen, Professionelle Klettverpte!
Endeffekt
Das Erstellen Ihrer eigenen benutzerdefinierten Klettverschlüsse kann eine unterhaltsame und kreative Möglichkeit sein, Ihrer Ausrüstung Flair zu verleihen. Mit den richtigen Materialien und Schritten, Sie werden langlebig haben, professionelle Patches in kürzester Zeit. Ob für den persönlichen Gebrauch oder für ein Unternehmen, Diese Patches bieten Flexibilität und Stil.
Benötigen Sie Hilfe bei der Digitalisierung Ihres Designs? Lassen EMdigitalisieren sich darum kümmern! Mit unserer schnellen Abwicklung, Erschwingliche Preise, und erstklassige Qualität, Wir stellen sicher, dass Ihre Designs perfekt zum Sticken bereit sind. Und für Erstkunden, we’;Ich biete ein an 50% Rabatt! Vertrauen Sie uns die Digitalisierung an, So können Sie sich ohne Probleme auf die Erstellung fantastischer Patches konzentrieren.
Häufig gestellte Fragen
Sie können Klettpatches auf Online-Plattformen wie Etsy oder auf spezialisierten Websites wie PatchPanel bestellen.
Zum Herstellen eigener Klett-Patches, Websites wie The/Studio oder PatchSuperstore bieten Designdienstleistungen und Produktion an.
Sie können in Militärbedarfsgeschäften gekauft werden, Einzelhändler für taktische Ausrüstung, oder online auf Seiten wie Amazon.
