Sie sind bereit, Ihre Echidna Hooping Station einzurichten, wissen aber nicht, wo Sie anfangen sollen? Mach dir keine Sorge! Dieser Leitfaden führt Sie auf leicht verständliche Weise durch jeden Schritt. Egal, ob Sie Anfänger sind oder einfach nur eine Auffrischung brauchen, Wir sind für Sie da.
Mit nur wenigen Handgriffen, Ihre Reifenstation ist betriebsbereit, Dadurch werden Ihre Stickprojekte reibungsloser und präziser. Lassen Sie uns alles einrichten, damit Sie sich auf das Wesentliche konzentrieren können – das Erstellen wunderschöner Stickereien!
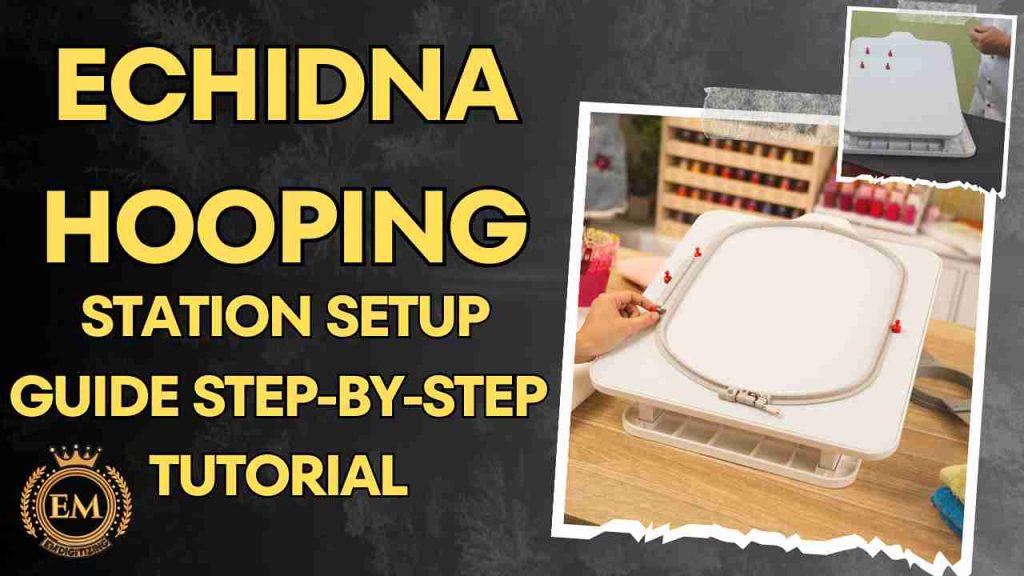
Einrichtungsanleitung für die Echidna Hooping Station: Schritt-für-Schritt-Anleitung
Die Echidna Hooping Station verstehen
Es ist ein praktisches Werkzeug, das die Arbeit vereinfacht Stickrahmen-Prozess. Es bietet einen Stall, verstellbare Plattform, auf der Sie Ihren Stoff einfach befestigen können, während Sie Ihre Stickrahmen ausrichten und befestigen. Entwickelt für die Verarbeitung verschiedener Stoffarten und -größen, es sorgt für präzises Einspannen, Dadurch werden Ihre Stickaufgaben schneller und effizienter.
Wesentliche Materialien zum Einrichten der Echidna Hooping Station
Here’;s a list of the materials you’;Sie müssen die Echidna-Stickrahmenstation effizient einrichten und für Ihre Stickprojekte verwenden:
Echidna Hooping Station – Das wichtigste Werkzeug zum sicheren Einspannen von Stoffen für Stickprojekte, Gewährleistung von Präzision und Leichtigkeit.
Stickrahmen – Diese dienen dazu, den Stoff während des Stickvorgangs straff zu halten, kompatibel mit der Spannstation.
Stickstoffe/-materialien – Der Stoff oder das Material, auf das Sie sticken möchten, wie Baumwolle, Denim, oder Spezialstoffe.
Schraubendreher – Wird zum Festziehen von Schrauben und zum Sichern von Teilen der Einspannstation während der Einrichtung verwendet.
Maßband – Hilft beim genauen Ausrichten von Stoff und Rahmen, um präzise Stickplatzierungen zu erzielen.
Stabilisator – Bietet dem Stoff zusätzlichen Halt, verhindert Dehnungen oder Verschiebungen während des Stickvorgangs.
Stoffklammern oder -nadeln – Optionale Werkzeuge, um den Stoff vor dem Einspannen an Ort und Stelle zu halten, besonders nützlich für rutschige Materialien.
Reinigungstuch – Wird verwendet, um die Einspannstation abzuwischen und nach Gebrauch sauber zu halten, Langlebigkeit zu gewährleisten.
Schritt-für-Schritt-Anleitung zum Einrichten der Echidna Hooping Station
Befolgen Sie diese detaillierten Schritte, um Ihre Echidna-Stickrahmenstation effektiv für Ihre Stickprojekte einzurichten.
1. Packen Sie die Echidna-Stickrahmenstation aus
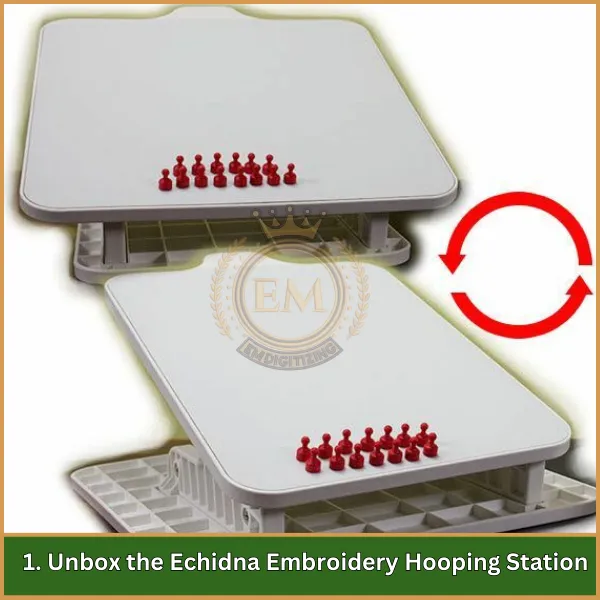
Beginnen Sie damit, alle Komponenten der Echidna-Hooping-Station-Kombination vorsichtig auszupacken. Stellen Sie sicher, dass alle Teile, einschließlich der Basis, reifende Arme, und alle Schrauben oder Bolzen, vorhanden sind. Es ist wichtig, die Vollständigkeit des Pakets zu überprüfen, um Probleme beim Zusammenbau zu vermeiden.
2. Montieren Sie die Basis
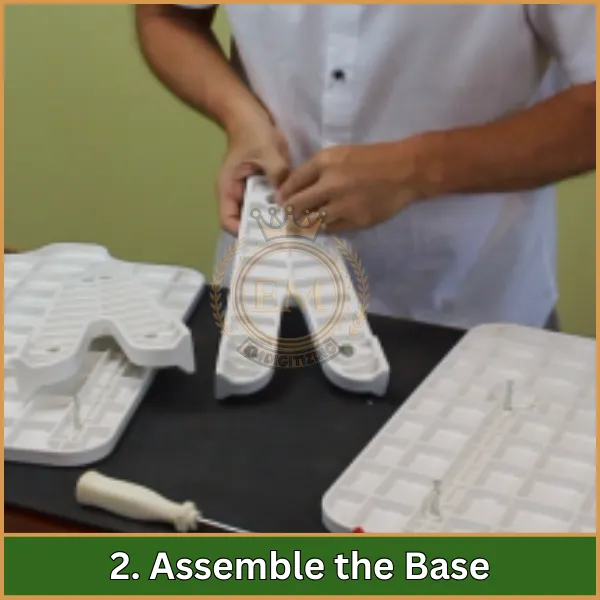
Der erste Teil der Montage besteht darin, die Basis der Stickrahmenstation anzubringen. Stellen Sie die Basis auf eine stabile Oberfläche und stellen Sie sicher, dass sie richtig positioniert ist. Ziehen Sie alle Schrauben oder Bolzen, mit denen die Basis an der Oberfläche befestigt ist, mit einem Schraubendreher fest. Stellen Sie sicher, dass die Basis eben und stabil ist, um eine solide Grundlage für Ihre Einspannstation zu schaffen.
3. Bringen Sie die Spannarme an
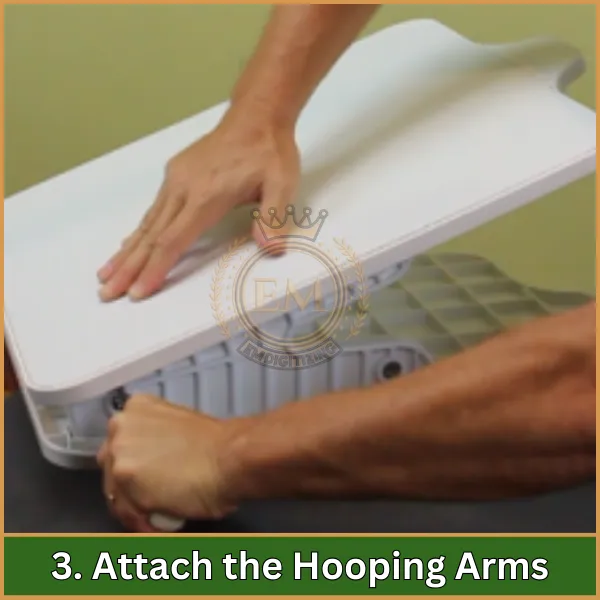
Nächste, Befestigen Sie die Spannarme an der Basis. Richten Sie die Arme gemäß den Anweisungen in der Installationsanleitung aus. Stellen Sie sicher, dass die Arme mit den erforderlichen Schrauben oder Bolzen fest befestigt sind. Die richtige Ausrichtung der Einspannarme ist entscheidend für die Stabilität beim Einspannen von Stoffen. Testen Sie die Beweglichkeit der Arme, um sicherzustellen, dass sie sich reibungslos bewegen und den Stoff festhalten.
4. Positionieren und richten Sie die Station aus
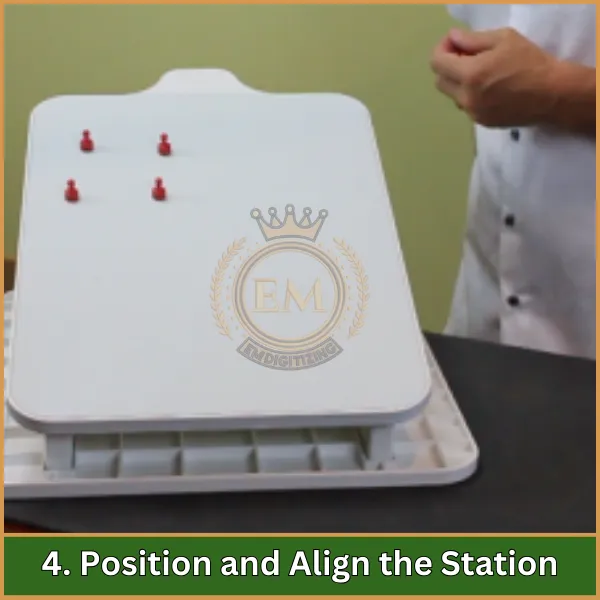
Sobald die Station vollständig zusammengebaut ist, Platzieren Sie es in Ihrem Arbeitsbereich. Überprüfen Sie mit einem Maßband, ob die Station für Ihre Stickarbeiten richtig ausgerichtet ist. Stellen Sie sicher, dass es sich in einer angenehmen Höhe befindet und so positioniert ist, dass Sie während Ihrer Projekte leicht darauf zugreifen können. Dieser Schritt ist besonders wichtig für die Aufrechterhaltung der Genauigkeit Ihrer Daten Stickmotive.
5. Testen Sie es mit Stickrahmen
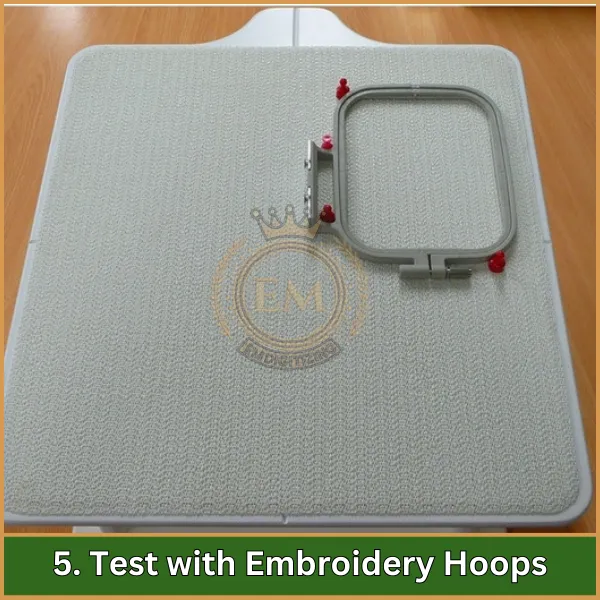
Bevor Sie mit Ihrem eigentlichen Projekt beginnen, Testen Sie die Einrichtung, indem Sie Ihre Stickrahmen an der Station befestigen. Die leistungsstarke Reifenstation kann auf Halt und Ausrichtung getestet werden, um sicherzustellen, dass sie mit verschiedenen Reifentypen funktioniert. Überprüfen Sie die Spannung und Stabilität des Stoffes im Stickrahmen, ggf. Anpassungen vornehmen. Der Rahmen sollte den Stoff sicher halten, ohne durchzuhängen oder sich zu verschieben.
6. Sichern Sie den Stoff
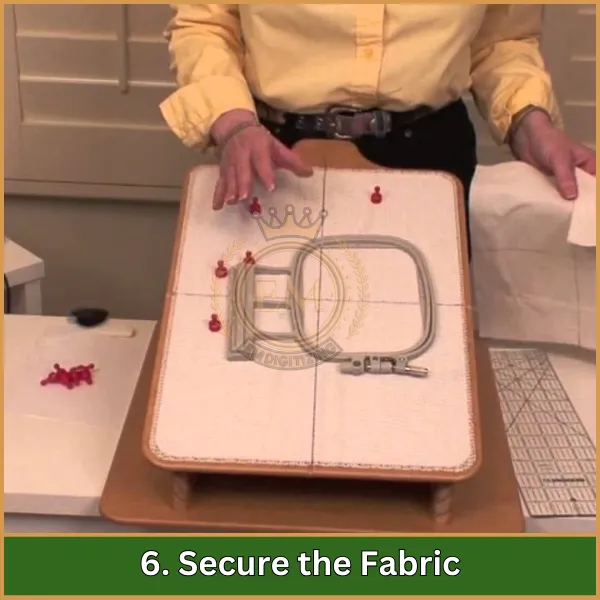
Sobald der Reifen befestigt ist, Positionieren Sie den Stoff auf der Station. Verwenden Sie Stoffklammern oder -nadeln, um den Stoff sicher an Ort und Stelle zu halten. Richten Sie den Stoff am Rahmen aus und ziehen Sie ihn fest, um einen festen Halt zu erreichen. Um präzise und saubere Stickmuster zu erzielen, ist es entscheidend, dass der Stoff straff und faltenfrei ist. Stellen Sie sicher, dass sich der Stoff während des Einspannvorgangs nicht verschiebt.
7. Überprüfen Sie die Stabilität noch einmal
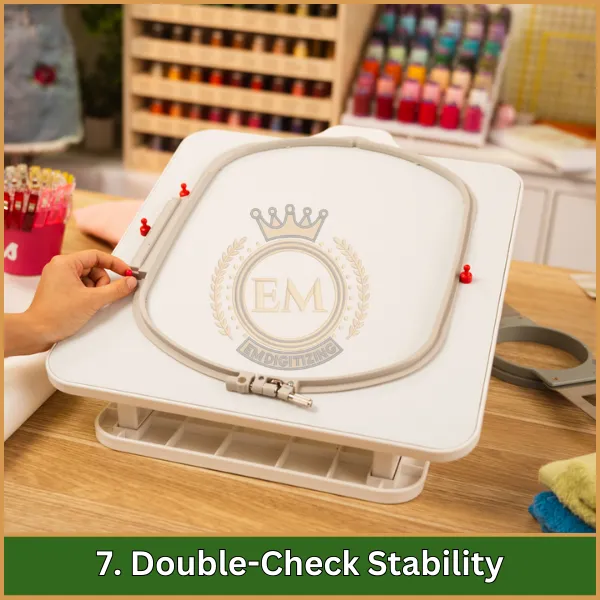
Endlich, bevor Sie mit Ihrem Stickprojekt beginnen, Überprüfen Sie noch einmal die Stabilität der Station. Stellen Sie sicher, dass alle Schrauben und Bolzen festgezogen sind, und die Station bleibt sicher an Ort und Stelle. Jede Bewegung oder Instabilität während des Stickens kann zu Fehlausrichtungen oder Fehlern in Ihrem Design führen. Sobald Sie mit der Einrichtung der Station zufrieden sind, Sie können getrost mit Ihrer Stickarbeit beginnen.
Wartung Ihrer Echidna-Stickrahmenstation
- Reinigen Sie die Station regelmäßig mit einem weichen Tuch, um Staub und Schmutz zu entfernen.
- Überprüfen Sie regelmäßig alle Schrauben und Bolzen und ziehen Sie sie fest, um die Stabilität zu gewährleisten.
- Lagern Sie die Station trocken, Reinigen Sie den Bereich, um Rost oder Beschädigungen zu vermeiden.
- Überprüfen Sie die Einspannarme auf Anzeichen von Abnutzung und tauschen Sie sie bei Bedarf aus.
- Schmieren Sie alle beweglichen Teile leicht, wenn dies vom Hersteller empfohlen wird.
- Vermeiden Sie es, die Station mit schweren Stoffen zu überladen, um ihre Funktionalität aufrechtzuerhalten.
Endeffekt
Sobald Ihr Echidna iHooping Staton eingerichtet ist, So können Sie Ihre Stickprojekte mühelos in Angriff nehmen. Es ist ein schneller und einfacher Vorgang, der Zeit spart und sicherstellt, dass Ihr Stoff perfekt zum Nähen positioniert ist.
And if you’;Sie sind auf der Suche nach kompetenten Digitalisierungsdiensten, EMDigitalisierung ist für Sie gesorgt! Mit einer schnellen Abwicklung, erstklassige Qualität, und erschwingliche Preise, Wir erwecken Ihre Stickmotive zum Leben. Plus, Erstkunden erhalten ein fantastisches Geschenk 50% aus.
Warten Sie nicht – geben Sie noch heute Ihre Bestellung auf und lassen Sie Ihre Designs von Profis digitalisieren!
Häufig gestellte Fragen
Legen Sie den Stoff auf die Einspannstation, Richten Sie es entsprechend der Vorlage aus, Befestigen Sie dann den Stickrahmen über dem Stoff, um eine präzise Platzierung der Stickerei zu gewährleisten.
Eine Einspannstation ist ein Werkzeug, das dabei hilft, den Stoff genau in einem Stickrahmen zu positionieren und zu befestigen, Gewährleistung einer einheitlichen Platzierung bei Stickprojekten.
Position the fabric between the magnetic hoop’;Es besteht aus zwei Teilen, nach Bedarf ausrichten, und lassen Sie dann die Magnetkraft den Stoff zum Sticken an Ort und Stelle fixieren.
